Official SuiteCRM Outlook Plugin v4 has arrived - Compatible with the Outlook Web App or Outlook 2016+ connected to Office365 or Exchange Server 2016. A complete rebuild developed and maintained by SuiteCRM developers, the addon retains previous functionality while massively improves performance, reliability and stability!
Outlook Configuration
Configuring the Outlook Add-in
Add Licensed Users - SuiteCRM
Before your Users can use the Plugin they need to be set up as Licensed Users. Users who aren’t licensed will not be able to use any of the features of the Plugin.
- Navigate to the “SuiteCRM Outlook Add-in” section in the Admin panel of the CRM.
- Add Users through the “Outlook Users” subpanel. You can click on the “Select” button to launch the pop-up through which Users can be added. Any Users in the “Outlook Users” subpanel will be treated as “Licensed” users.
Note: Users configured as licensed should have a valid Outlook email address associated with them.
If this sub-panel is not accessible, the plugin may not yet be validated. Please go back and validate your plugin by following the Plugin Installation Guide
Configure Add-in in Outlook
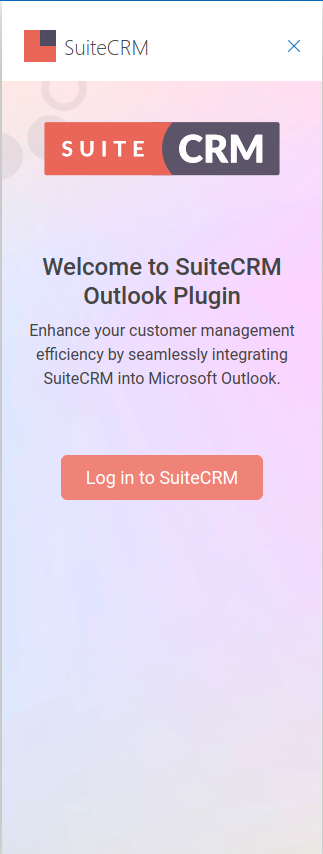
- Within Outlook, expand the actions on an Email, and select the new SuiteCRM Plugin from the menu. This will open the Welcome Page.

Click Login.
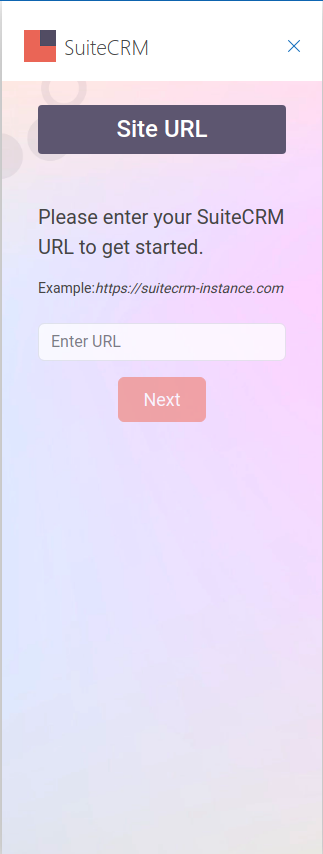
On the Site URL page please enter your SuiteCRM instance URL.

This will check the API connection on your SuiteCRM instance.
If this check fails please see our Troubleshoot page to help resolve this issue.
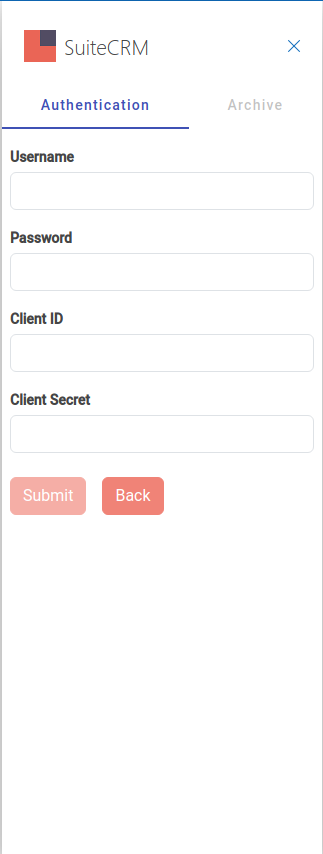
- On the Authentication Tab populate the fields as follows:

Suite Host URL → The URL of the CRM instance that you wish to connect Outlook with.
Username → Your SuiteCRM Username
Password → Password for that CRM user
Client ID → When you created your Password Client earlier, the “ID” field would be populated in the CRM. Copy-paste this value into Client ID
Client Secret → The memorable Secret/password entered for said Password Client you set up.
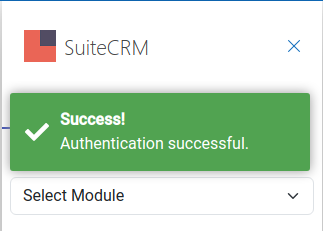
- Once all values are correctly entered, click “Submit”. If correct, the panel will update to a green box that details “Authentication Successful” and a "Log Out" button will be displayed.

Note: If you see a message telling you that this User isn’t licensed, make sure you have added the user to the Outlook Users Subpanel.
Common issues may stem from incomplete setup of API, for debugging see documentation
Manual archiving should now be fully operational.
If you wish to continue and enable Automatic Archiving, proceed to the Auto Archive Functionality Page


