Make life easier by reducing the need to flip between apps. If you are using Outlook Web App, Outlook 2013, or Outlook 2016 connected to Office365 or Exchange Server 2013 then be sure to take advantage of this email and contact synchronization add-on. Smartly links emails to your SuiteCRM records and keeps your contacts in sync.
Multi User Installation
Multi User Installation
Note: If you are using Outlook 2013, 2016, or Exchange then make sure to note this difference here: Non-browser Installs.
The steps below are for the Office 365 administrator who will install the plugin for all users within a company.
Installation
Login to Office 365 and go to the Admin panel.
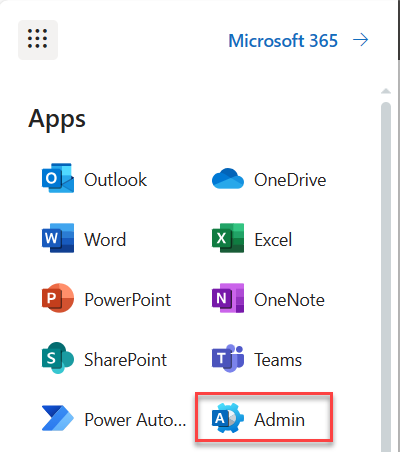
or navigate directly with the URL:
https://admin.microsoft.com/Adminportal/Home#/homepage
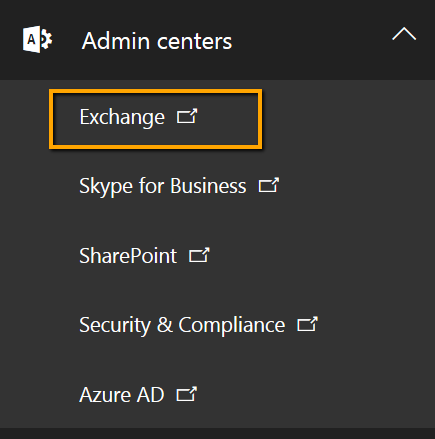
In the side bar, expand Settings and choose Integrated apps.
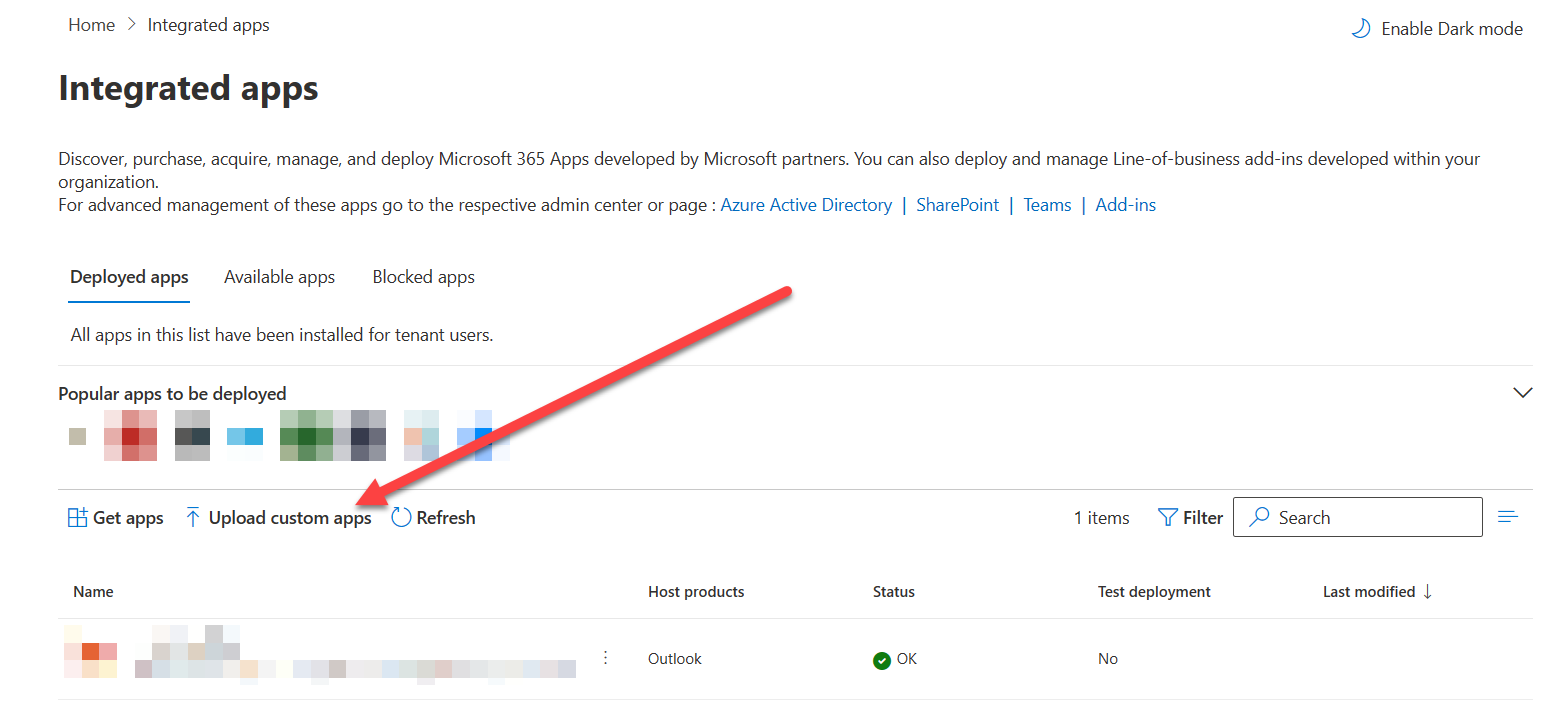
Click Upload custom apps to start the Deploy New App wizard.
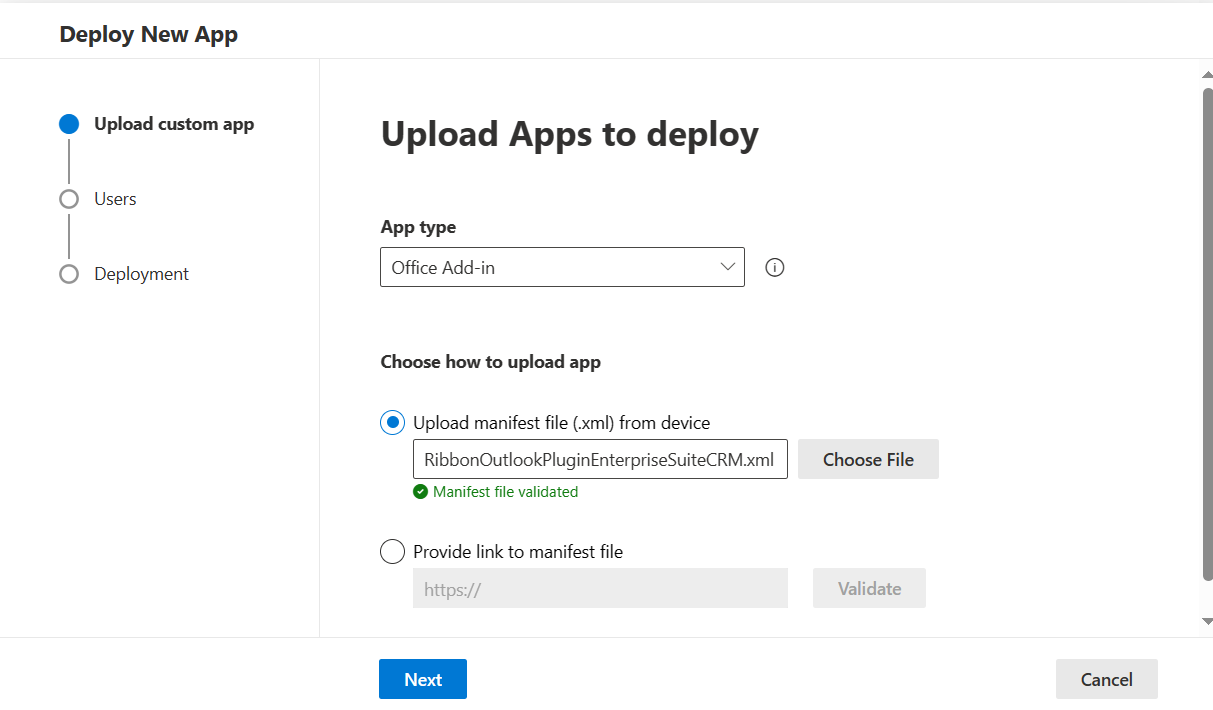
Download the manifest file of the add-in using this URL:
https://www.grinmark4u.com/download/RibbonOutlookPluginEnterpriseSuiteCRM.xml
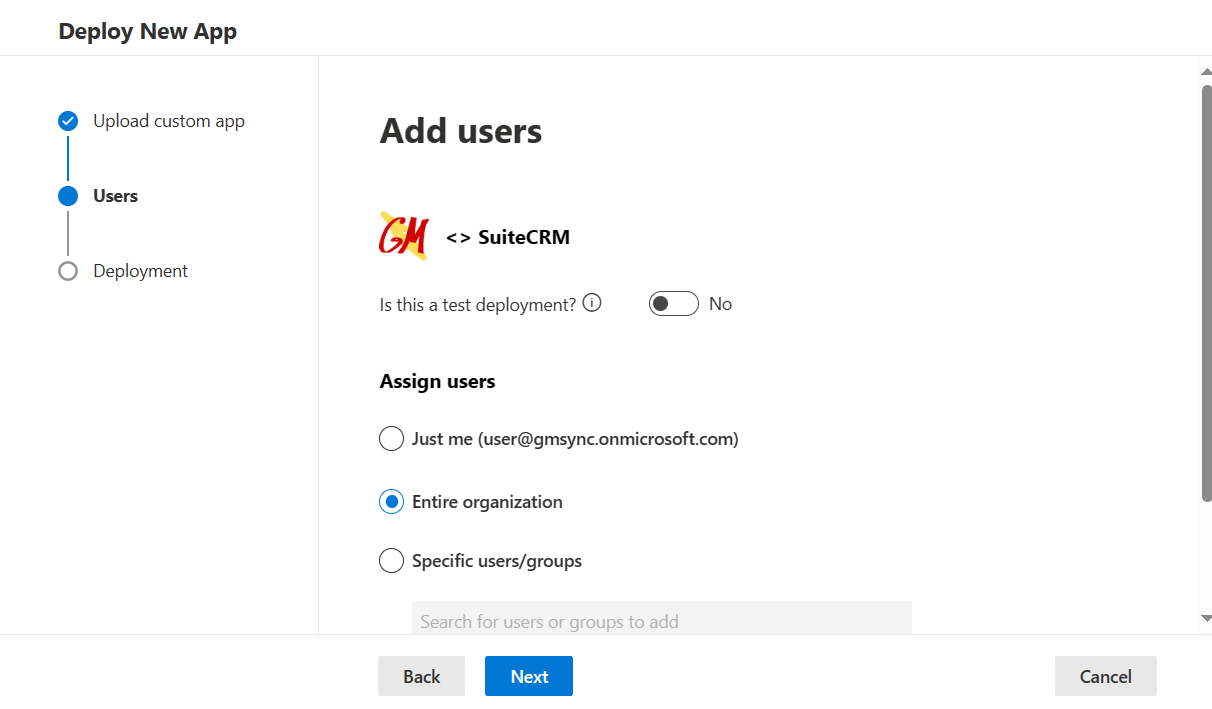
Fill required fields:
Choose which users will have the add-in enabled:
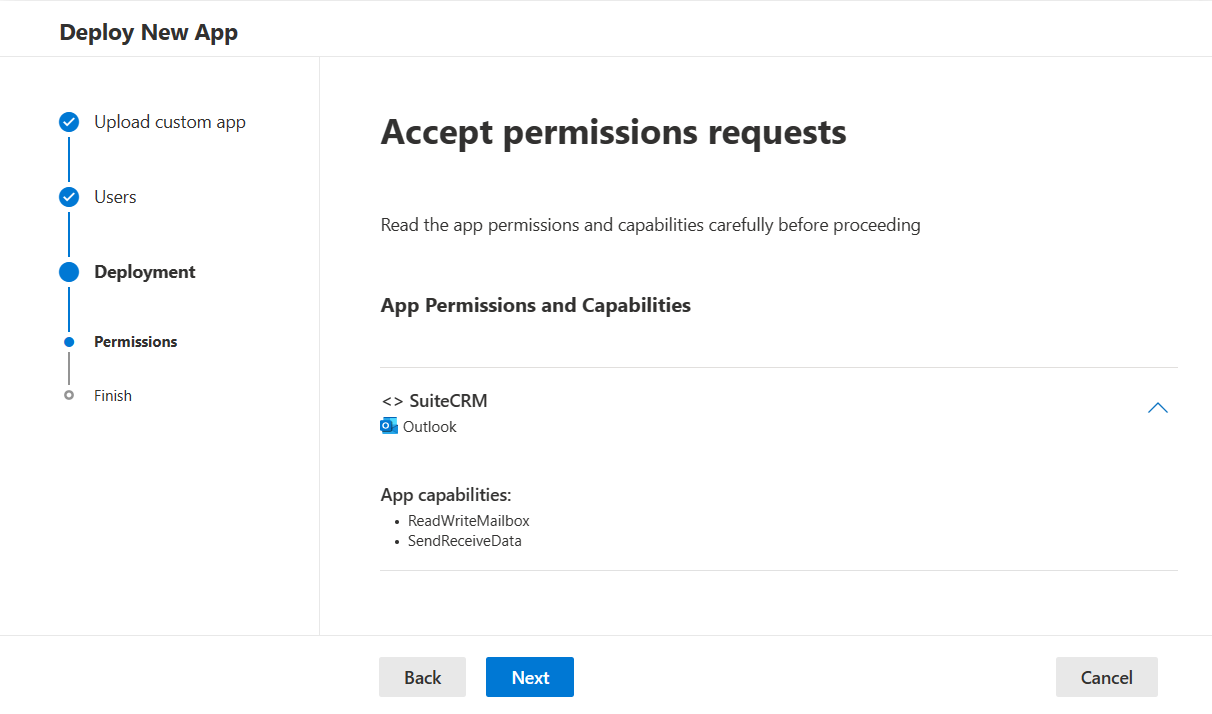
Accept permission requests:
Note: It may take up to six hours for the app to appear in Outlook.
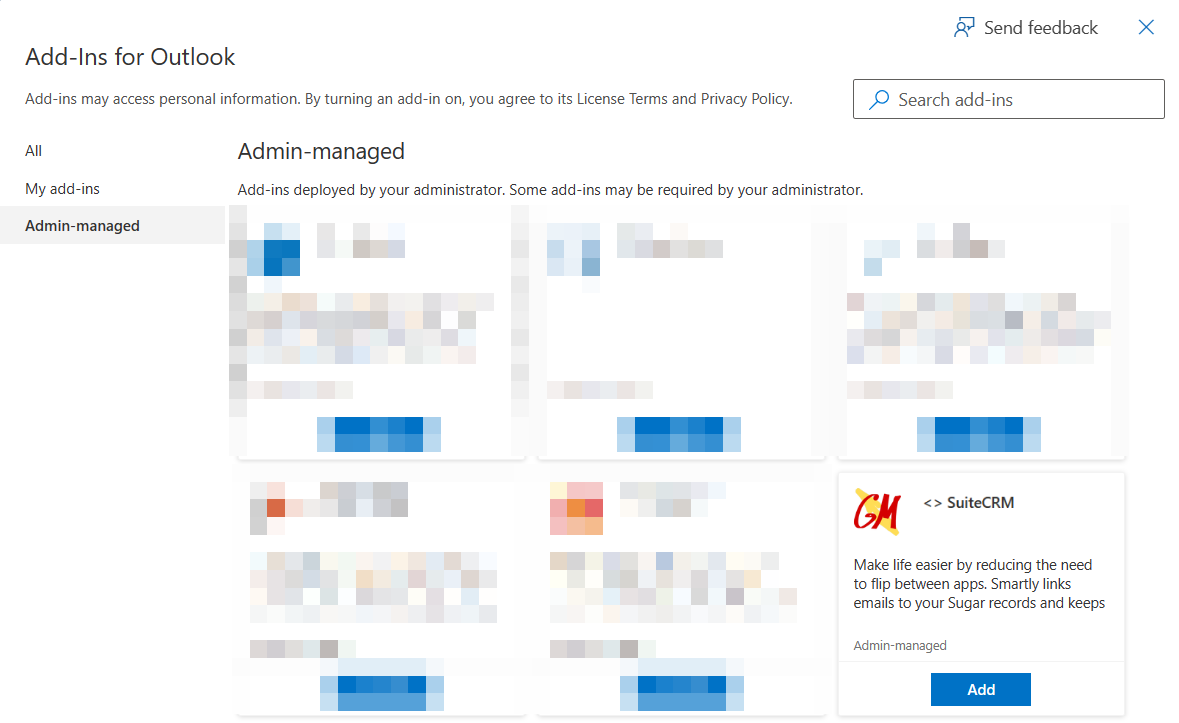
User's may need to enable the add-in in their mailboxes. To verify that the add-in is enabled, a user needs to navigate to
and click Add button:
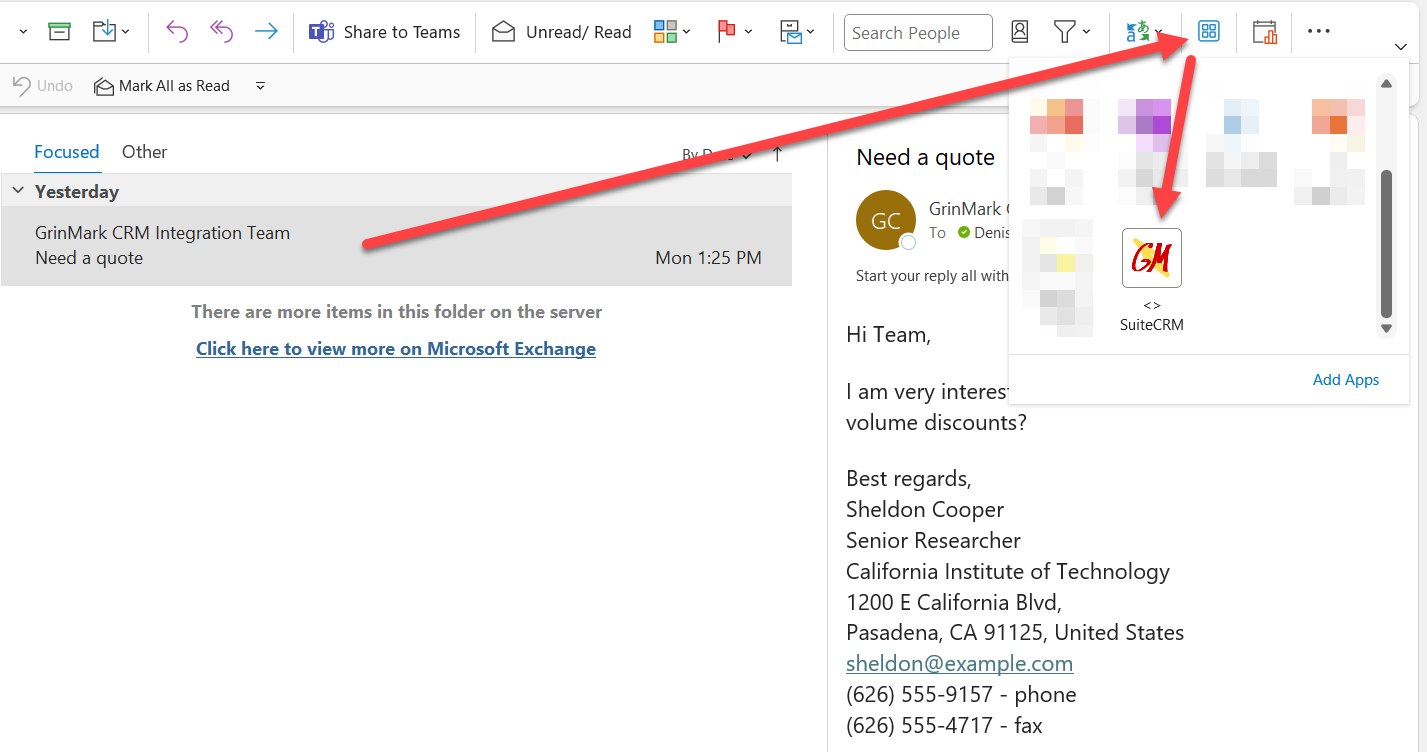
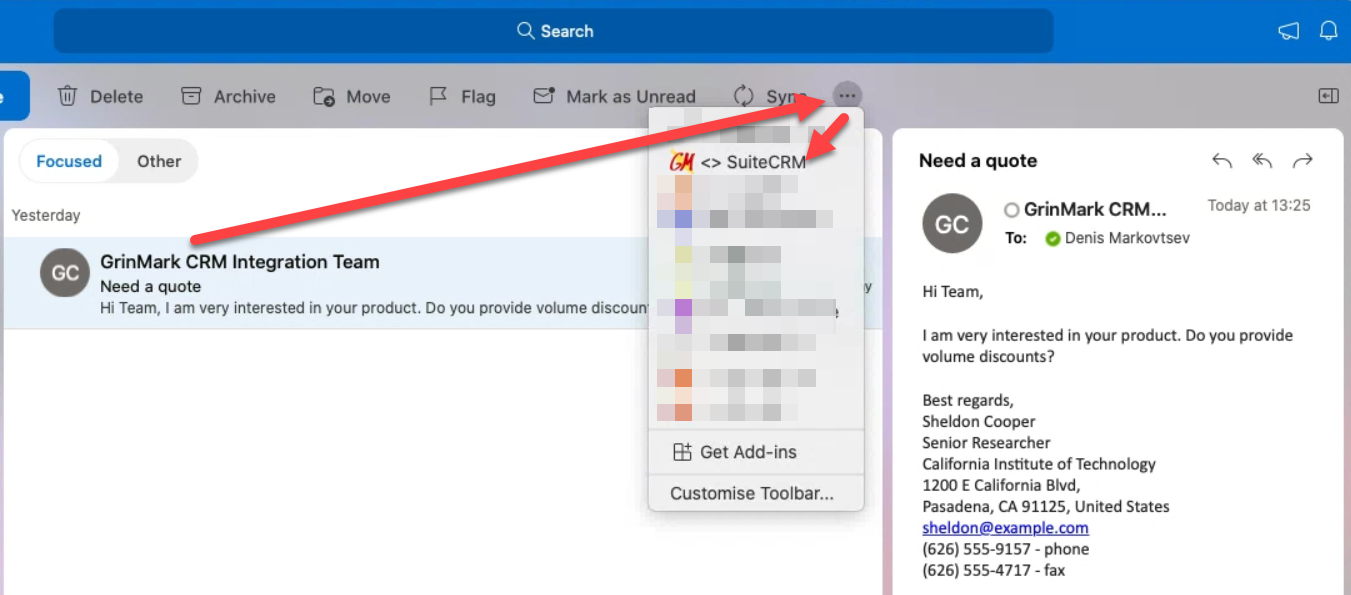
The plugin is now accessible from within each Email message as a button labeled <> SuiteCRM or from the ribbon:
- Outlook Web
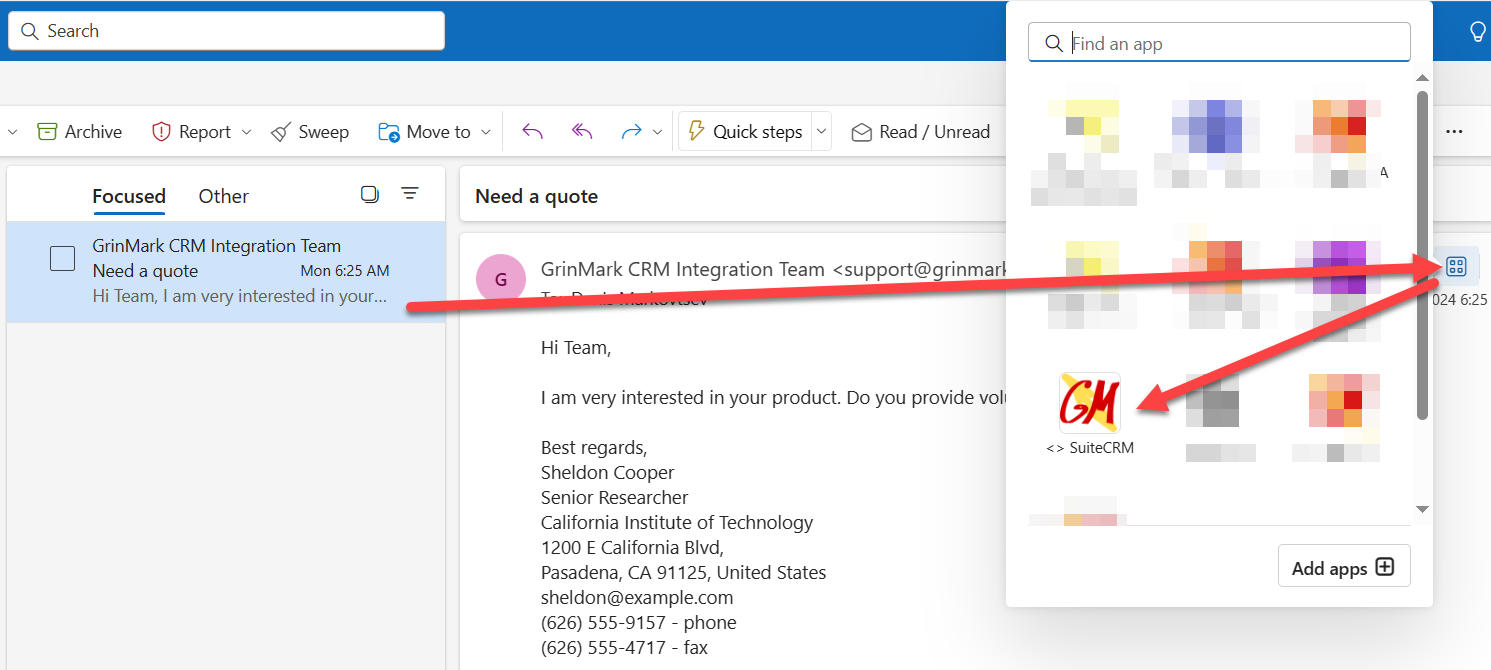
- Outlook for Windows
- Outlook for Mac
License Configuration
To configure enterprise license download and install GMSyncAddon module for SuiteCRM from
https://gmdownlods.s3.amazonaws.com/suitecrm/gmsync_latest.zip
Login to SuiteCRM as admin and got to Admin panel. Scroll down and in the GrinMark Synchronizer Add-on section choose License Configuration.

Set the checkbox:

Enter your license key and press Validate.

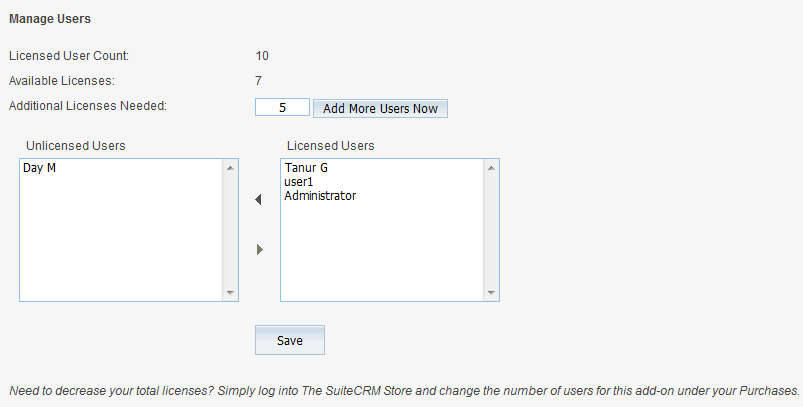
Assign users and press Save.
Activation and Configuration
You need to define some settings for App to be able to archive and synchronize. All settings are
configured at the Settings tab.
1: License key
After you start your 30-day trial, grab the license key from the page after checking out and specify it as described in the section above.
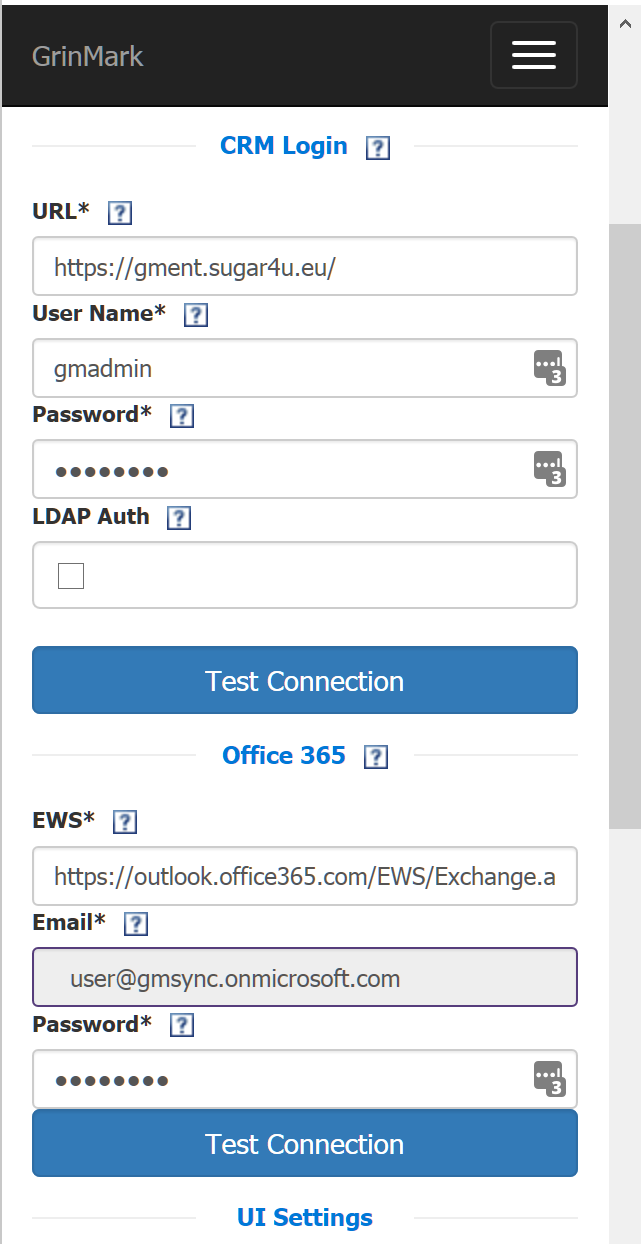
2: CRM URL
It may be taken from the web URL as follows. Look at the line in the web browser when logging into SuiteCRM.
It looks like:
http://ex.grinmark4u.com:8090/aedemo/index.php?action=Login&module=Users&login_module=Home&login_action=index
i.e.:
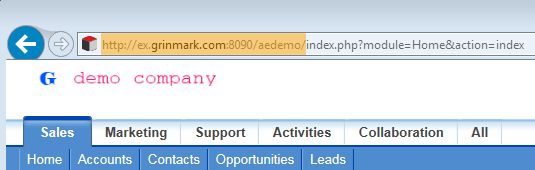
Cut the trailing part starting from index.php and leaving the trailing / and you get the right URL, i.e. the correct URL is:
http://ex.grinmark4u.com:8090/aedemo/
3: User Name, 4: Password
SuiteCRM login name of the user and password.
5: Test Connection
Use it to make sure your SuiteCRM instance is accessible. If connection is successful CRM settings will be automatically saved.
6: Office 365 Password, 7: Test Connection, 8: Save
You need to specify the password that is used to log into Office 365 Outlook (mailbox password).
It is recommended to press “Test Connection” to make sure password is applied properly.
If connection is successful Exchange settings will be automatically saved.
