Are you facing difficulties trying to coordinate efforts between marketing and sales? The SuiteCRM & Mautic Integrator by eVolpe is the best solution that will help you solve this issue. TRY IT NOW FOR FREE!
Configuration Guide
- Mautic Plugin
- Step 1: Turn on API
- Step 2: Generate OAuth2 Credentials keys
- Step 3: Configure plugin Authorization
- Step 4: Add new jobs to crontab
- CRM Plugin
- Step 1: Mautic License Management
- Step 2: Connector configuration
- Step 3: Rebuild views for Mautic
- Step 4: Add Marketing Campaigns and Marketing Activities to navbar
- Step 5: Make sure if CRM job exists in crontab
- Initial Synchronization
- Step 1: Synchronize exisiting Mautic Campaigns
- Step 2: Synchronize CRM records with Mautic
Mautic Plugin
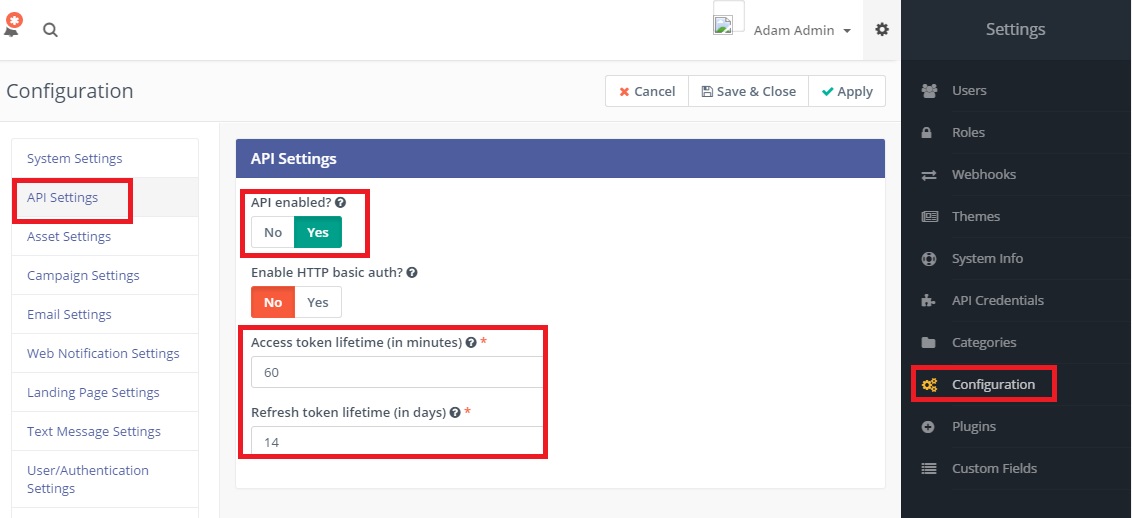
Step 1: Turn on API
In “Configuration” in section “API Settings” turn on API
Make sure to set up relatively big access token lifespan, so that application does not have to refresh it too often and long enough refresh token lifespan, so that admin does not have to reauthorize the app after holidays.
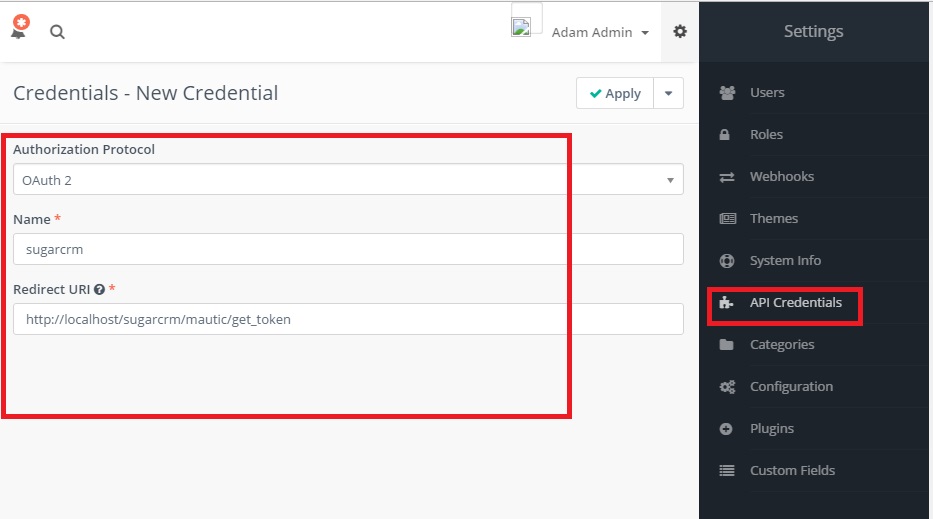
Step 2: Generate OAuth2 Credentials keys
In ”API Credentials” generate new OAuth2 set of keys
As callback set up address with http:// and https:// separated by comma:
http://CRM_instance_URL_address/mautic_api/get_token,https://CRM_instance_URL_address/mautic_api/get_token
for example: http://example.com/crm/mautic_api/get_token,https://example.com/crm/mautic_api/get_token
If you don’t see the API Credentials refresh the whole mautic page or check if API Settings were saved correctly.
Step 3: Configure plugin Authorization
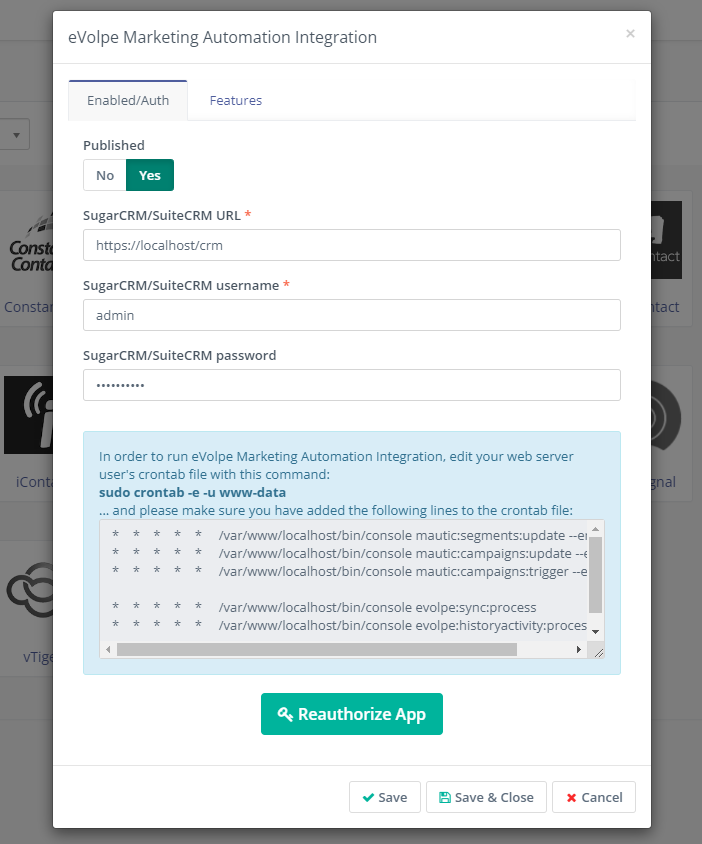
In Plugins section click eVolpe Marketing Automation Integration plugin icon.
Set up your CRM URL as well as admin user login and password and set Pulished on Yes and click the Authorize App button.
Step 4: Add new jobs to crontab
- For Mautic 4.X:
- php bin/console evolpe:sync:process
php bin/console evolpe:historyactivity:process
evolpe:sync:process command should run relatively often because it sends new activities and records to CRM instance
- evolpe:historyactivity:process command should run relatively often because it generates historical activity for the contact which has been identified and push to the CRM
Run following command in your SSH console (for example if Apache system user is www-data):
crontab -e -u www-data
Paste new jobs at the end of crontab (for example if Mautic instance directory path is: /var/www/my_mautic):
For Mautic 4.X:
*   *   *   *   *    /var/www/my_mautic/bin/console evolpe:sync:process
*   *   *   *   *    /var/www/my_mautic/bin/console evolpe:historyactivity:process
Example of Mautic related crontab entries required to make the plugin work:
*   *   *   *   *    /var/www/my_mautic/bin/console mautic:campaigns:update --env=prod
*   *   *   *   *    /var/www/my_mautic/bin/console mautic:campaigns:trigger --env=prod
*   *   *   *   *    /var/www/my_mautic/bin/console mautic:segments:update --env=prod
*   *   *   *   *    /var/www/my_mautic/bin/console mautic:social:monitoring --env=prod
*   *   *   *   *    /var/www/my_mautic/bin/console mautic:emails:send

*   *   *   *   *    /var/www/my_mautic/bin/console evolpe:sync:process
*   *   *   *   *    /var/www/my_mautic/bin/console evolpe:historyactivity:process
CRM Plugin
Step 1: Mautic License Management
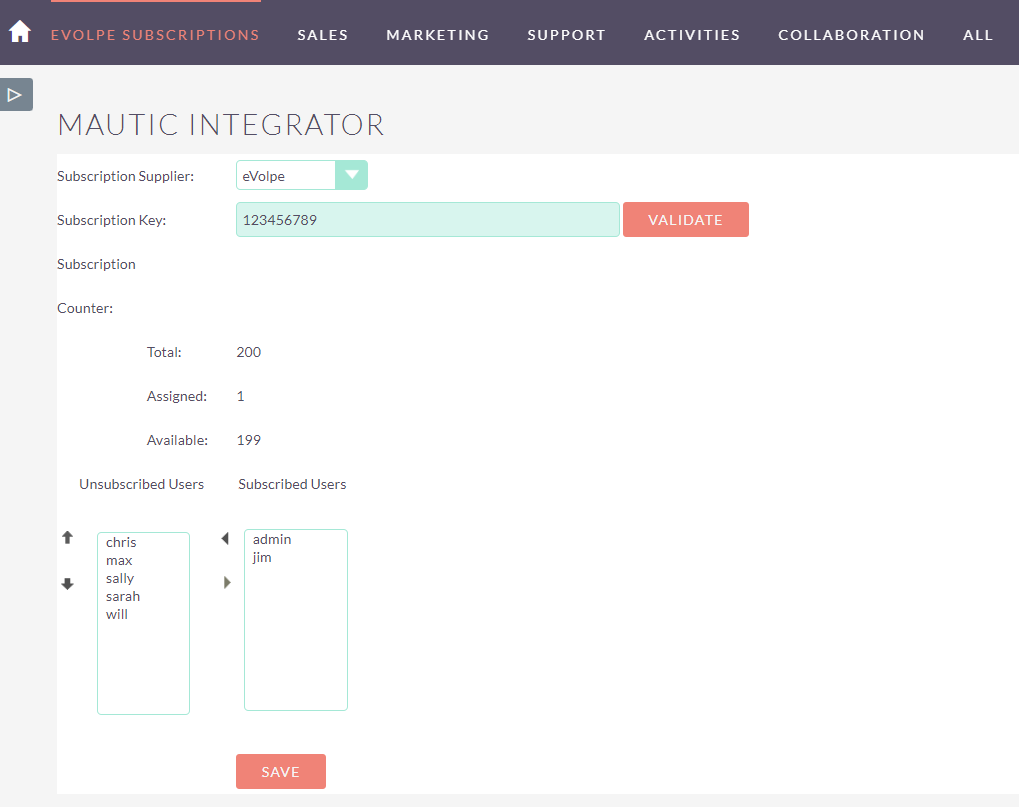
- In Administration go to "Subscriptions Management" in eVolpe Subscriptions Section.
- Edit "Mautic Integrator" record.
- Enter Lincese Key and validate it.
- Choose users that should have permissions to use Integrator features.
- MAKE SURE TO GIVE LICENSE TO THE ADMIN USER THAT IS USED IN MAUTIC TO CONNECT TO CRM
Step 2: Connector configuration
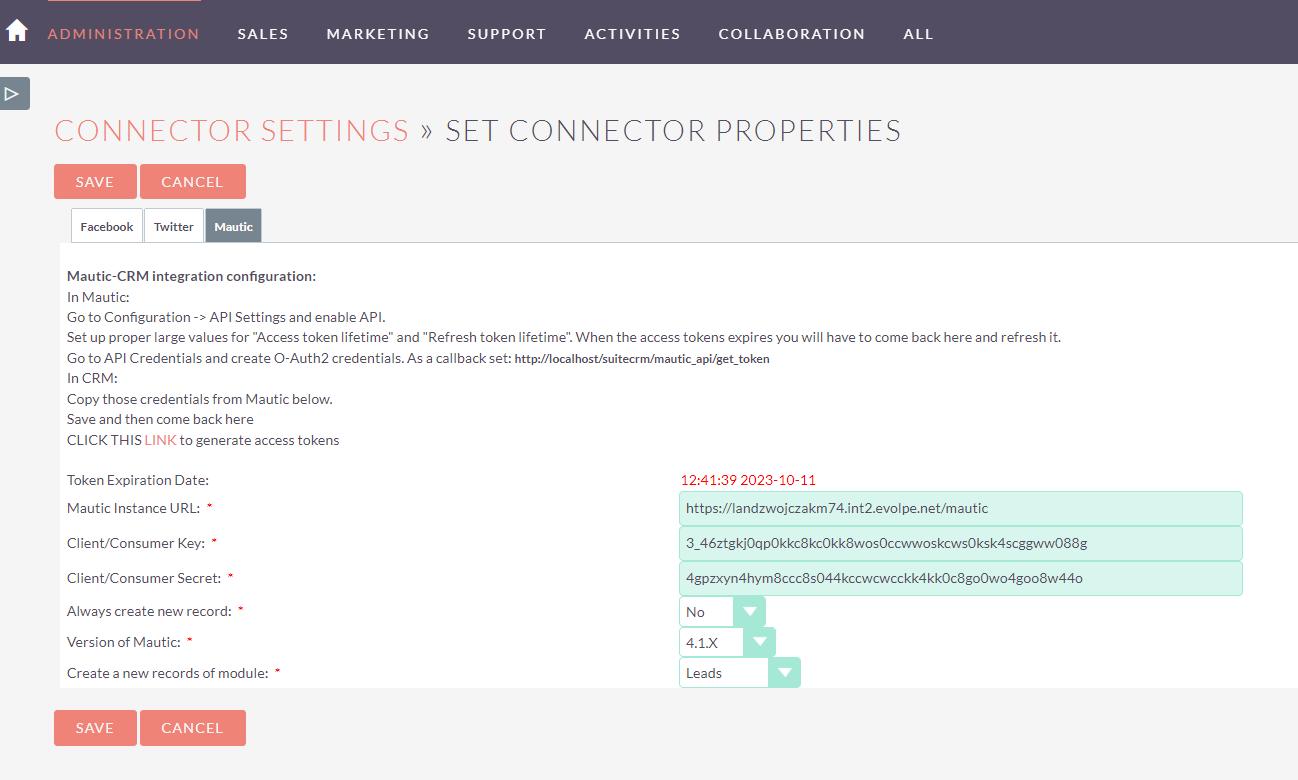
- In Administration go to Connectors
- In section Set Connectors Properties in Mautic tab:
- Set up Mautic URL and fill OAuth2 keys generated in Initial Configuration/Mautic Plugin/Step 2: Generate OAuth2 Credentials keys
- Set Version of Mautic with which it will sync
- SAVE settings
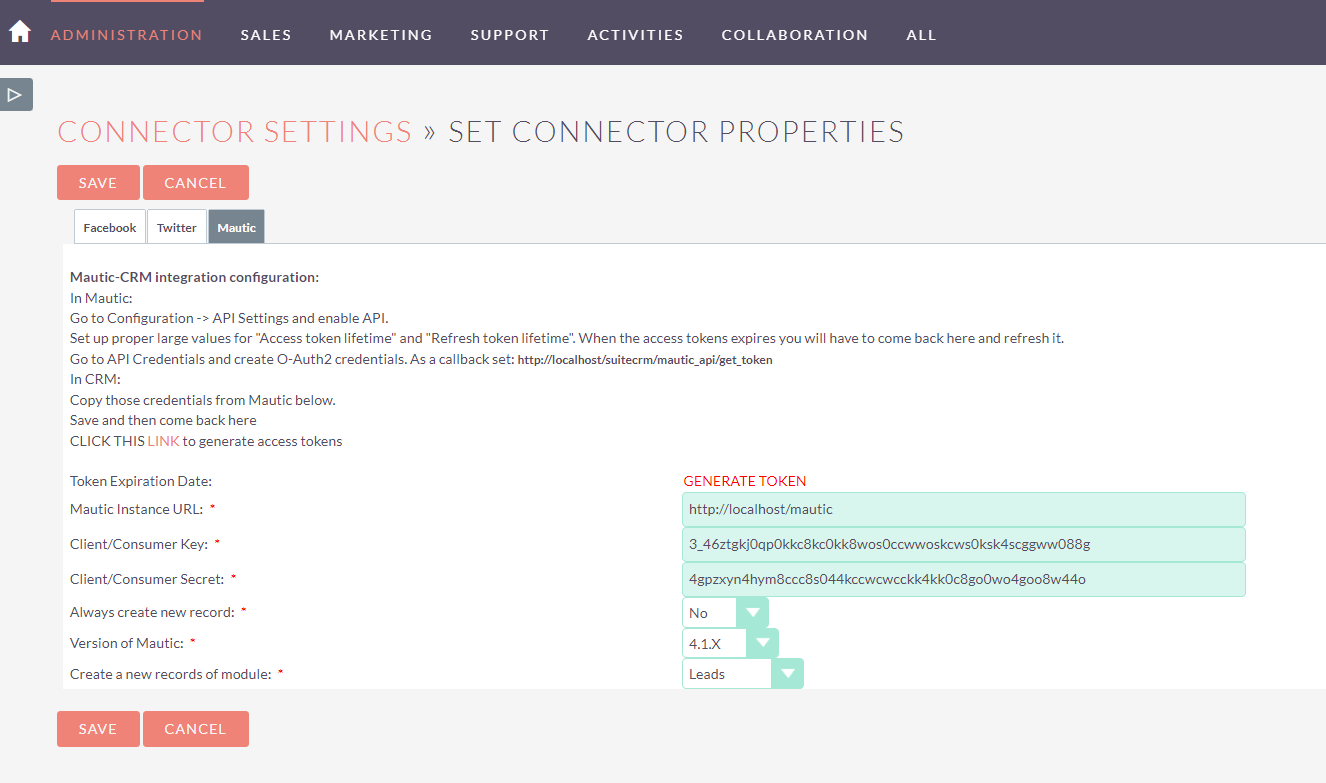
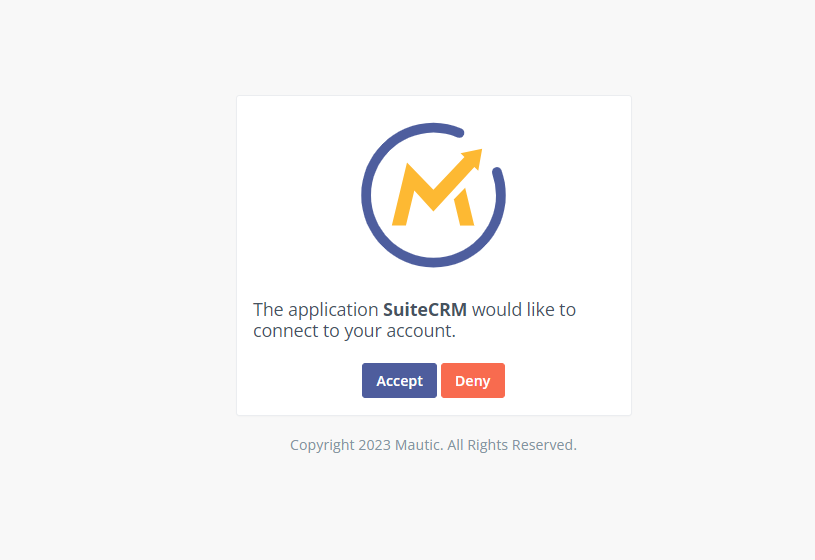
- Enter Set Connectors Properties again and click the LINK in the description. It should show Mautic page asking for authorization and if you want to grant CRM access to Mautic.
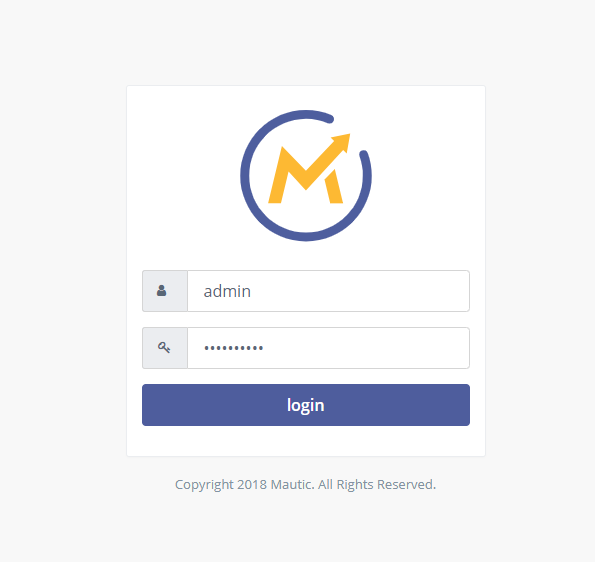
- If Authorization was done properly you should see token expiration date
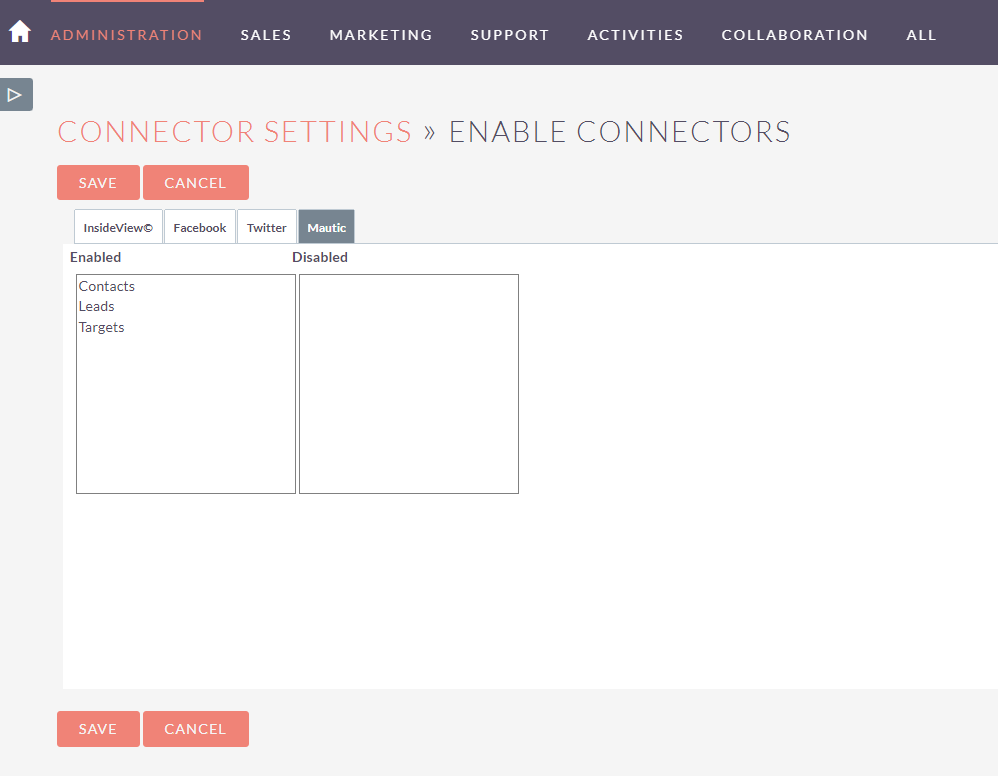
- In section Enable Connectors in Mautic tab turn on connector for chosen modules.
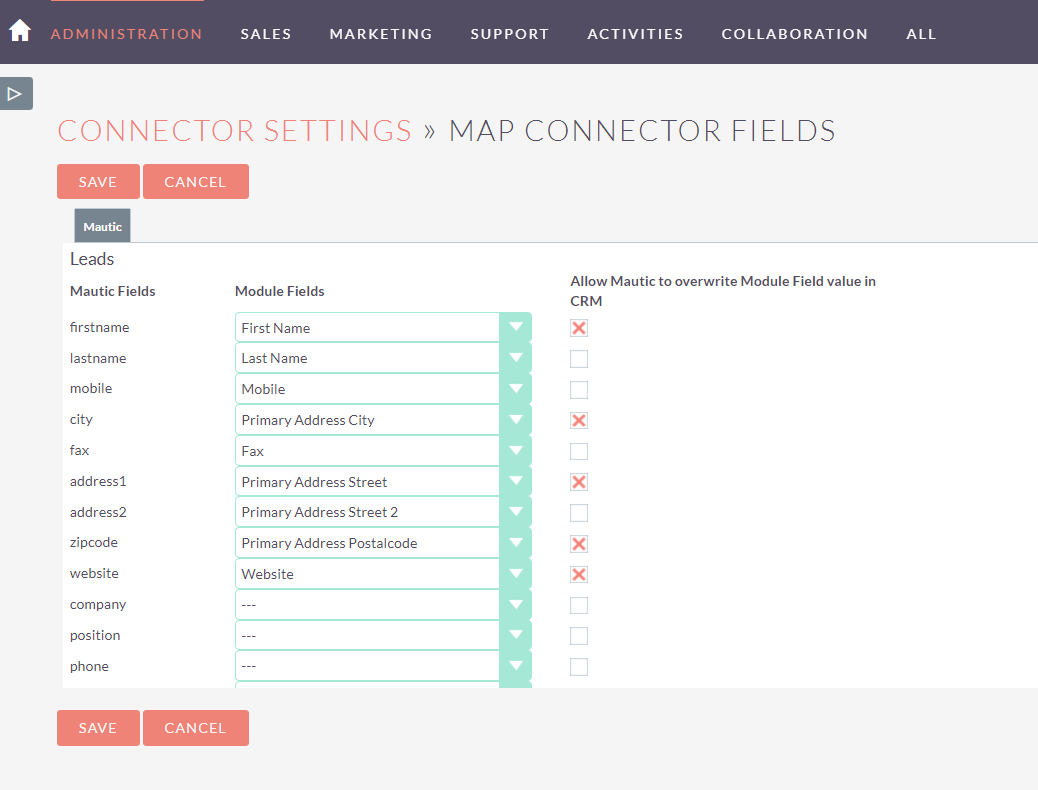
- In section Map Connector Fields in Mautic tab you can change the default field mapping.
Step 3: Rebuild views for Mautic
In Administration go to Mautic Settings Section and click Rebuild views for Mautic. It will add fields to synchronized modules to record view and list view.
Step 4: Add Marketing Campaigns and Marketing Activities to navbar
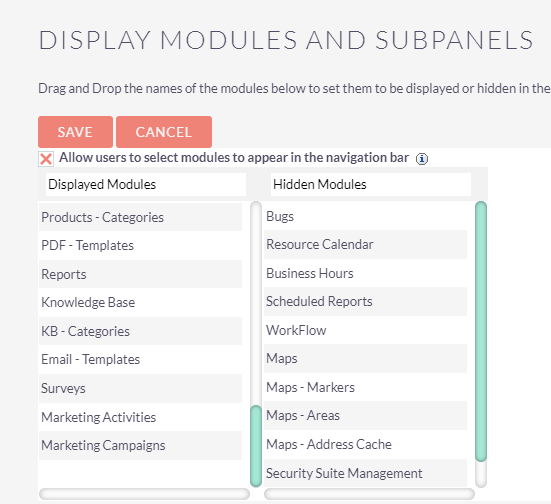
In Administration go to Repair and click Quick Repair and Rebuild. Next go again to Repair and Repair Roles. Next go to Administration and click Display Modules and Subpanels. Add to Display Modules following modules: Marketing Activities and Marketing Campaigns and save settings.
Make sure that modules: Marketing Activities and Marketing Campaigns are chosen in your user profile in Layout Options in Display Modules.
Step 5: Make sure if CRM job exists in crontab
Run following command in your SSH console (for example if Apache system user is www-data):
crontab -e -u www-data
And check if your CRM job exists here (for example if CRM instance directory path is: /var/www/crm):
* * * * * cd /var/www/crm; php -f cron.php > /dev/null 2>&1
Initial Synchronization
Step 1: Synchronize exisiting Mautic Campaigns
Run following command in your SSH console:
cd [Mautic_directory]
php bin/console evolpe:campaigns:synchronize
Step 2: Synchronize CRM records with Mautic
In Administration go to Mautic Settings Section and click Synchronize records with Mautic. It will schedule an ad-hoc job of initial synchronization to Mautic.

All records from modules chosen in Enable Connectors that are not yet synchronized and have a Primary Email Address will be synchronized in the background with Mautic.
As a final result for synchronized modules there will be new panel visible in record view.


