Add Tag is a SuiteCRM add-on that enables users to apply helpful tags on records to better manage large tasks in the CRM. Choose to tag records one by one or by the bulk action feature. Use the report tool to apply a filter and segment records per tag of your choice.
User Guide
Once the module is enabled and saved for applying a tag, the admin user can create a tag from View Tag and all users active in CRM can apply it to any records. The tag can be applied one by one to record or from the mass updates.
Create Tag and Save it:
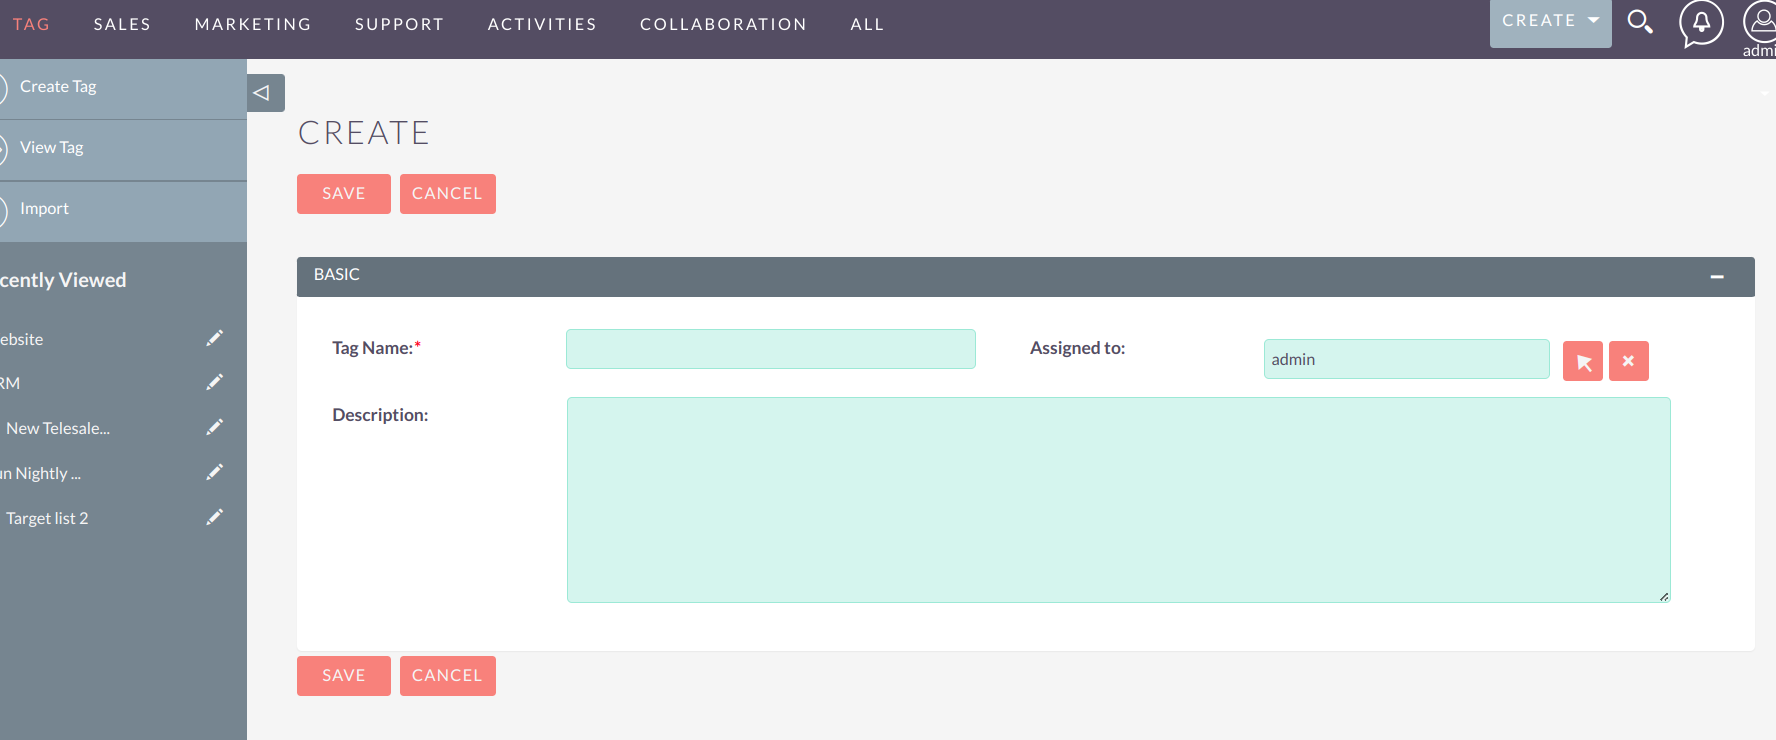
Tag Creation Feature.
This feature allows users to create new tags by simply typing the tag name into a designated box. Once added, these tags are recorded and become available for selection in the tag dropdown, enabling better organization and categorization of content.


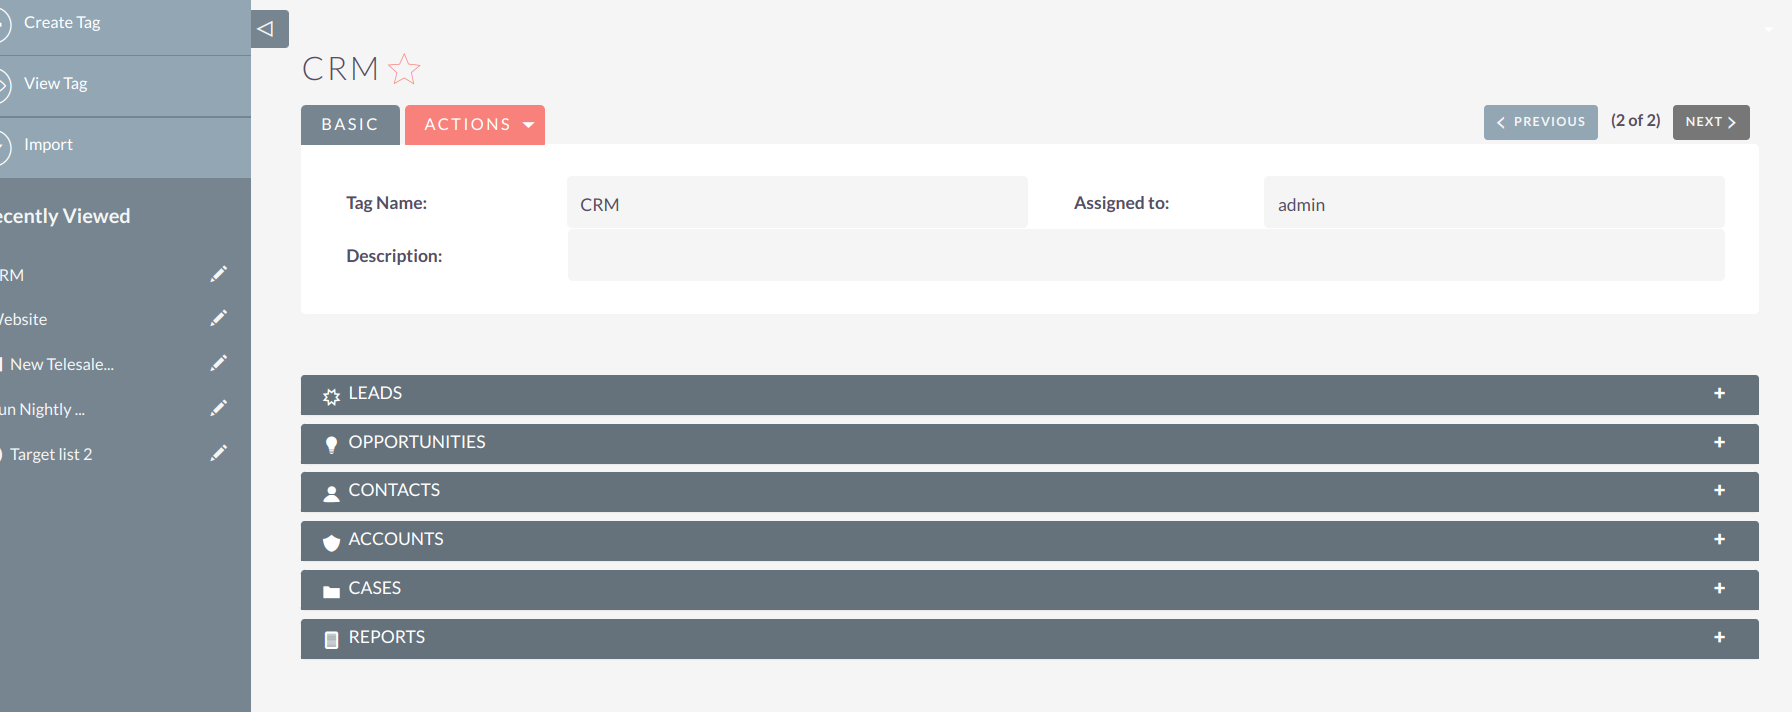
You can see the list of the leads associated with the Tag. Admin can check the records to which all tags are applied and can also run a report for getting the analysis.
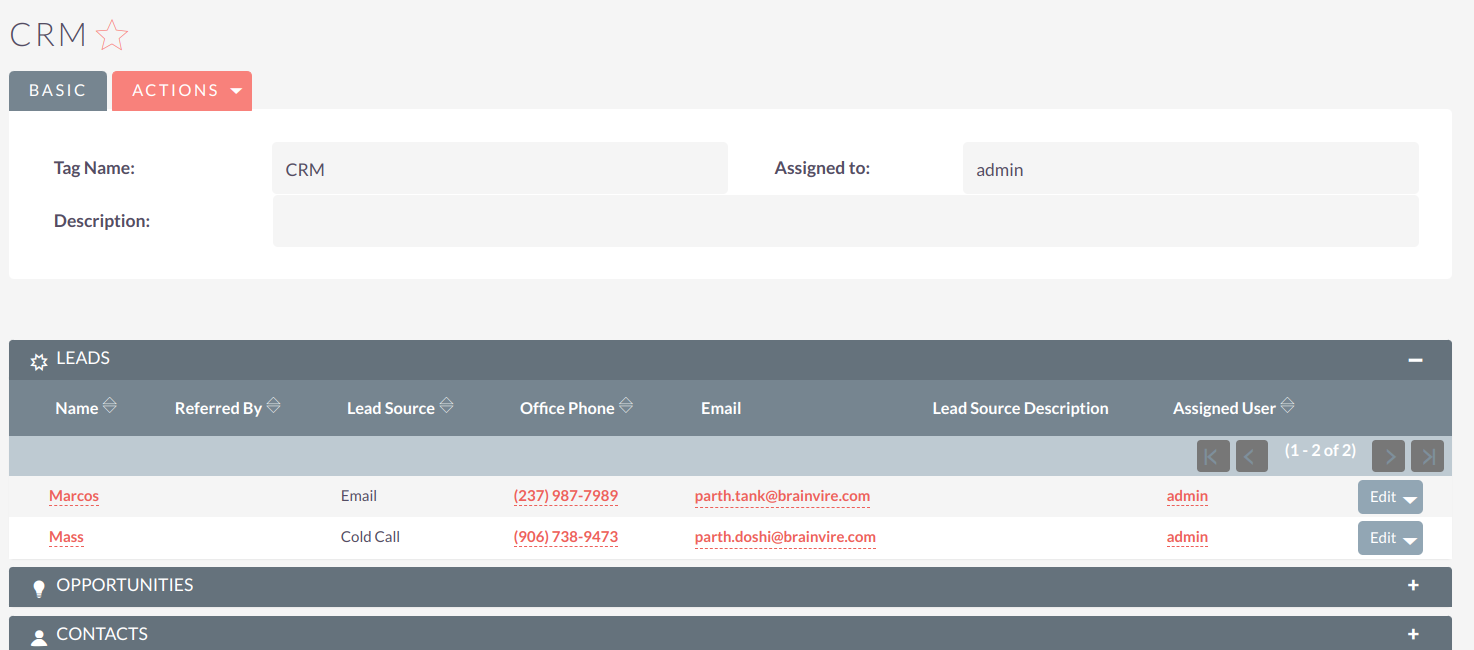
Once Tag is created by the admin in CRM, you can apply it to any record.
Steps to apply Tag for single Record:
1. Go to record detail view on any module(Enabled).
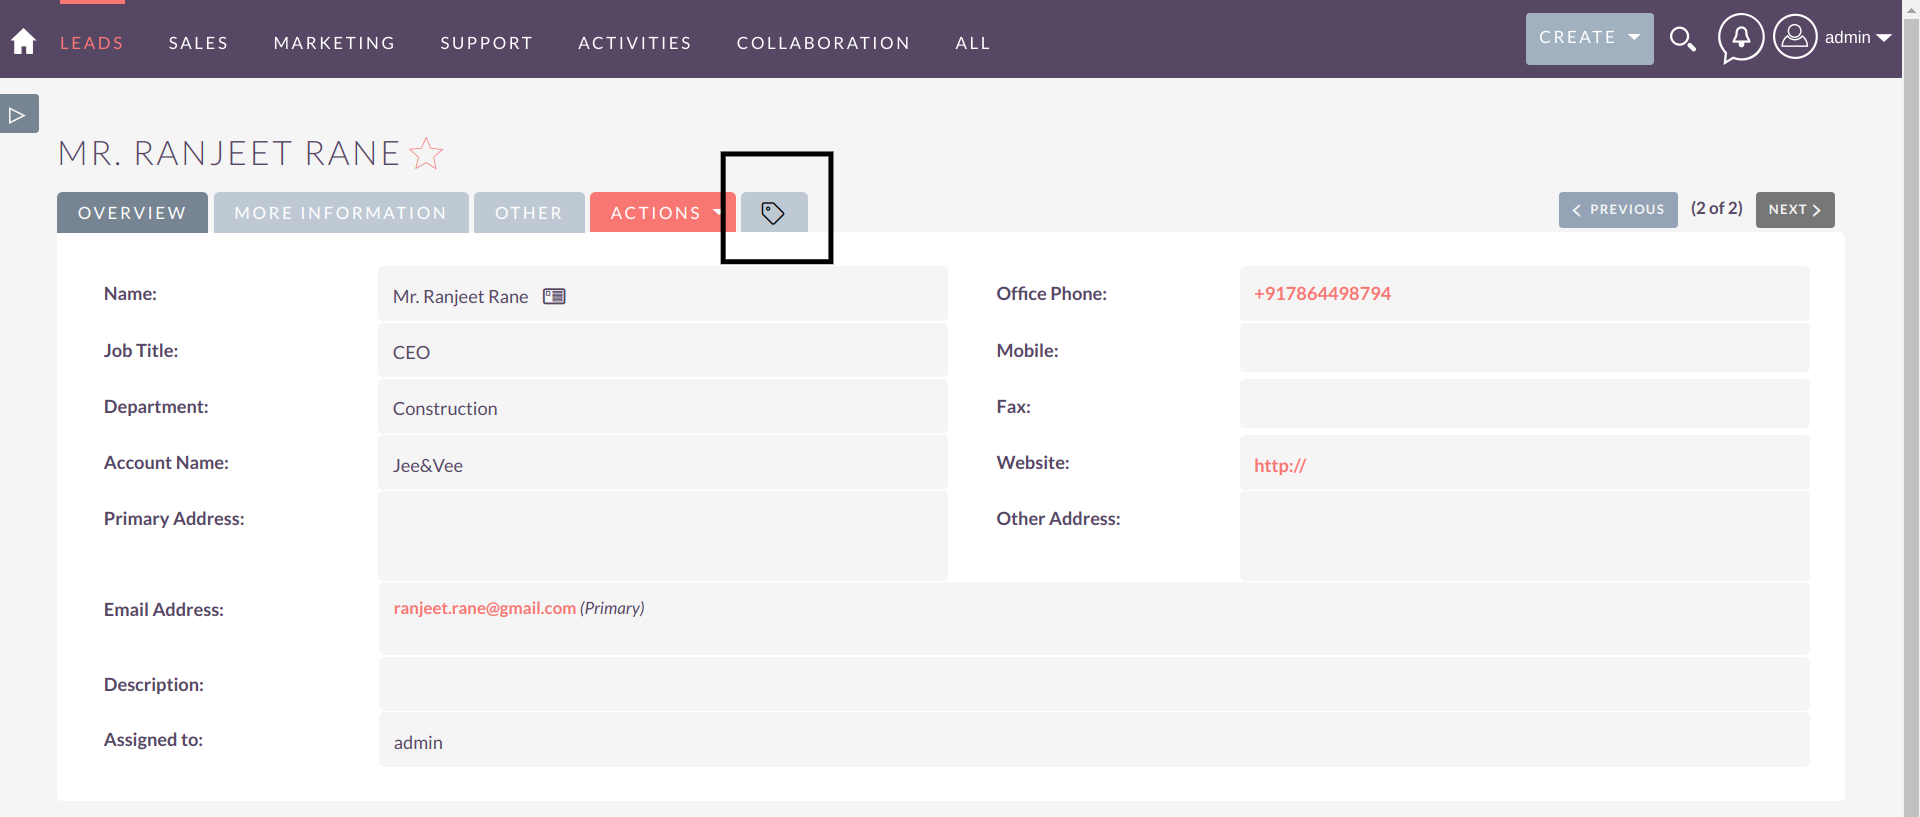
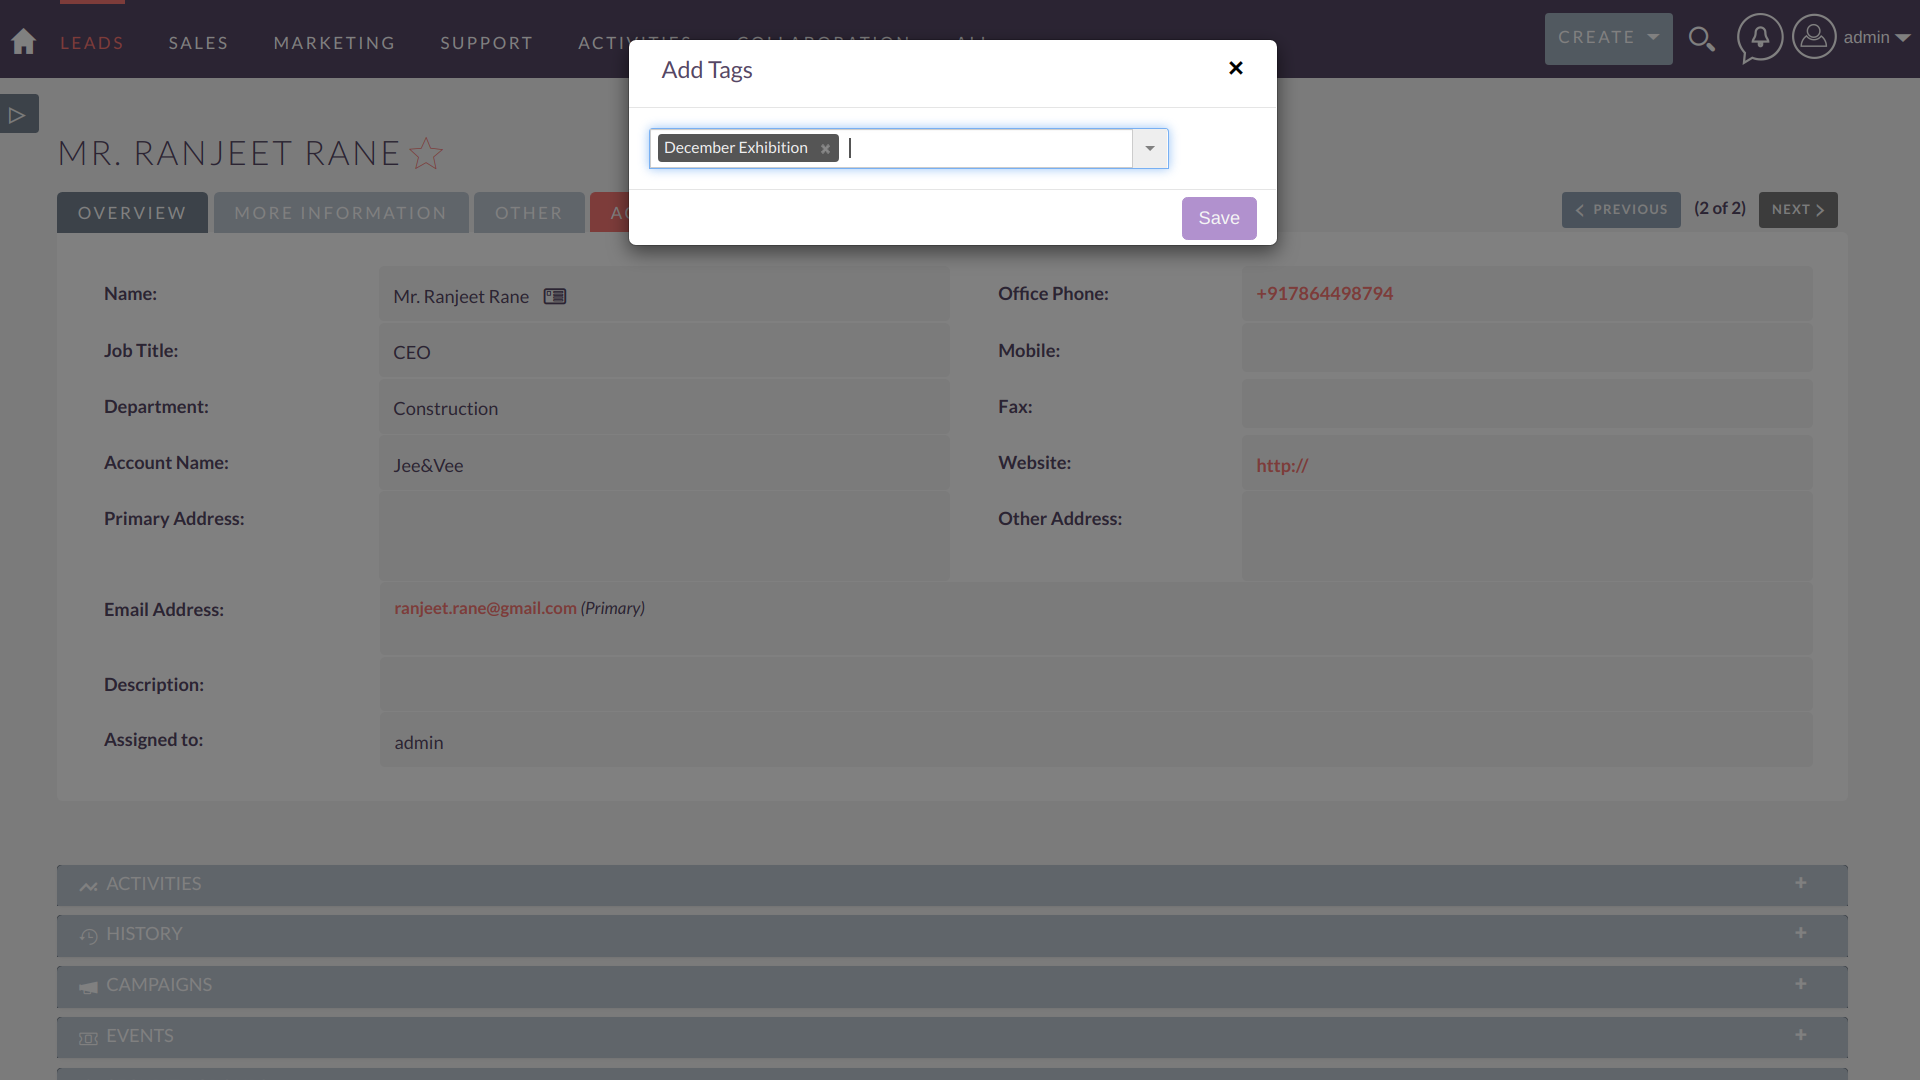
2. Check the tag tab at the top of the page, click on it. It will open an input box where you can search for the tags that are created in CRM.
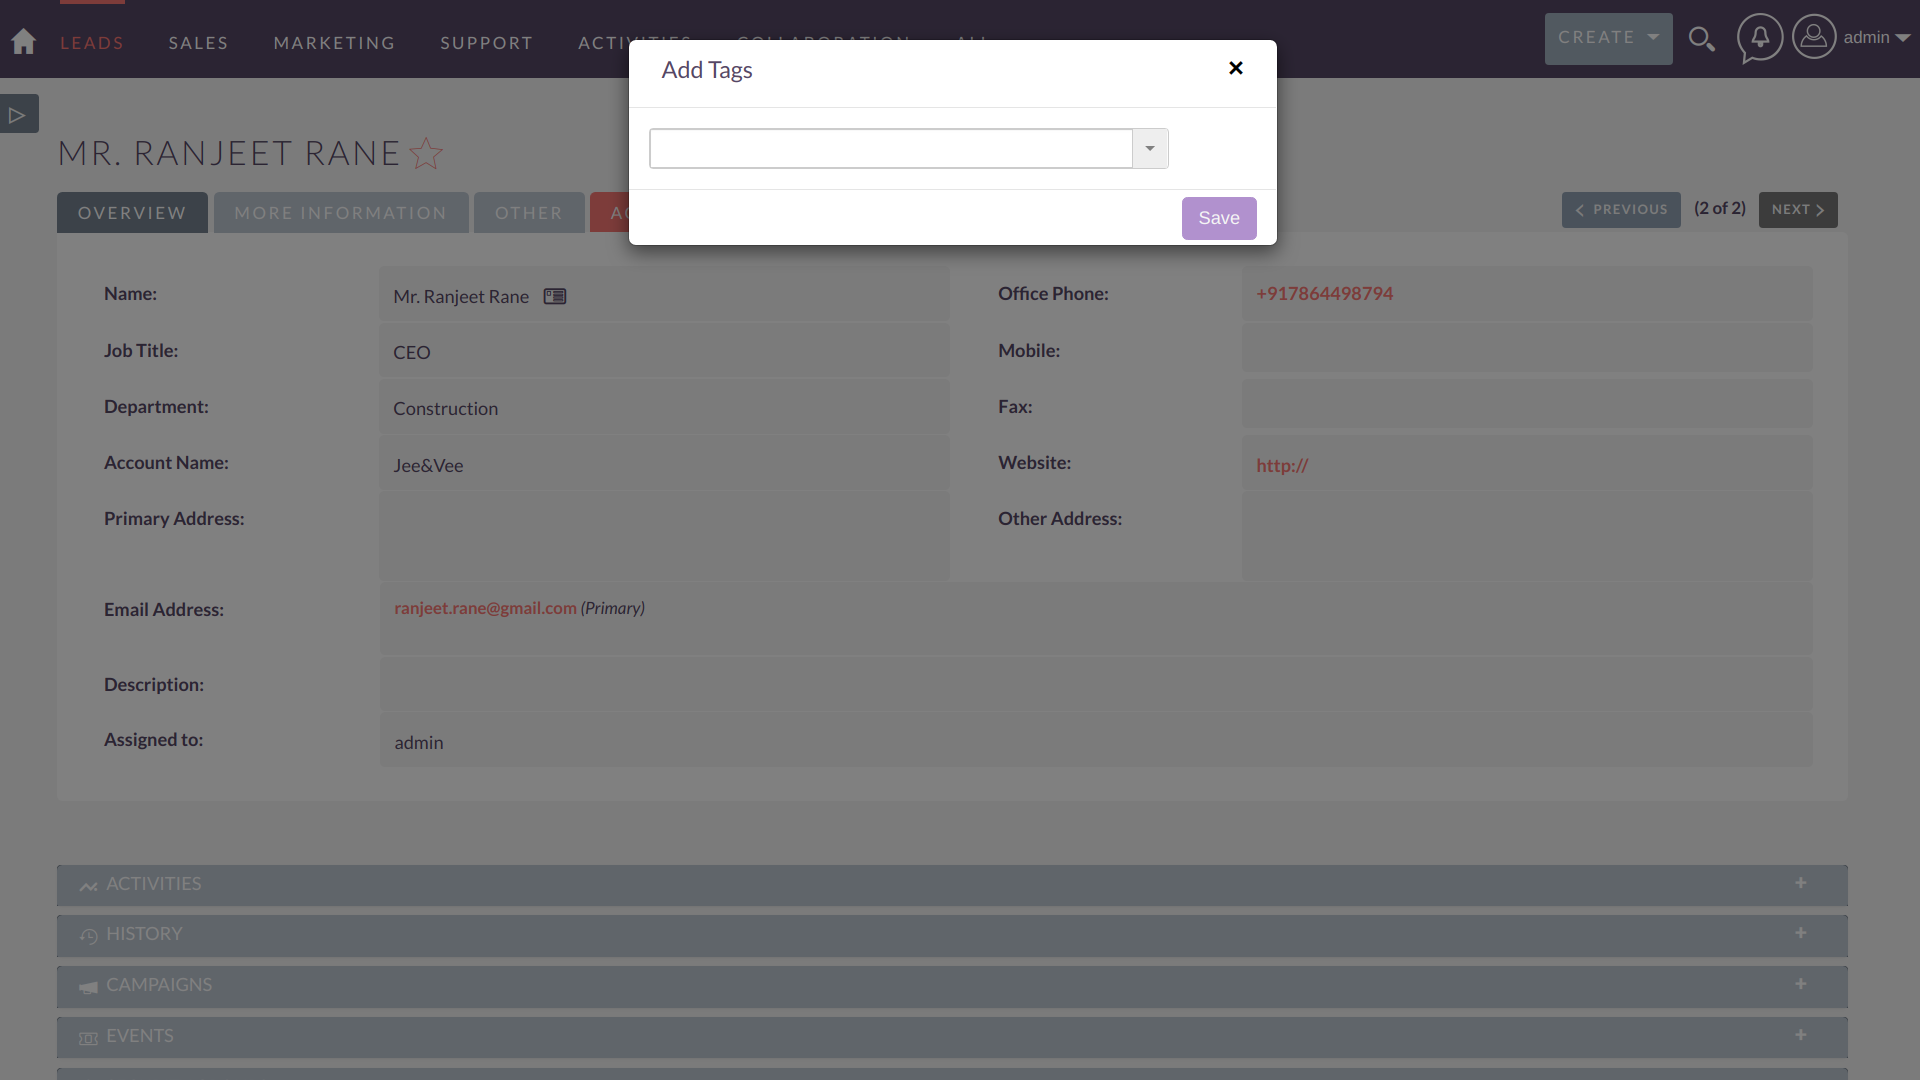
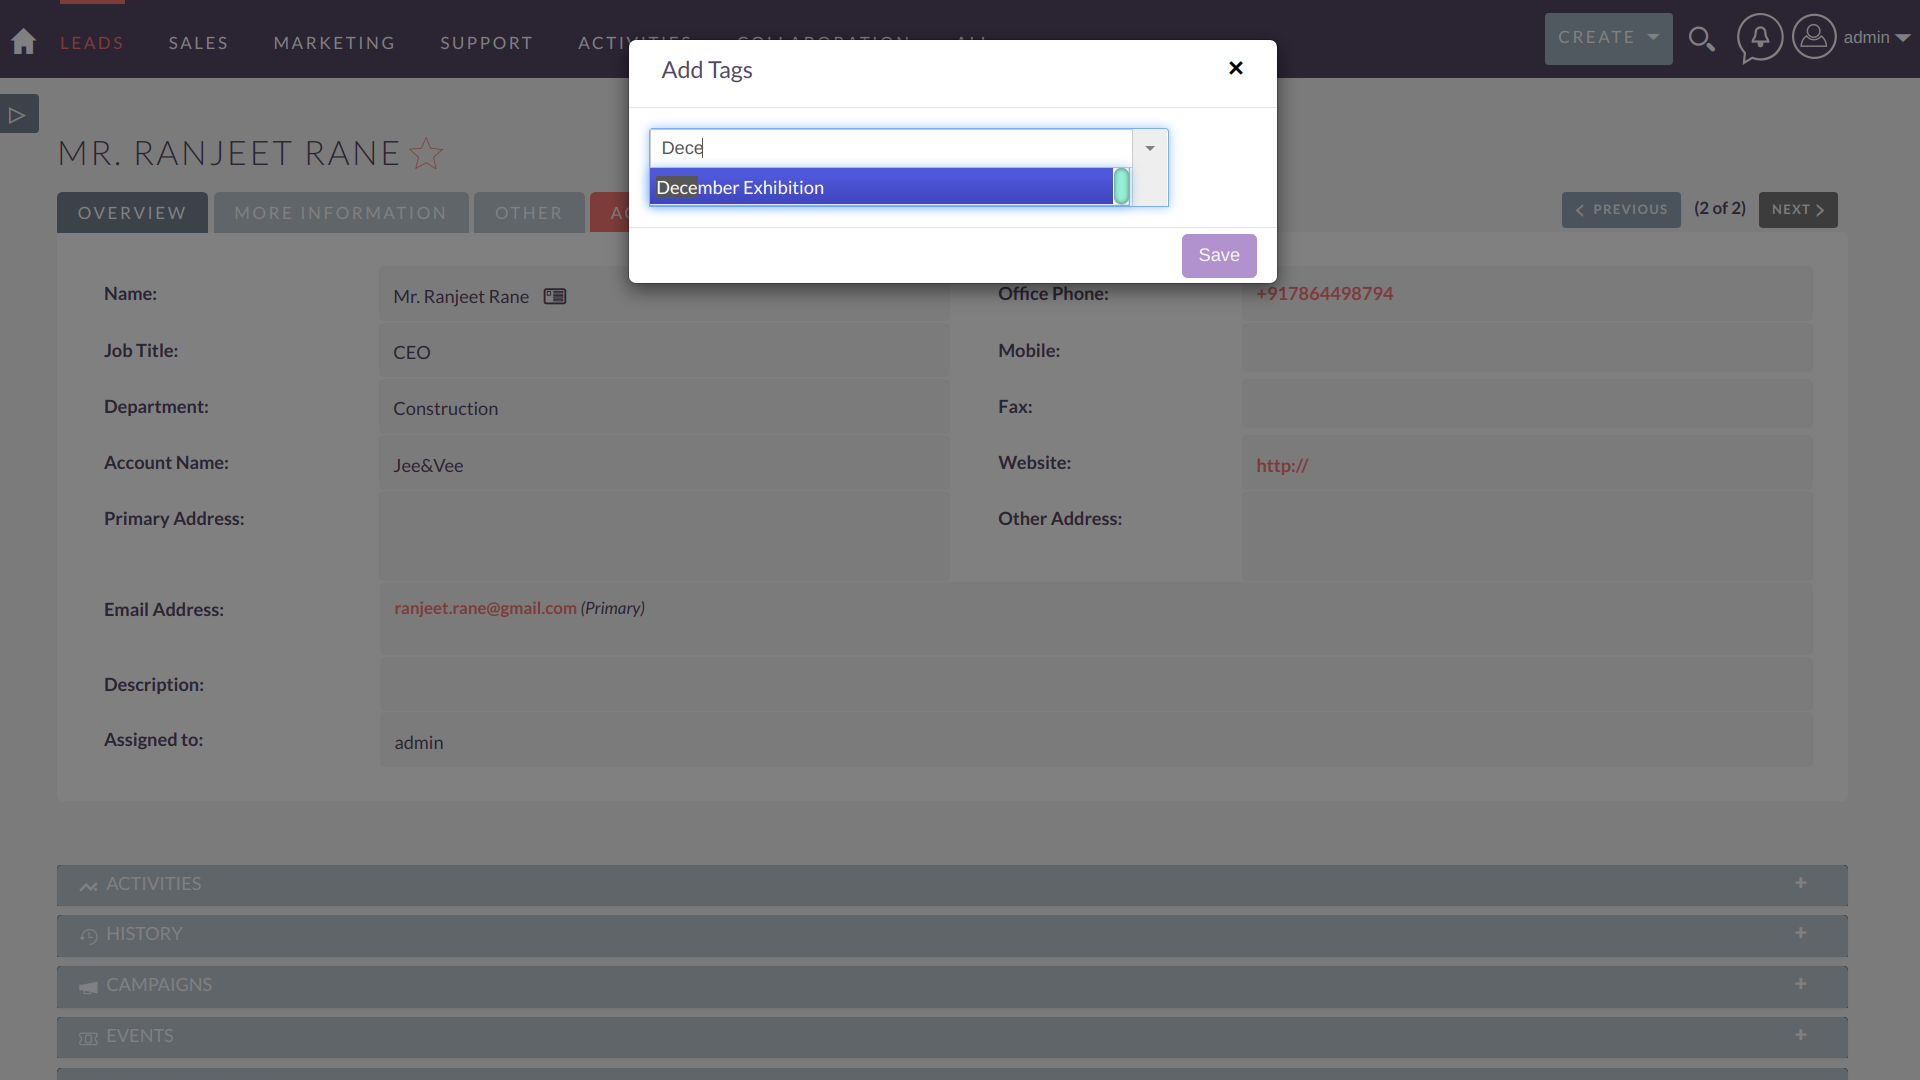
3. Once the tag is selected, it will be applied to the record.
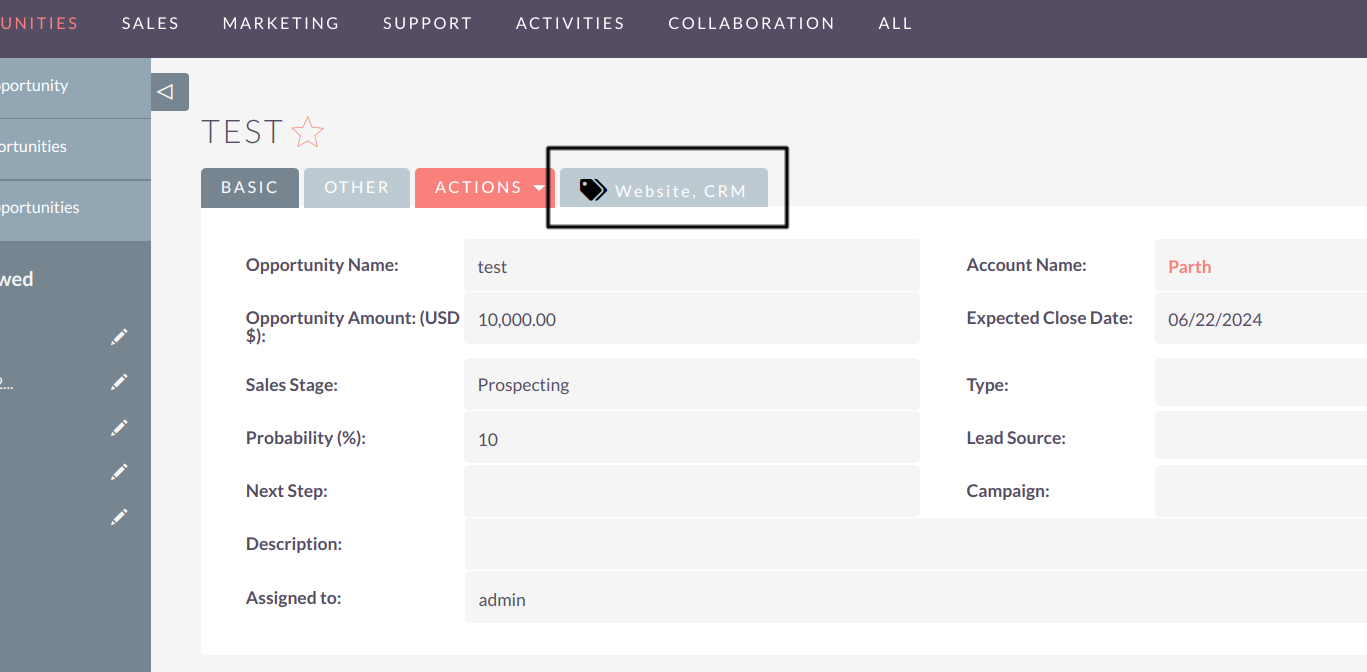
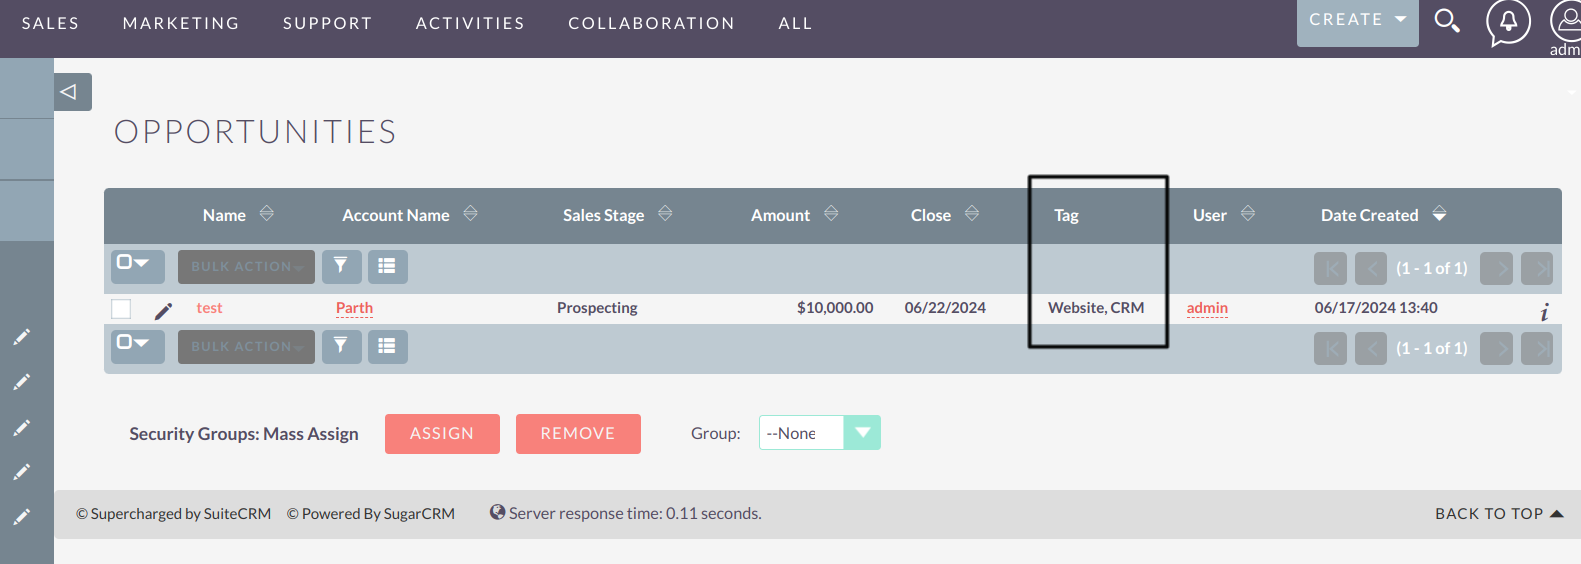
4. Displaying Tags in Record Detail View: Multiple tags are now visible in the record detail view, displayed as a comma-separated list for improved organization and clarity.
5. Displaying Tags in enabled Module List View: Tags can now be displayed in the enabled module's list view section. To enable this feature, drag the tags field from the hidden section to the default settings in the studio.
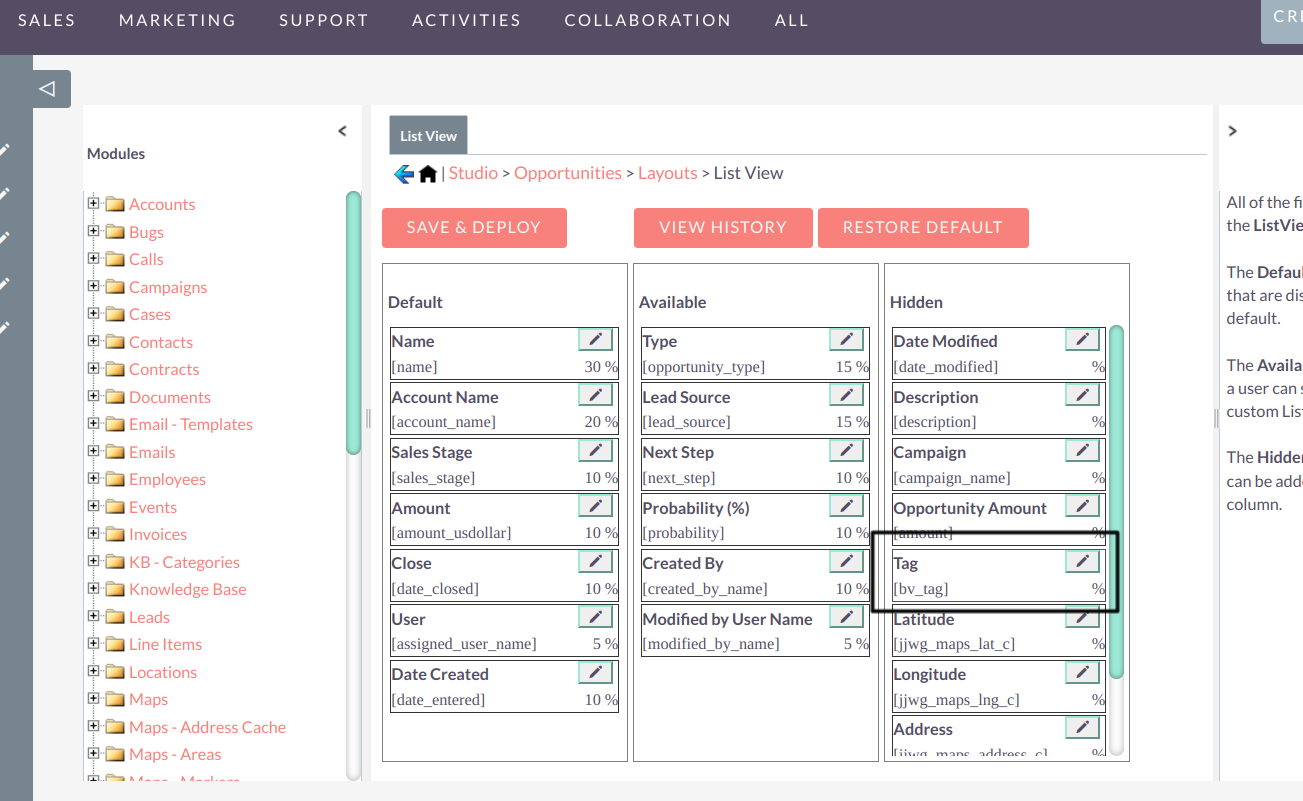
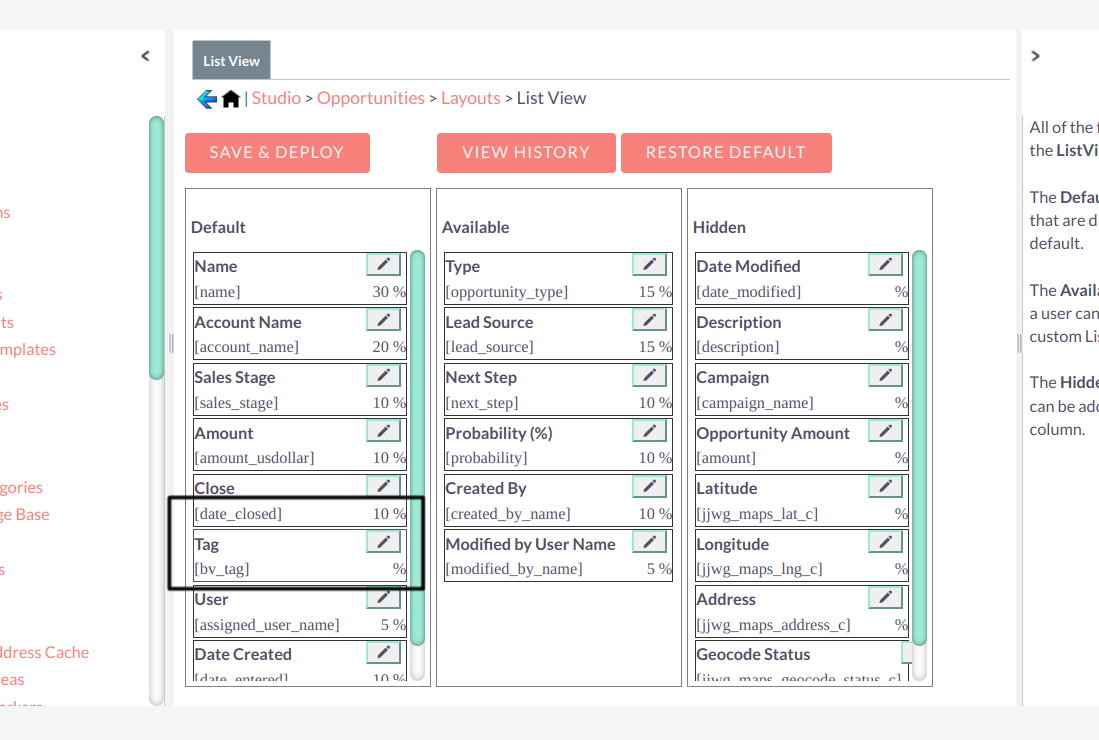
Tags list view
Steps to apply Tag for multiple Record:
1. Go to listview of the module and select the records for which you want to apply the tag
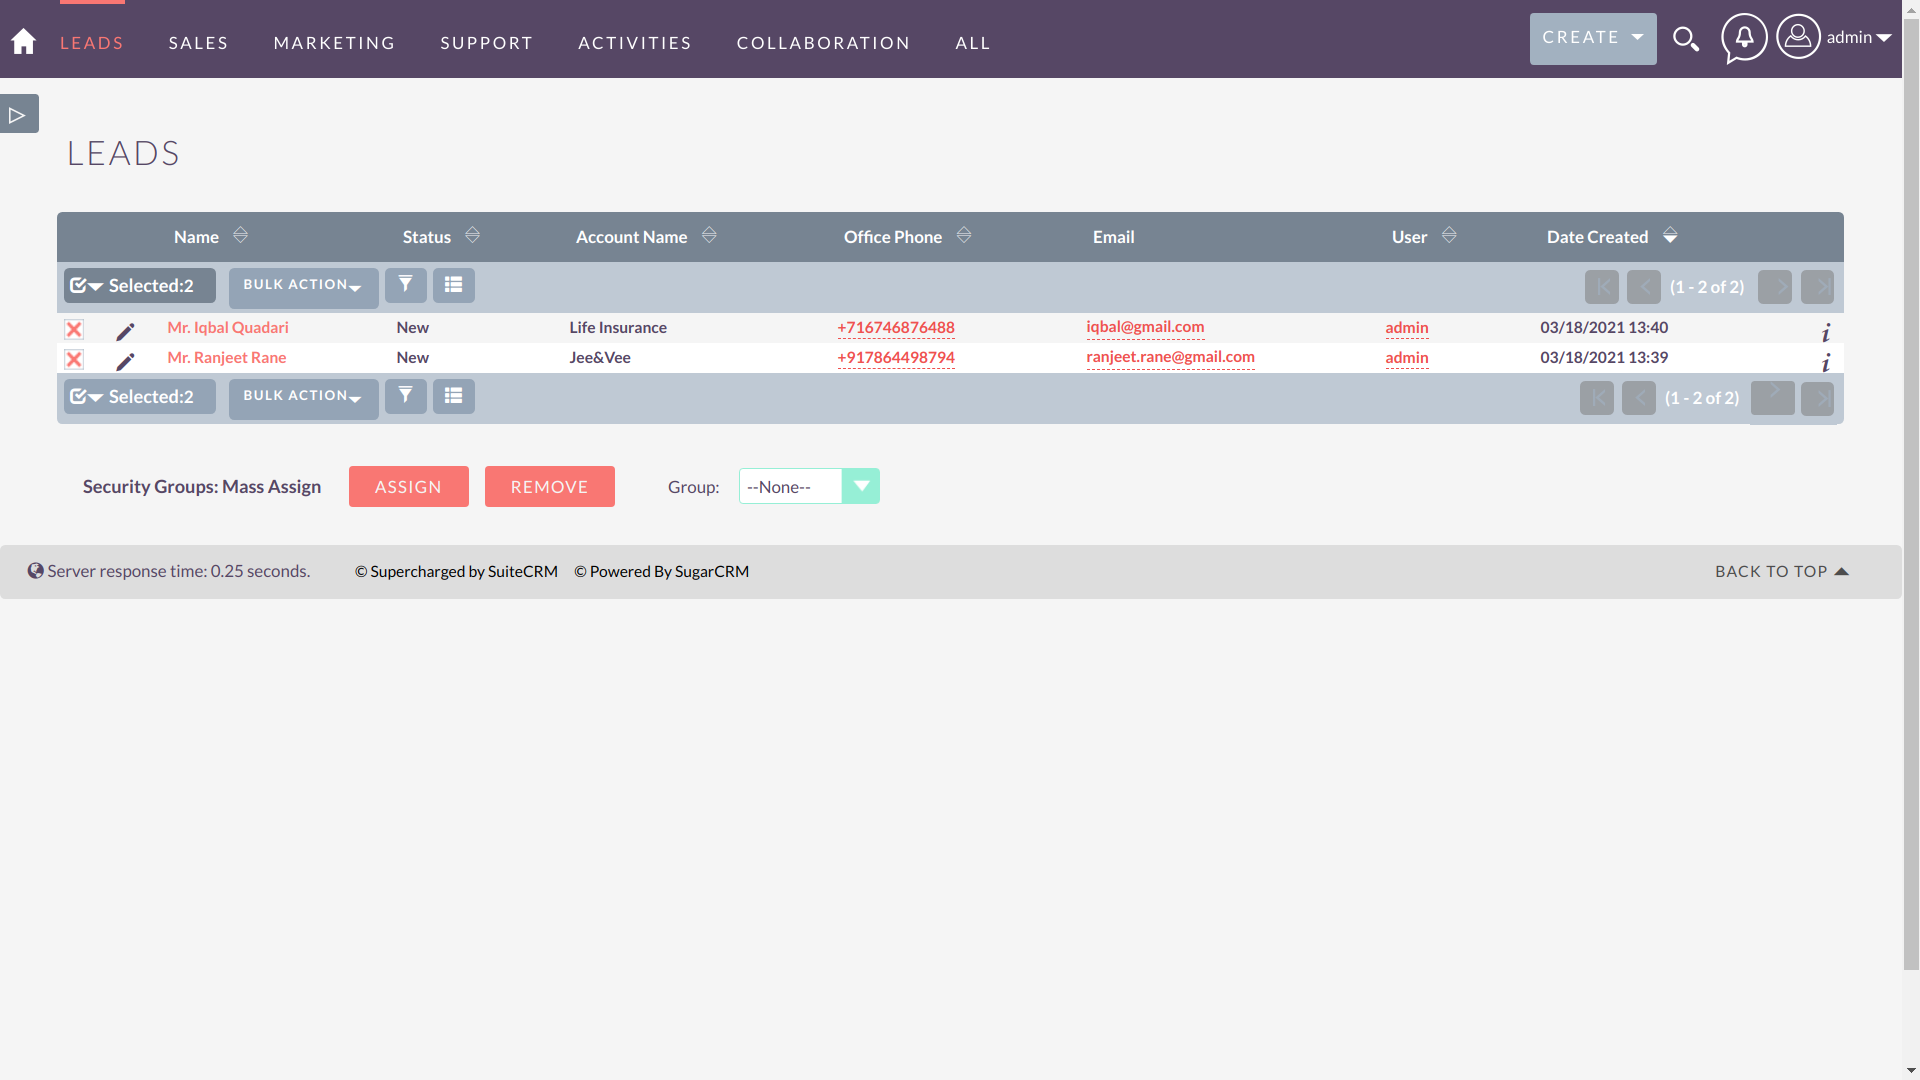
2. Once you select the records from the list view, click on the action button and click on Add tag option
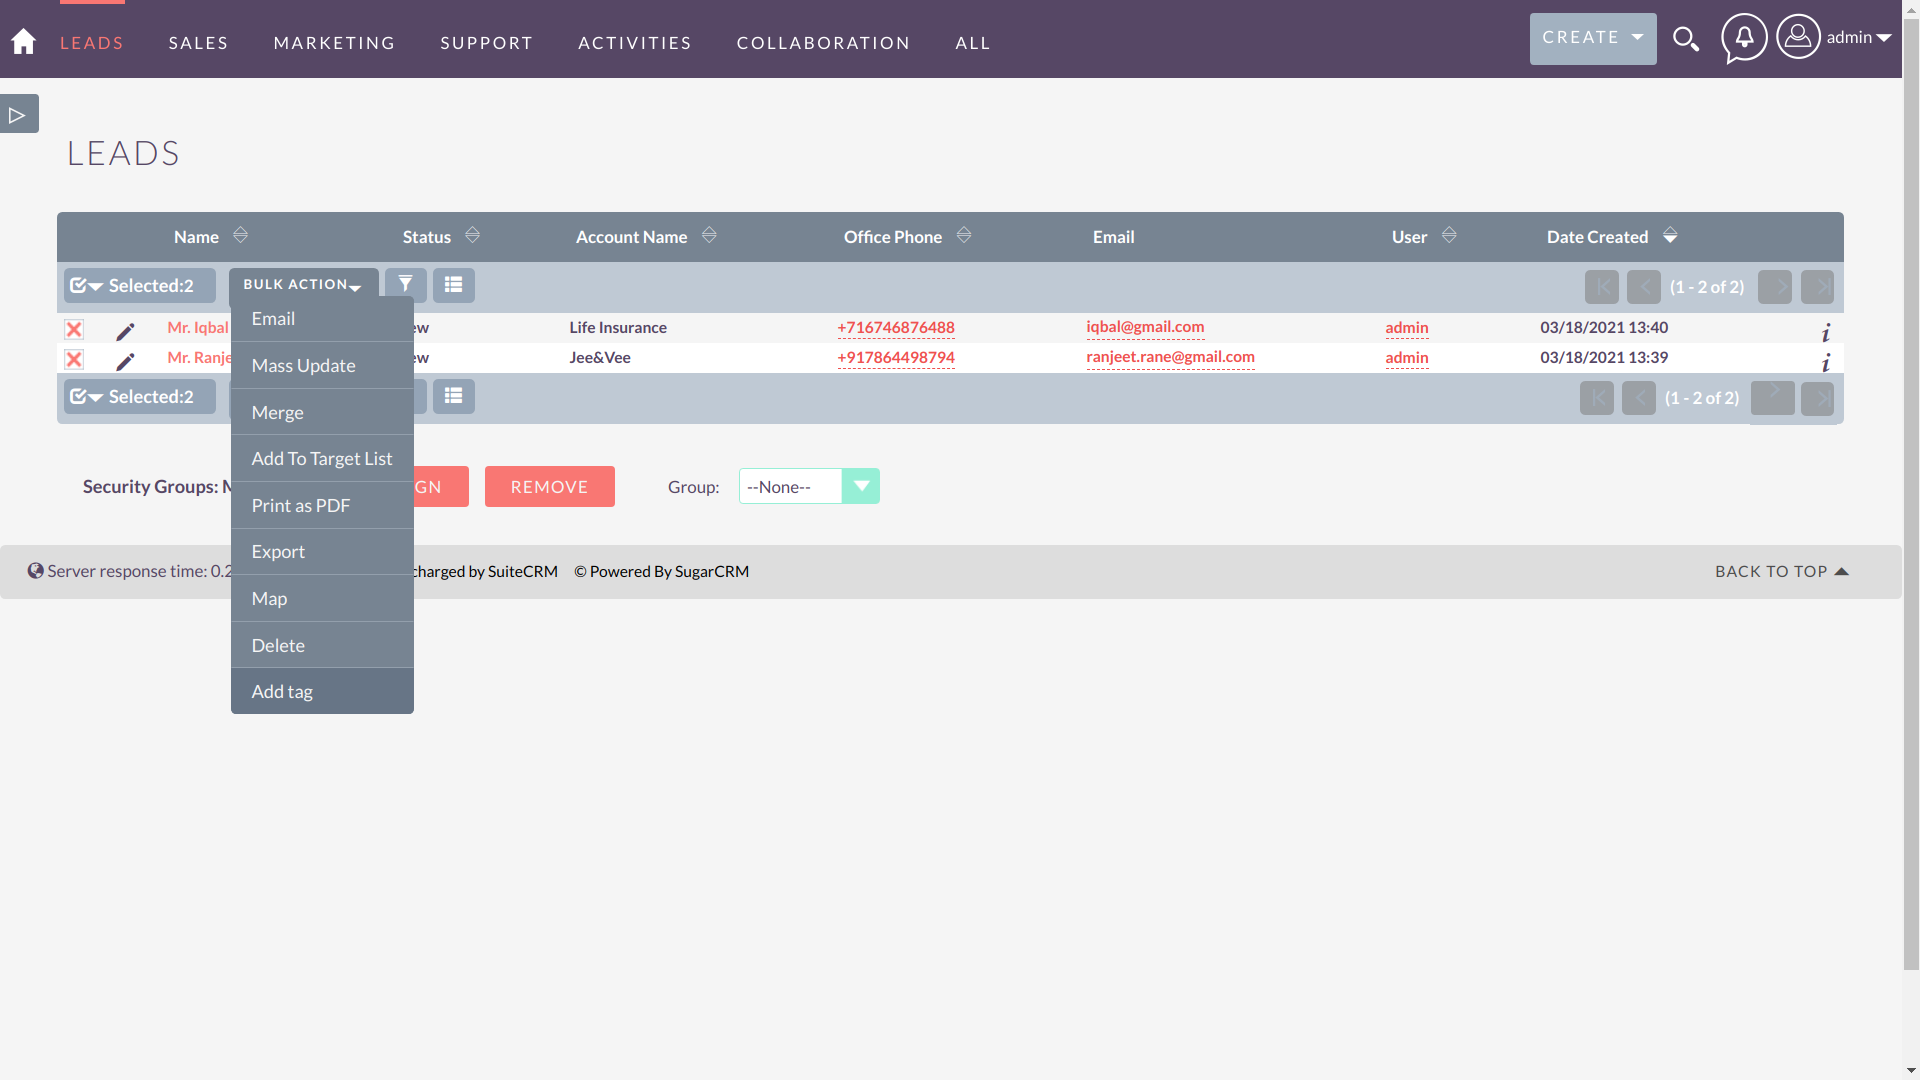
3. After clicking on Add tag, an input box will open where you can search for the tag created in CRM and save it for applying
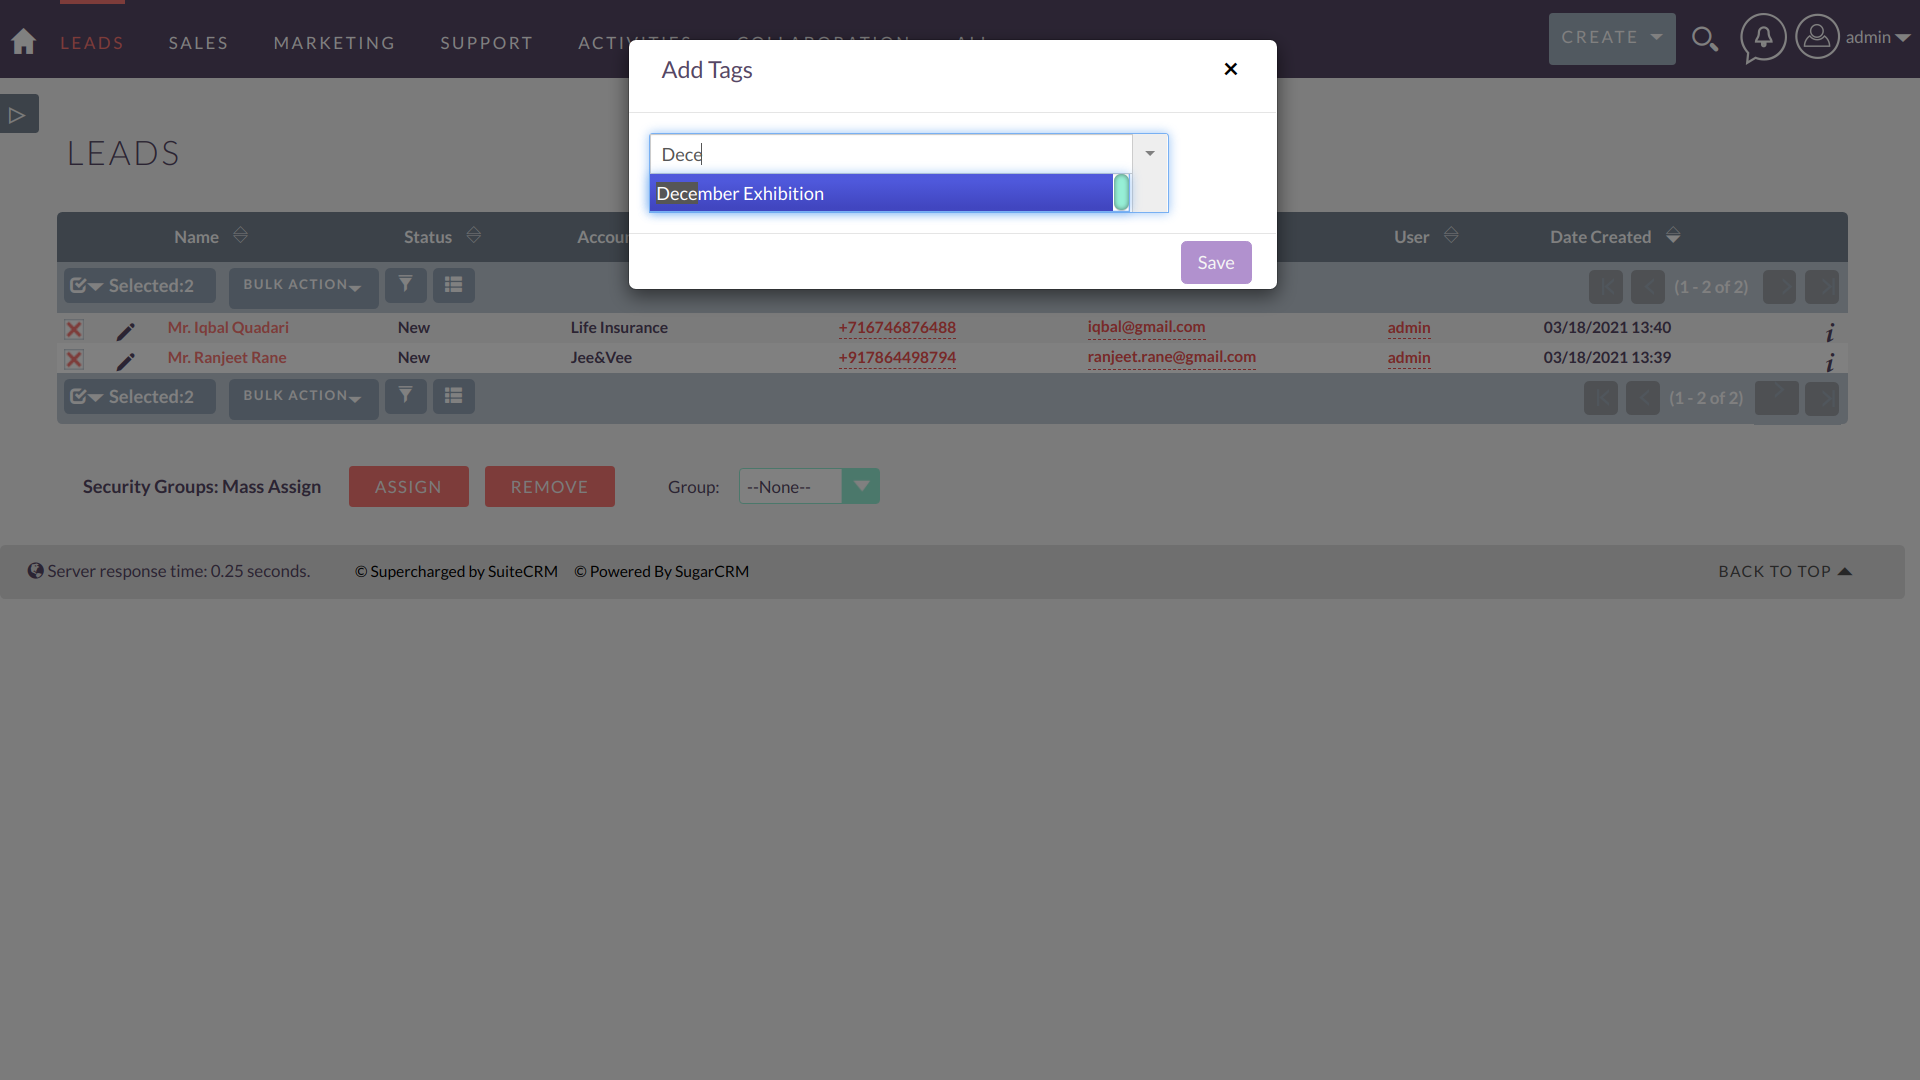
Following the above steps will allow users to apply tags.
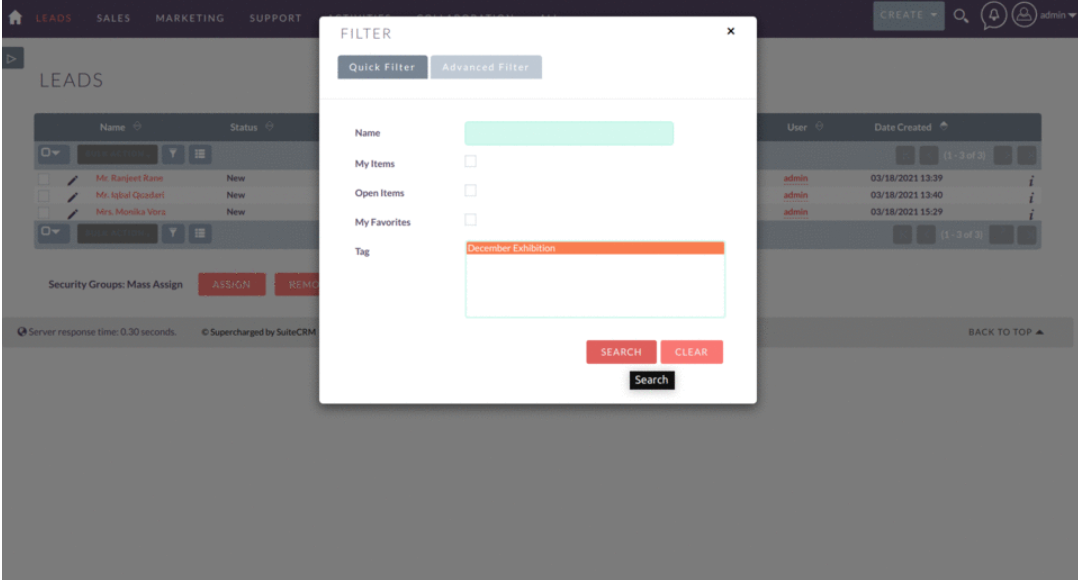
User can also apply the filter of the tag from listview
.gif)
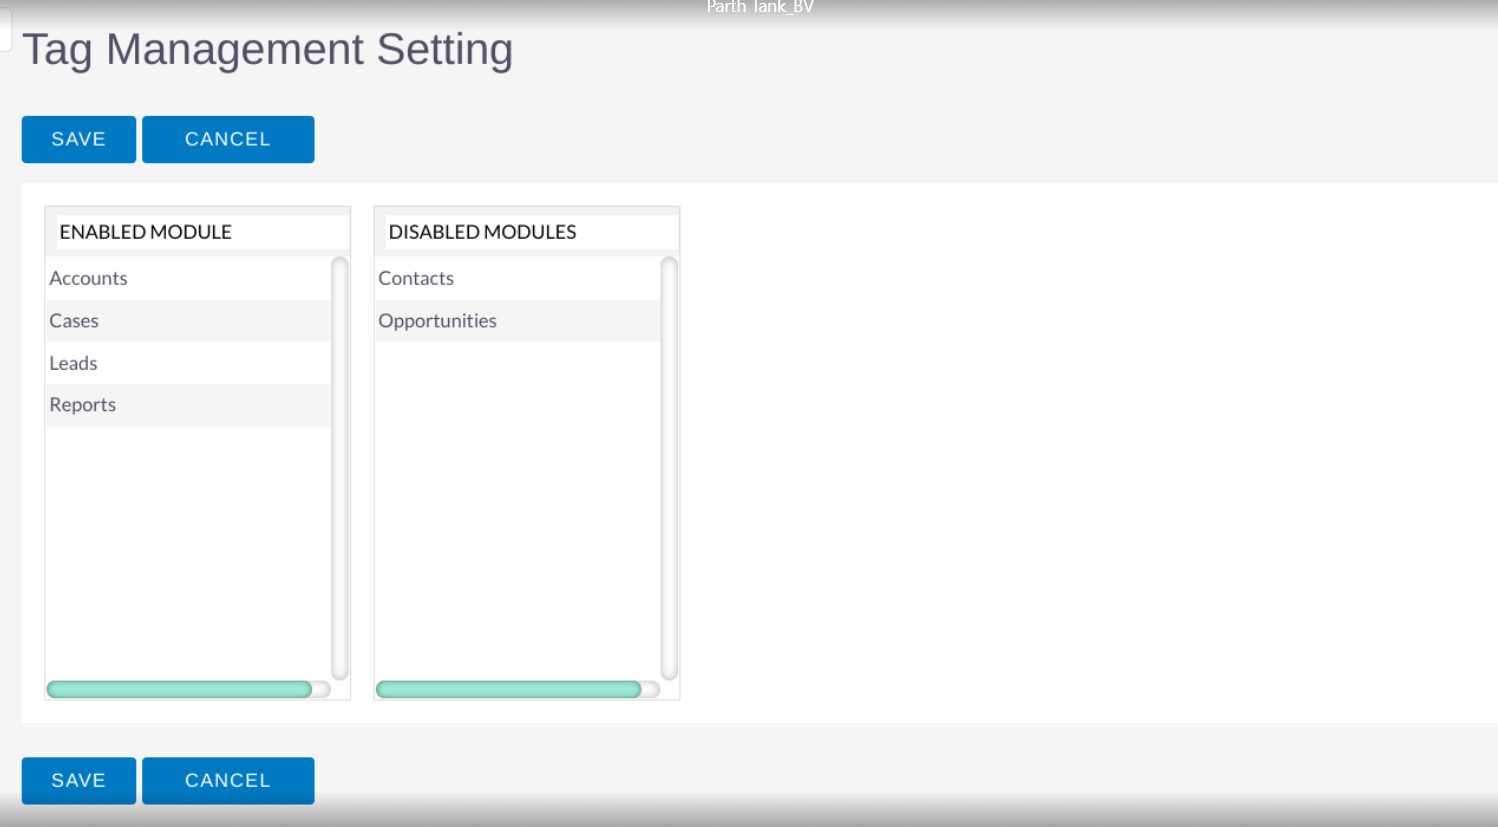
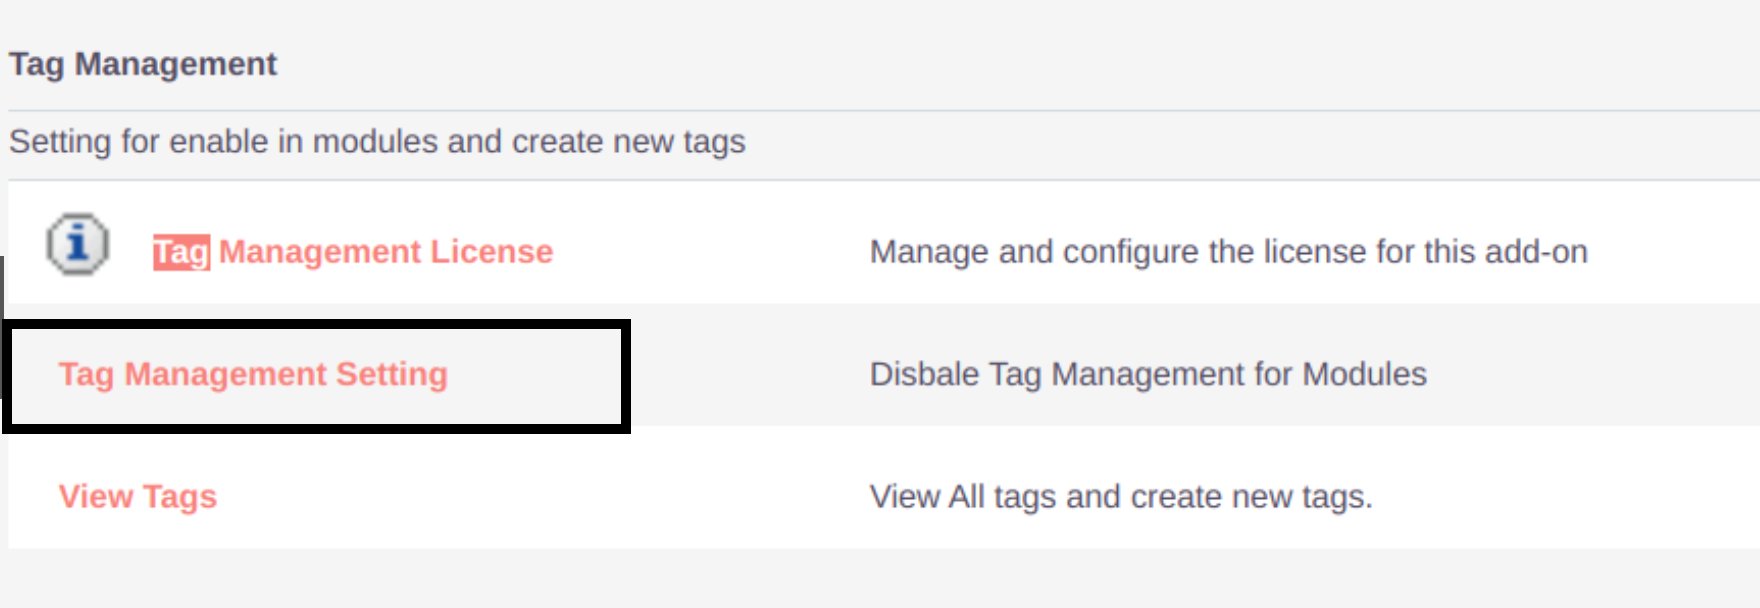
4. Go to Tag Management Settings to enable and disable any module for Add Tag.
5. Change any module by doing drag and drop.
