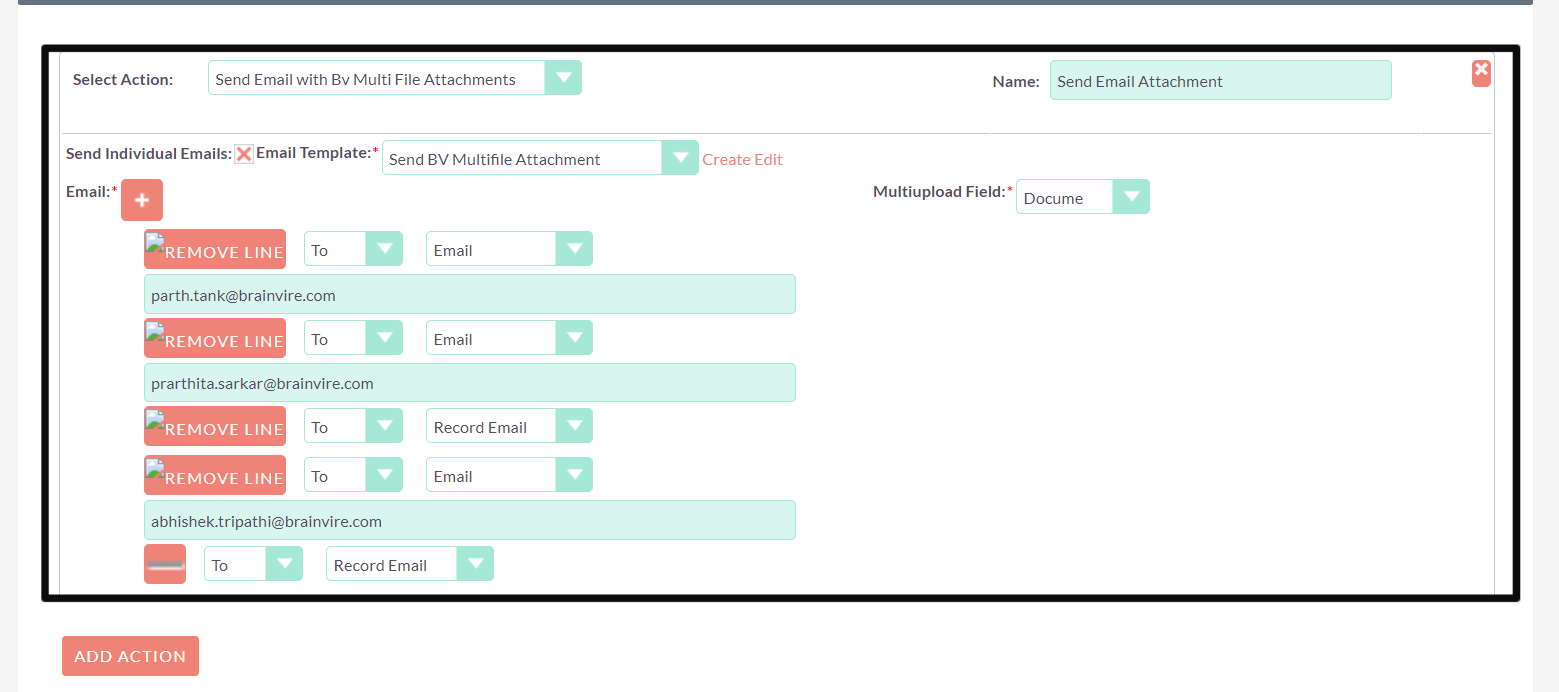
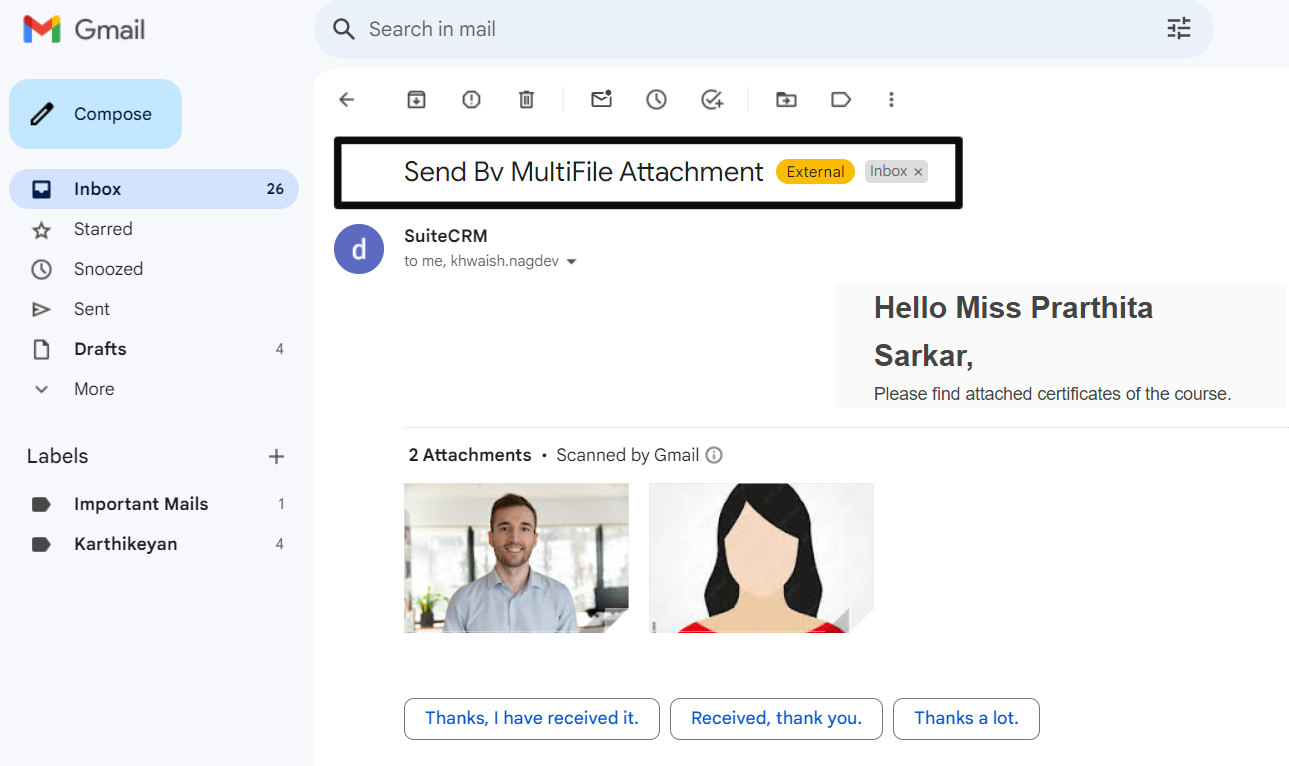
Upload Multiple files of any extension using a single file field. Not only that we can send Email with all the attachments using workflow. One plugin to manage all your files.
User Guide
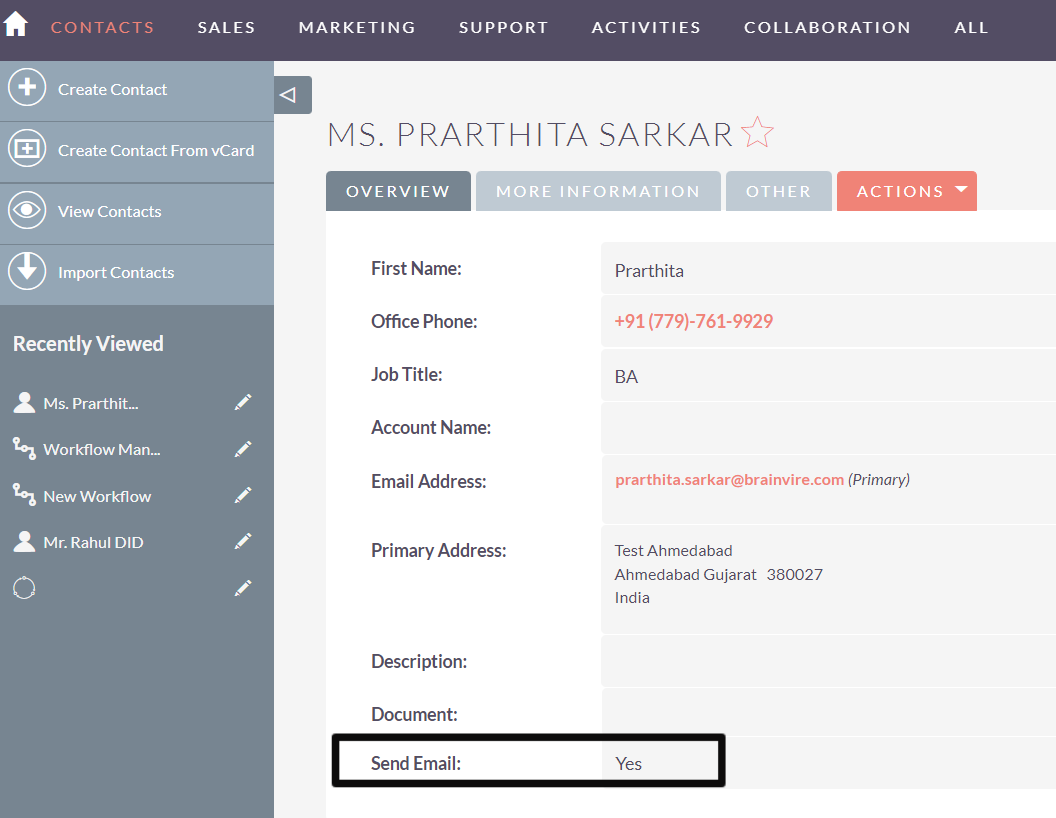
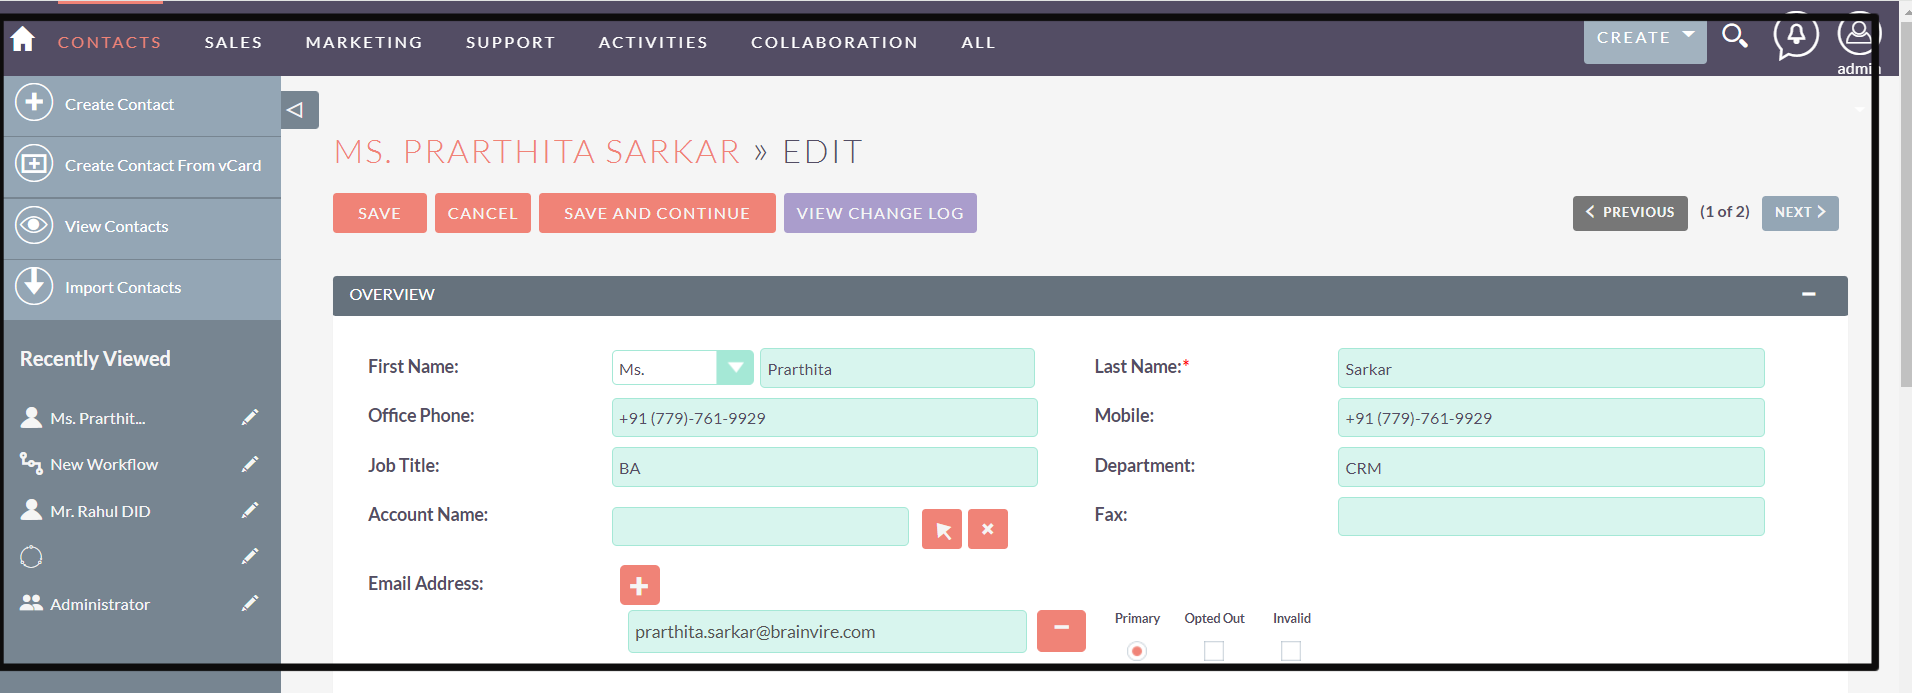
Step 1: Create Contact Details in CRM:
Click on the "Create New Contact" button to create a new contact record. Fill in the relevant details for the contact, such as name, email, phone number, etc. Save the contact record.
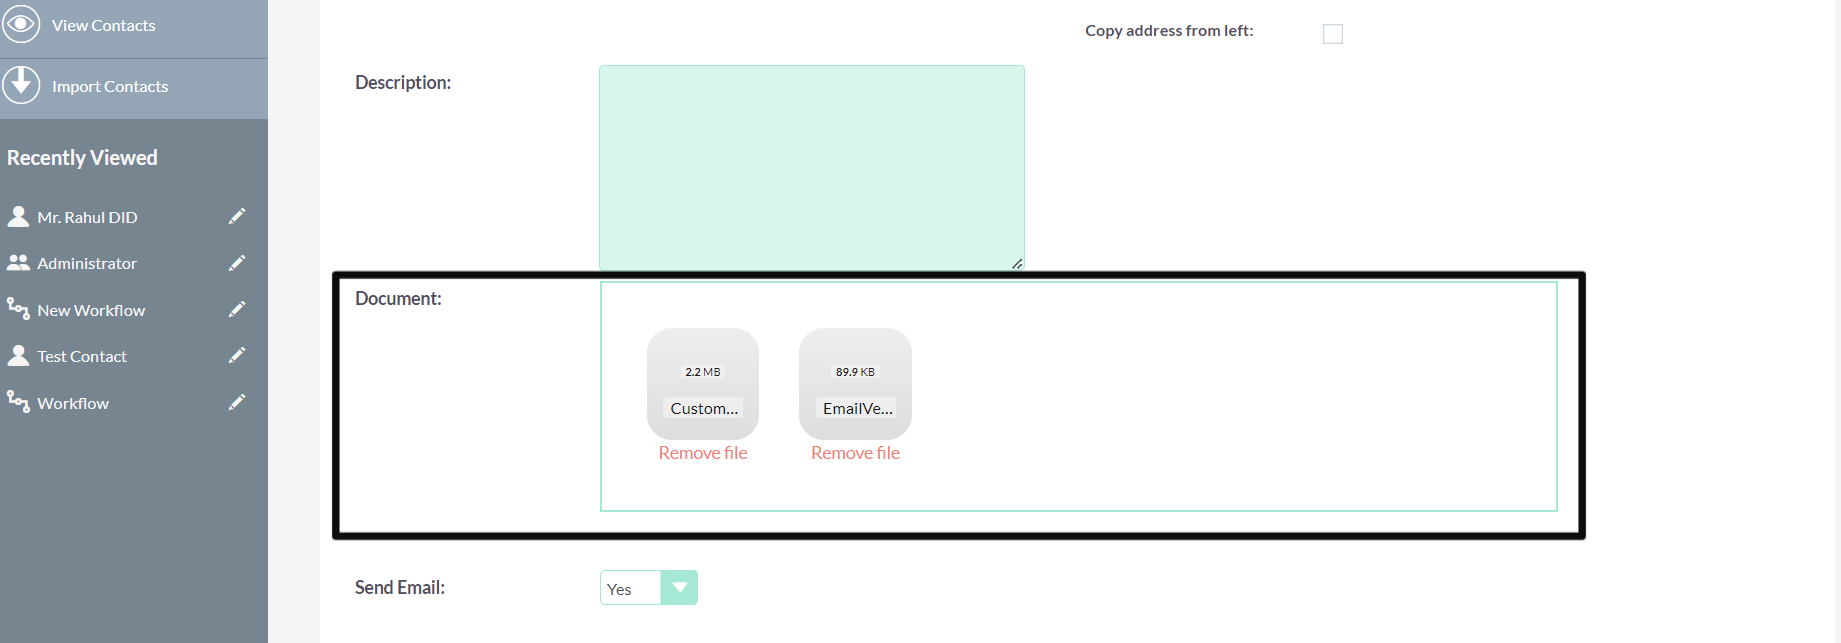
Step 2: Uploading Multiple Files to the Custom Field.
Drag and drop multiple files directly into the custom field, then click on the field to upload files from your computer. Wait for the files to upload successfully. Users may see a progress indicator to track the upload process.
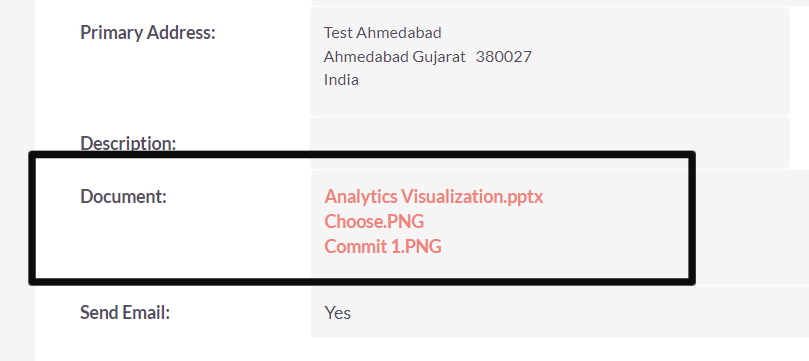
Step 3: Download Uploaded Files.
Click on the file associated with each uploaded file. Upon clicking, the system will redirect you to initiate the download process.
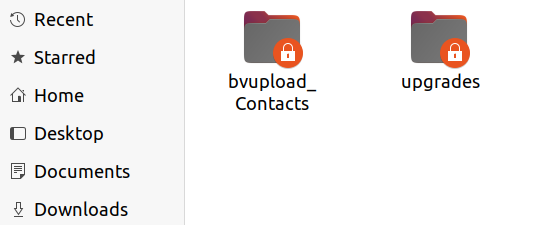
Step: 4: Accessing Uploaded Documents in CRM's Upload Folder.
Once you have uploaded the documents, navigate to your CRM's upload folder. All the uploaded files will show in that folder under record id and field name.

