Upload Multiple files of any extension using a single file field. Not only that we can send Email with all the attachments using workflow. One plugin to manage all your files.
CRM file management made easy
The BV Multifile add-on is a powerful extension for your SuiteCRM system, designed to enhance your document management capabilities across all modules, including custom ones. With this add-on, users gain the ability to seamlessly add, drag and drop, and upload multiple files directly within the CRM interface.
Key Features
1. Multi-File Upload: Users can upload multiple files simultaneously, streamlining the process of adding documents to CRM records.
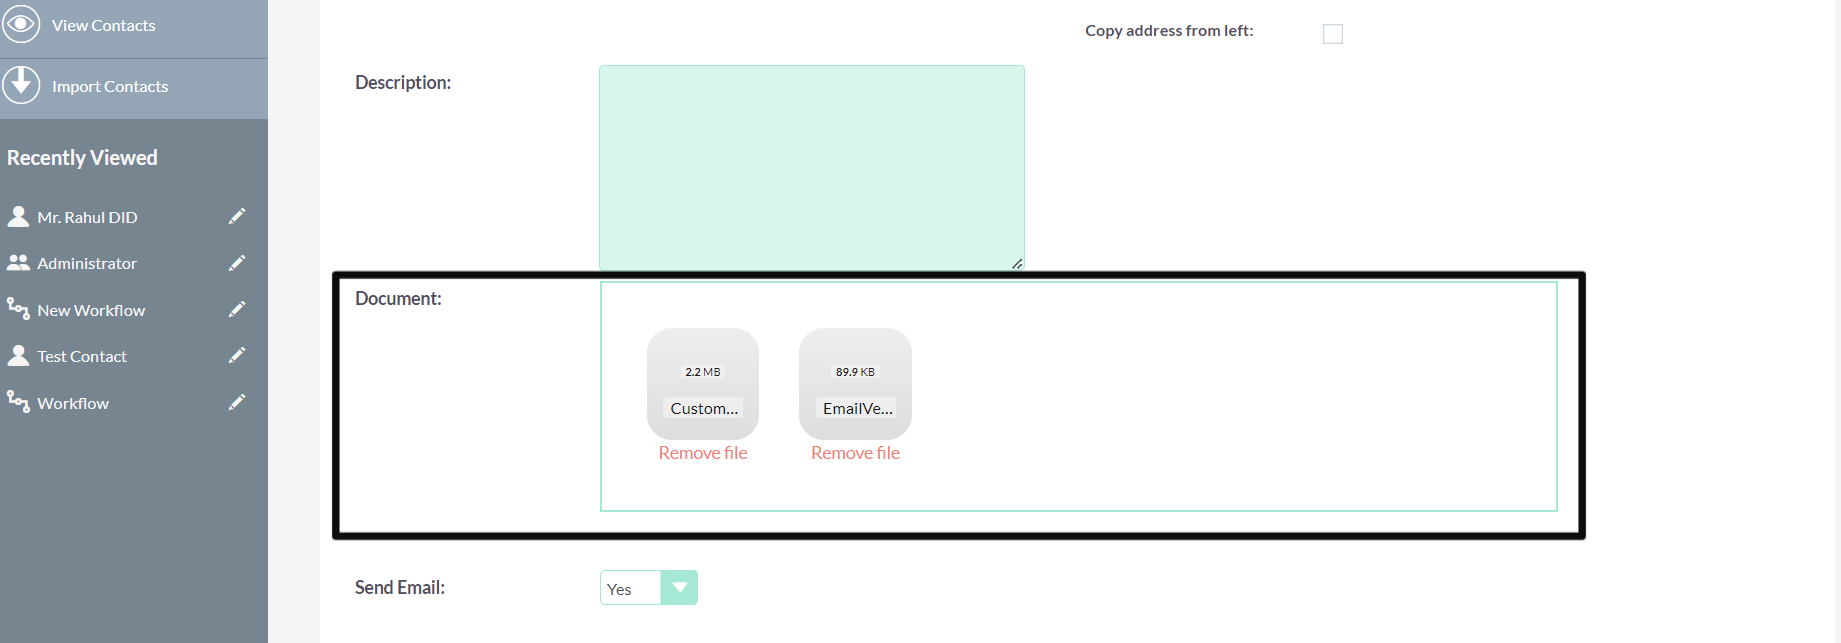
2. Drag and Drop Functionality: The add-on enables users to simply drag and drop files from their computer directly into the CRM, making it incredibly intuitive and efficient.
3. Compatibility with All Modules: BV Multifile works seamlessly with all modules within your CRM system, including custom modules, ensuring that users can manage documents across various aspects of their business operations.
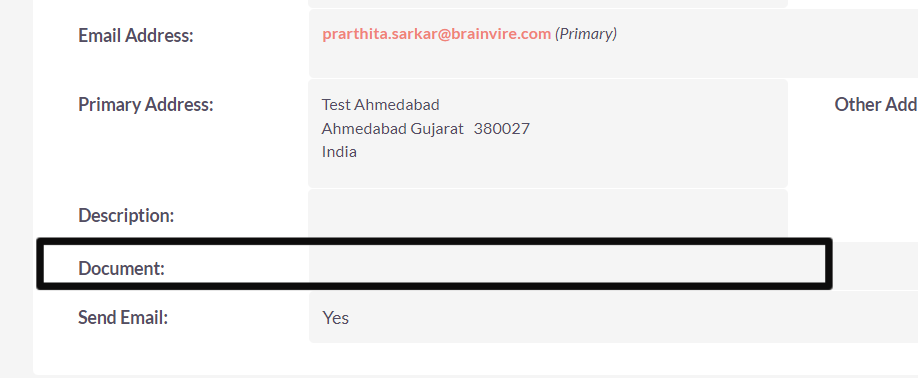
4. Comprehensive Record-Keeping: By allowing users to upload and associate files with specific contacts, leads, or accounts, the add-on facilitates comprehensive record-keeping, ensuring that all relevant documents and data are easily accessible and organized within the CRM.
5. Automatic File Removal Scheduler: Users can set a specific time period after which uploaded files will be automatically removed. The scheduler operates automatically, eliminating the need for manual intervention. Once configured, users can rely on the system to remove files according to the specified schedule.
6. Custom Workflow- Sending Emails to Recipients: BV Multifile add-on allows users to seamlessly send emails to other recipients for sharing files stored within the CRM system. This feature enhances collaboration and communication by facilitating the sharing of documents with external stakeholders via email.
7. File Management Functionality: It enables users to upload, remove, and download files as needed, while also providing visibility into file sizes for efficient document management.
8. Improved Collaboration: The ability to upload, download, and remove files facilitates collaboration and ensures that users have access to the documents they need, whether they are working within the CRM system or offline.
How it Works
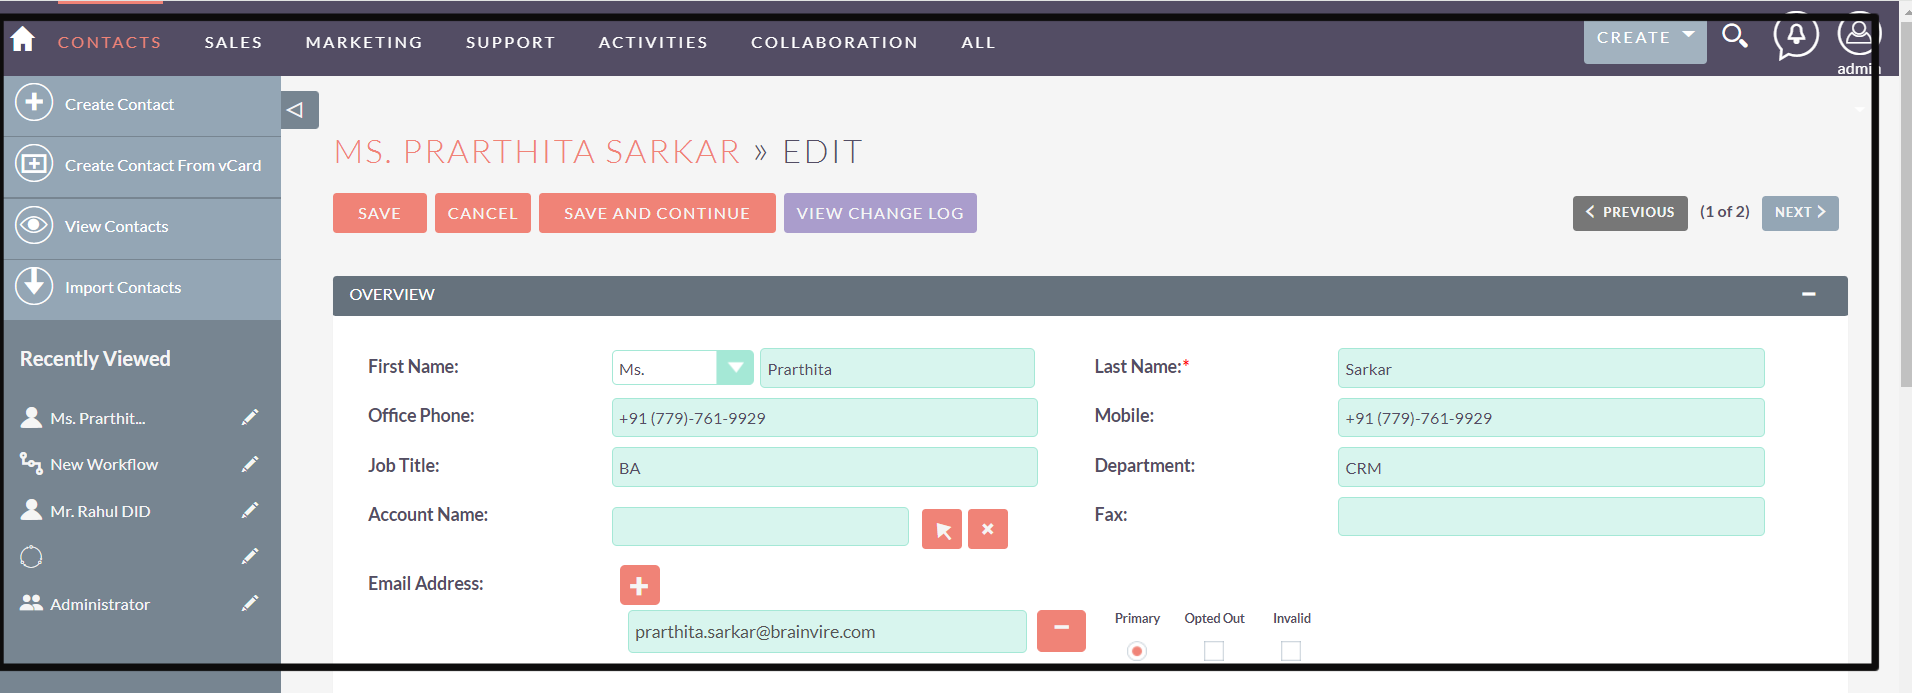
Create Contact Details in CRM
Click on the "Create New Contact" button to create a new contact record. Fill in the relevant details for the contact, such as name, email, phone number, etc. Save the contact record.
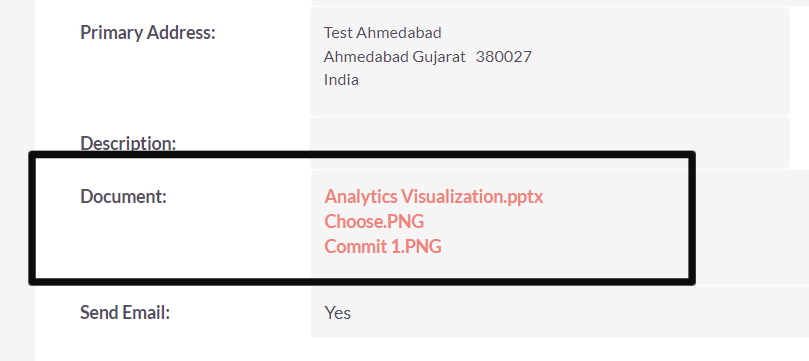
Uploading Multiple Files to the Custom Field
Drag and drop multiple files directly into the custom field, then click on the field to upload files from your computer. Wait for the files to upload successfully. Users may see a progress indicator to track the upload process.
Download Uploaded Files
Click on the file associated with each uploaded file. Upon clicking, the system will redirect you to initiate the download process.
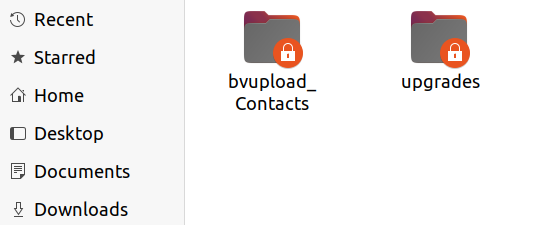
Accessing Uploaded Documents in CRM's Upload Folder
Once you have uploaded the documents, navigate to your CRM's upload folder. All the uploaded files will show in that folder under record id and field name.

Set Scheduler for Automatic File Removal
Users can specify the time frame when users want the files to be automatically deleted from both the Contact Module and the CRM's storage. This feature aids in the efficient management of storage space by automatically removing files after a specified period, thus ensuring that outdated or unnecessary files do not clutter the system.
For instance, 1 hour of time frame has been updated for lifetime timeframe. Once 1 hour is crossed, the files automatically will be automatically deleted from the Contact.
As you can see, the files were removed once we reached the time duration as per the set scheduler.
Customize Workflow Action for Email Sharing
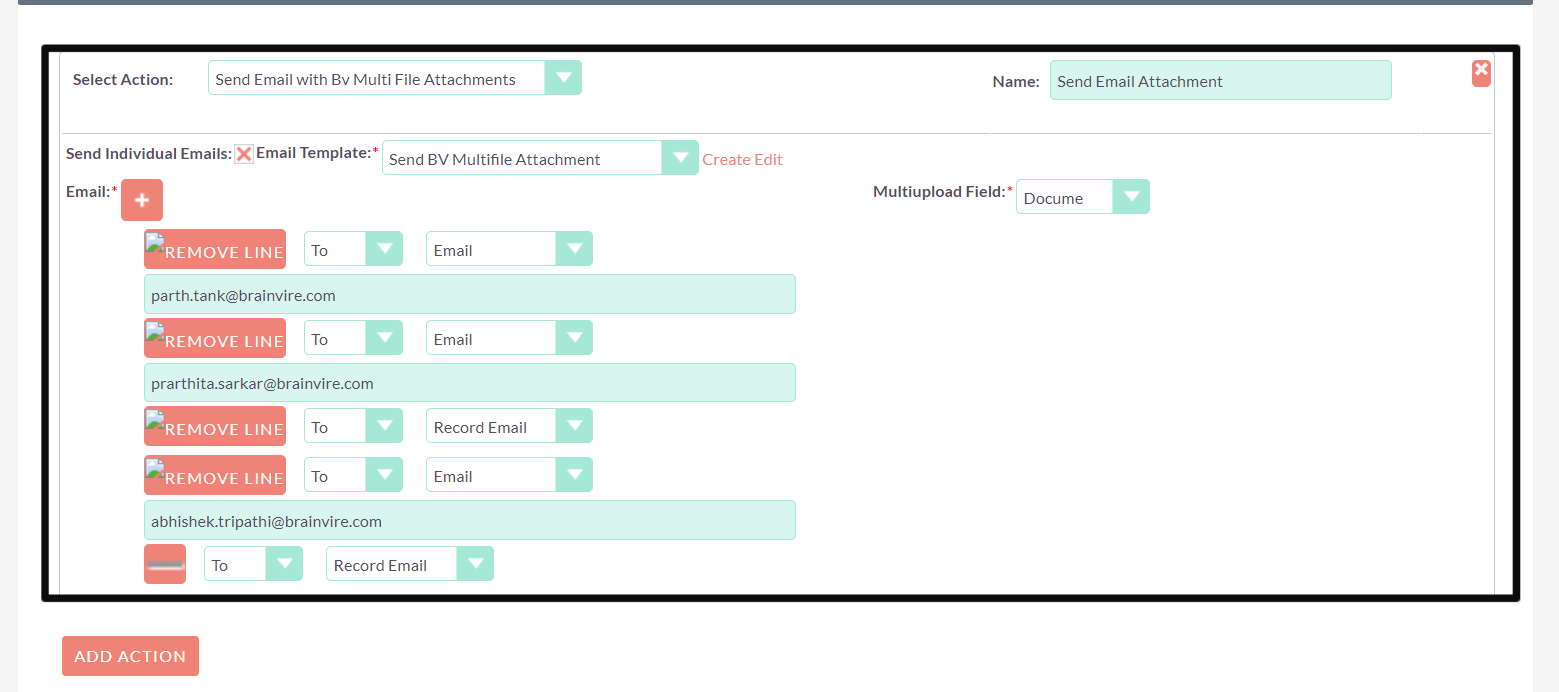
Customize the workflow action to enable email sharing functionality. Specify the recipients' email addresses to whom users want to send the documents.
Creating Customized Email Templates
To create a customized email template, simply click on the "Create" button within the email template section. Provide a descriptive name for the template to easily identify it later. Select the type of template, optionally, add a brief description of the template to provide context for users. Insert merge fields to personalize the template.


Performing Workflow Action with Email Template
In this workflow action, users can select an email template from their CRM system or create a new one. They can then choose the multi-upload field to attach files, selecting the recipient's details with whom they want to share the files.
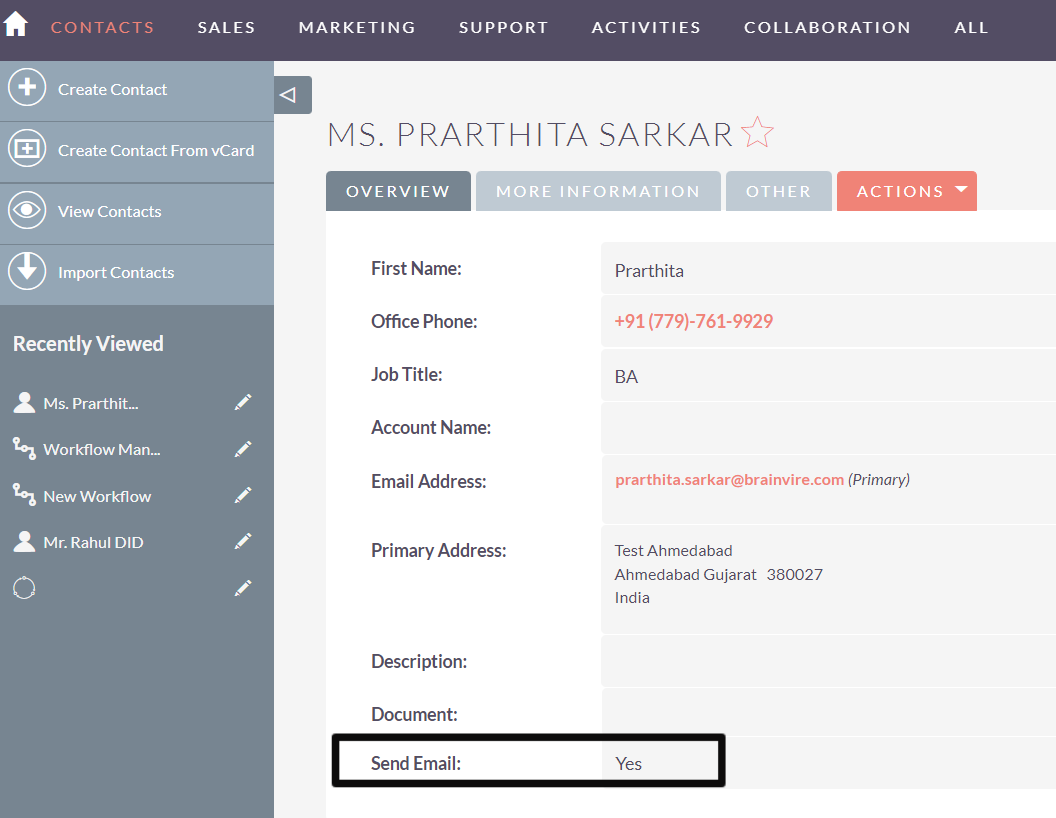
Create and locate the customized field for sending emails to recipients. For that, set the default value as "No" first and then choose "Yes" to initiate the email sharing process in Contact.
The system will automatically send emails to both the contact recipient and the selected email IDs specified in the workflow action.
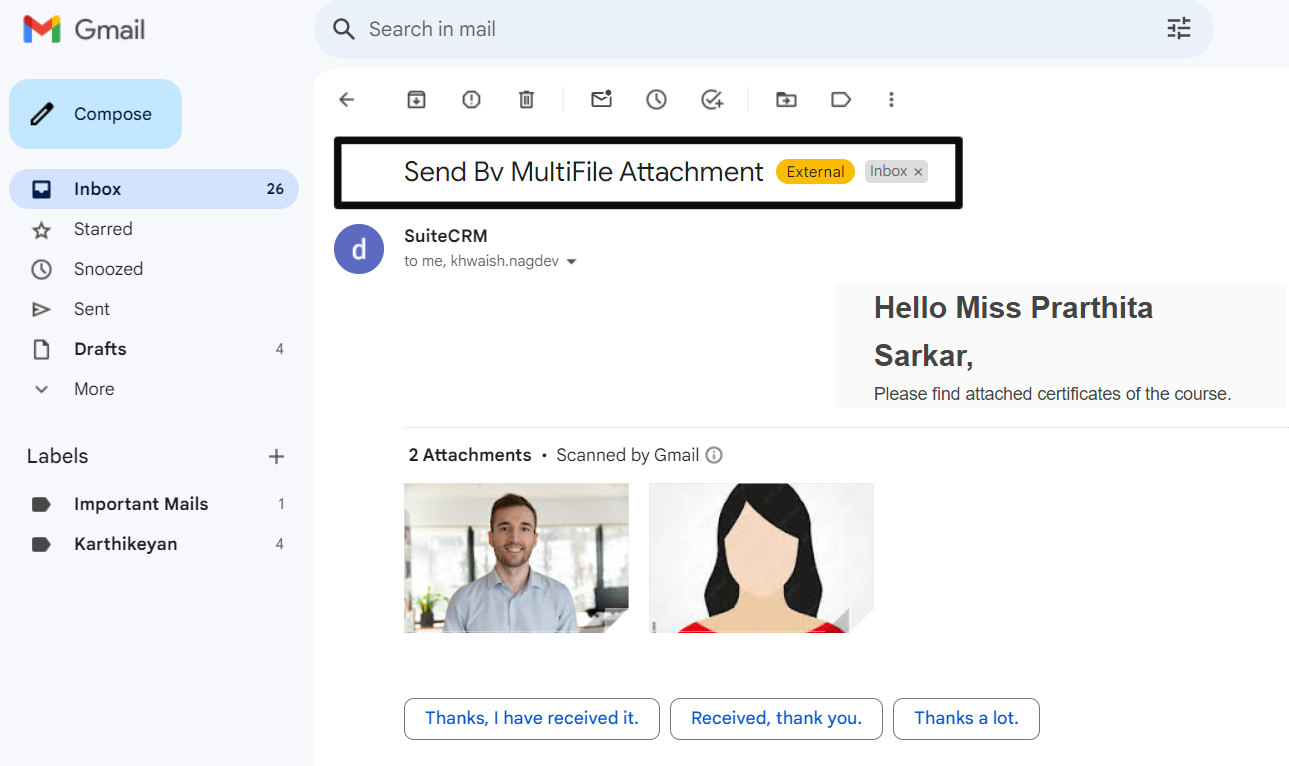
Users Receive Shared Documents in Gmail
After initiating the email sharing process from the CRM system, selected users will receive the shared documents directly in their Gmail accounts. The below picture stands for an instance of one user.

