Reduce time and effort by automatically syncing your accounting data between QuickBooks Online and SuiteCRM. Keeps your data accurate by not having to manually enter and maintain data on your CRM records and vice versa. Syncs your Accounts, Contacts, Invoices, and Products/Items.
QuickBooks Configuration
Before QuickBooks synchronization with SuiteCRM, you have to make QuickBooks online account.
STEP 1- Go to https://developer.intuit.com link and create your account with Sign Up and Sign In it.
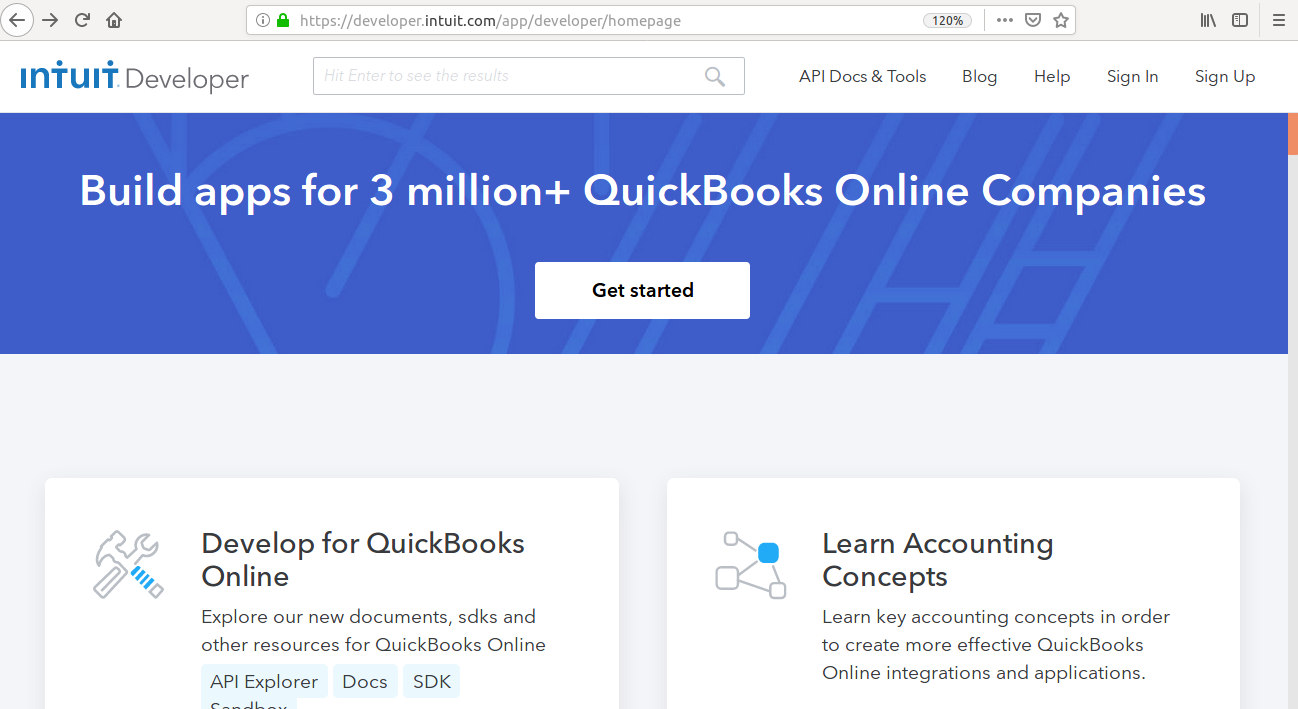
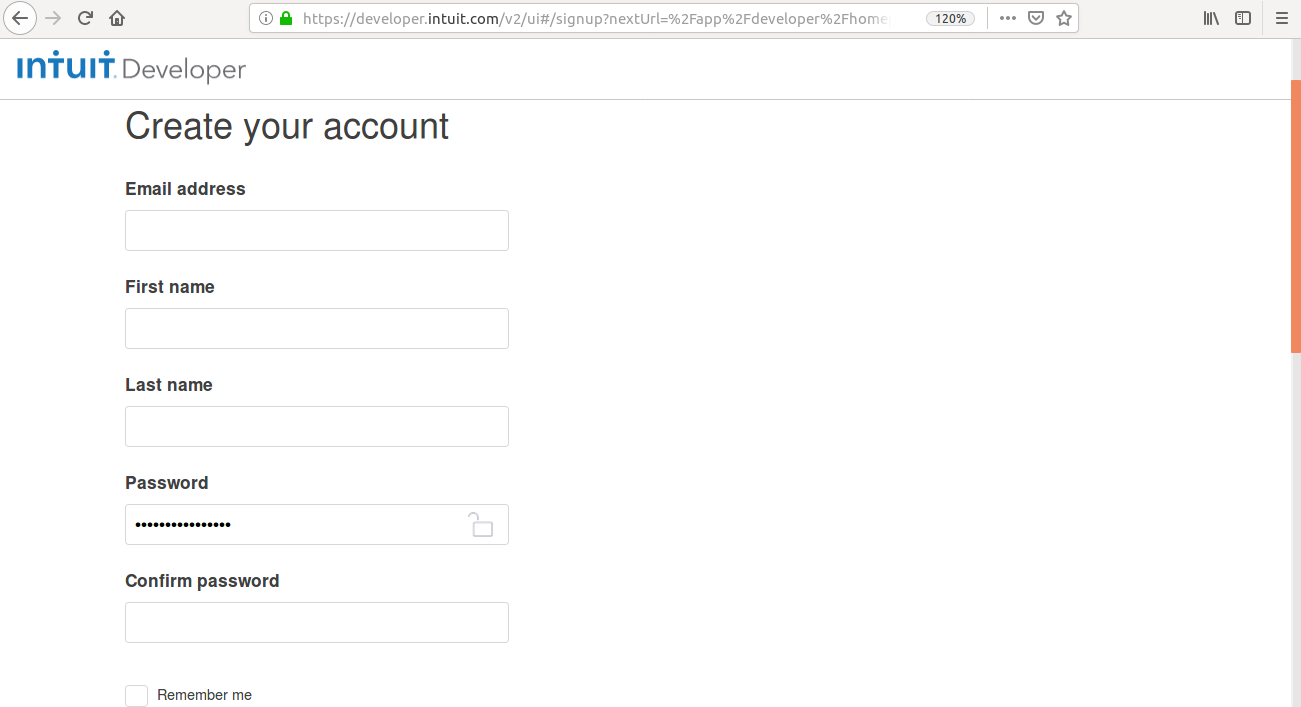
STEP 2- After login, you will redirect to homepage.
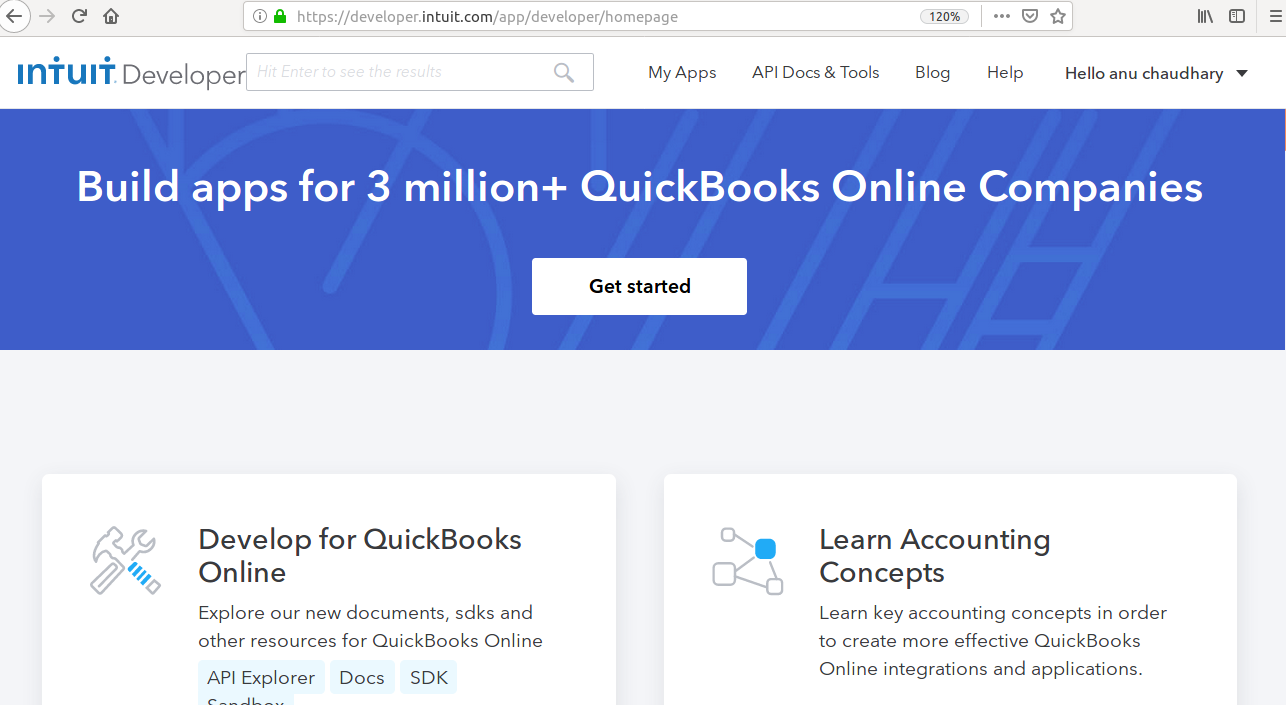
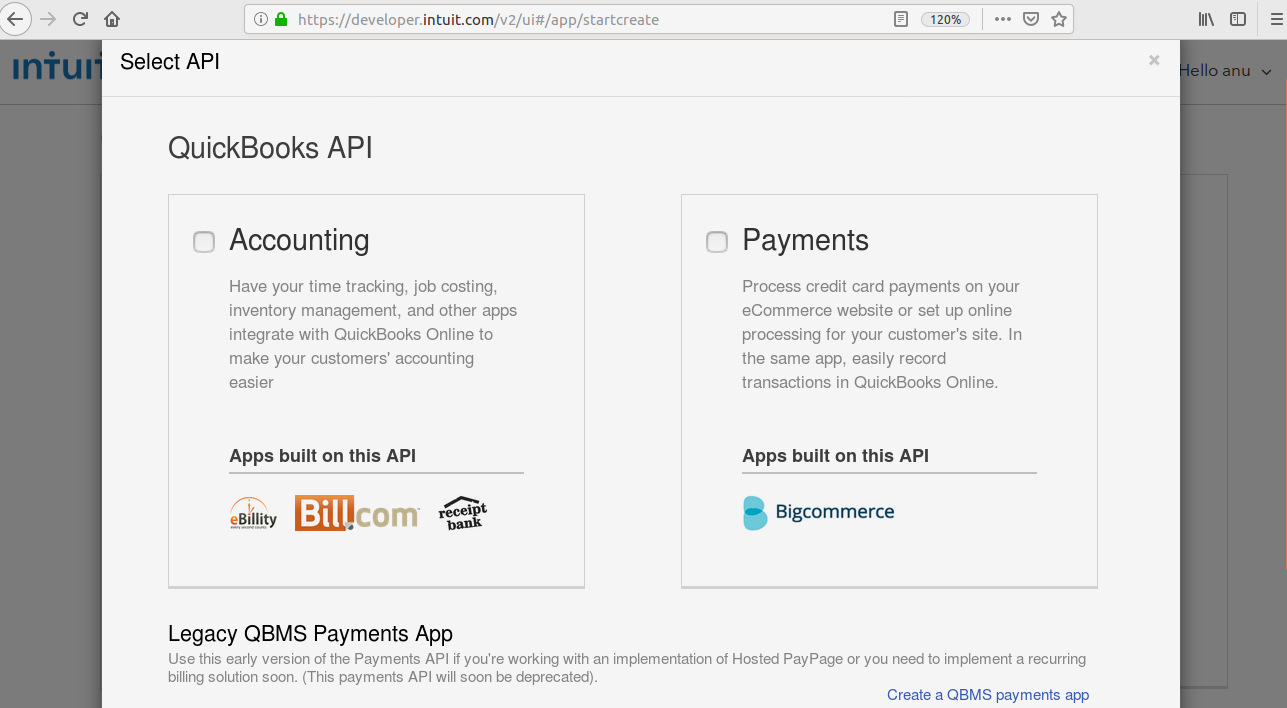
STEP 3- Click on My Apps and then create new app,after create new app,you will select to Select API’s like this.

STEP 4- Choose Accounting from select API and click on create app.
STEP 5- After create app,Go to keys tab.you will see Client Id and Client Secret credentials.
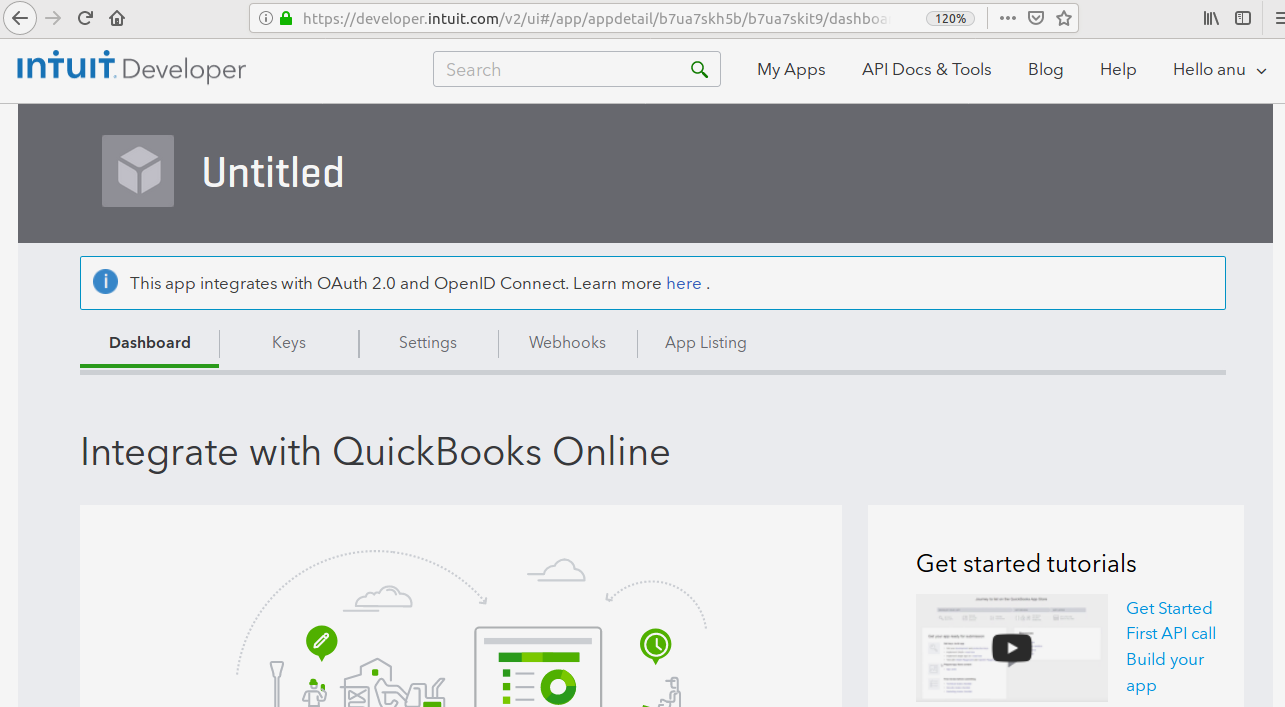
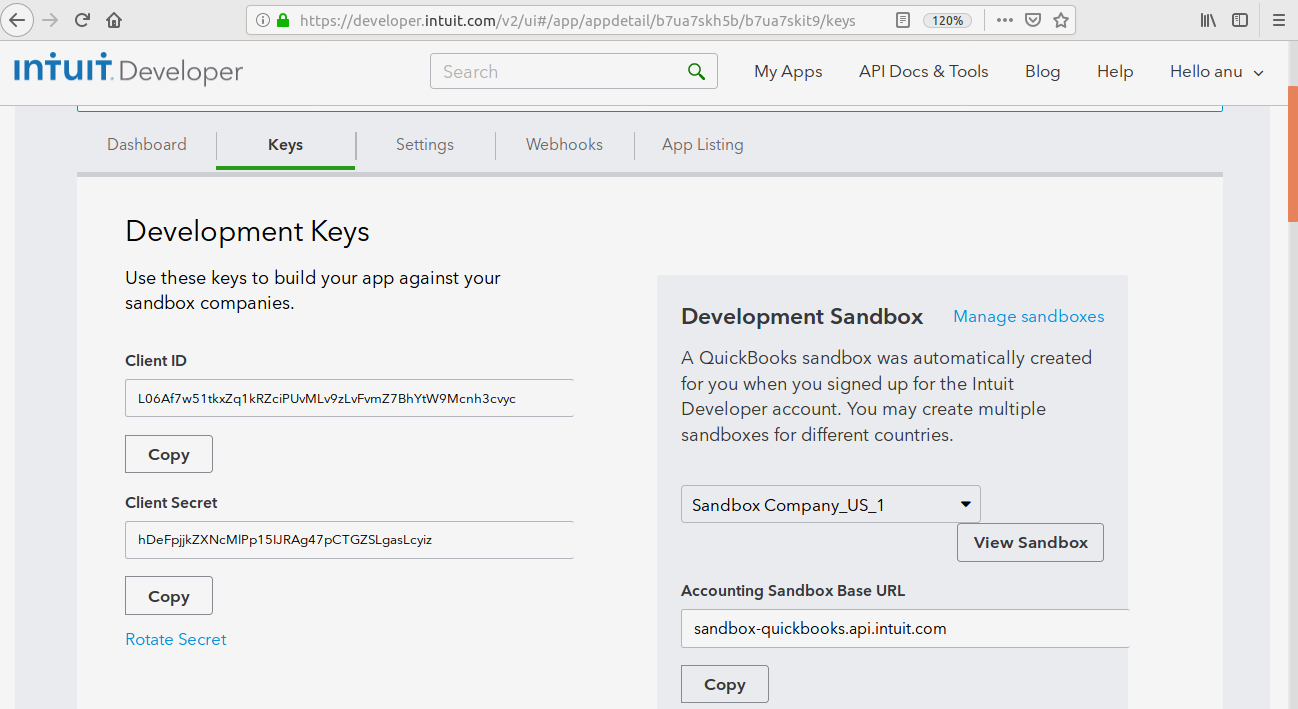
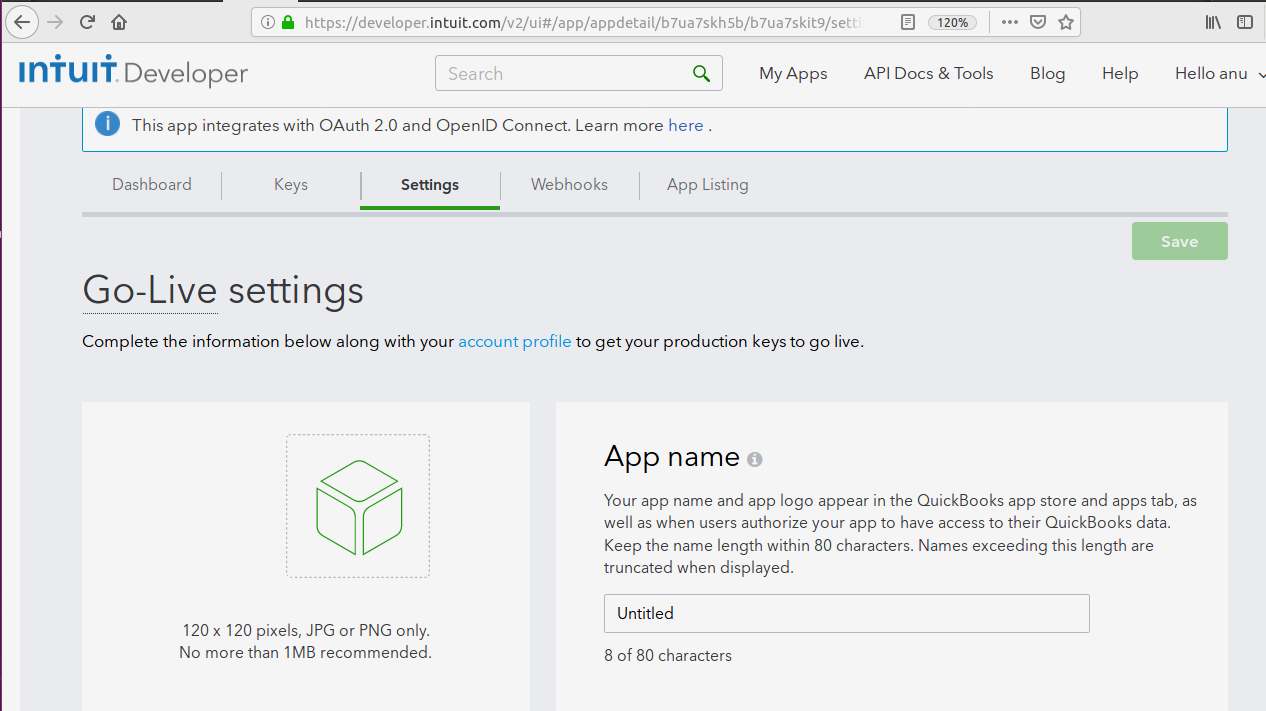
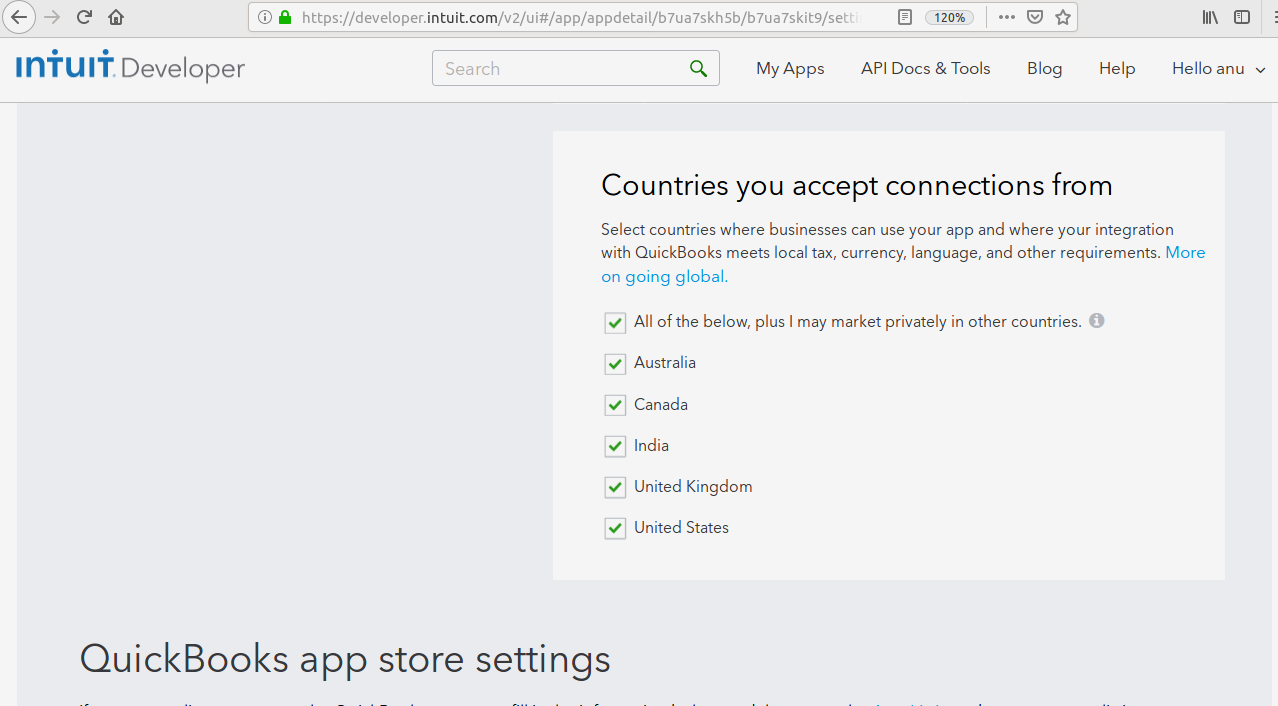
STEP 6- Go to Settings tab.From here,you can add your application name from App name.
STEP 7- To create access token and refresh token,you have to go API Docs & Tools section and click on OAuth.You will redirect to this page.
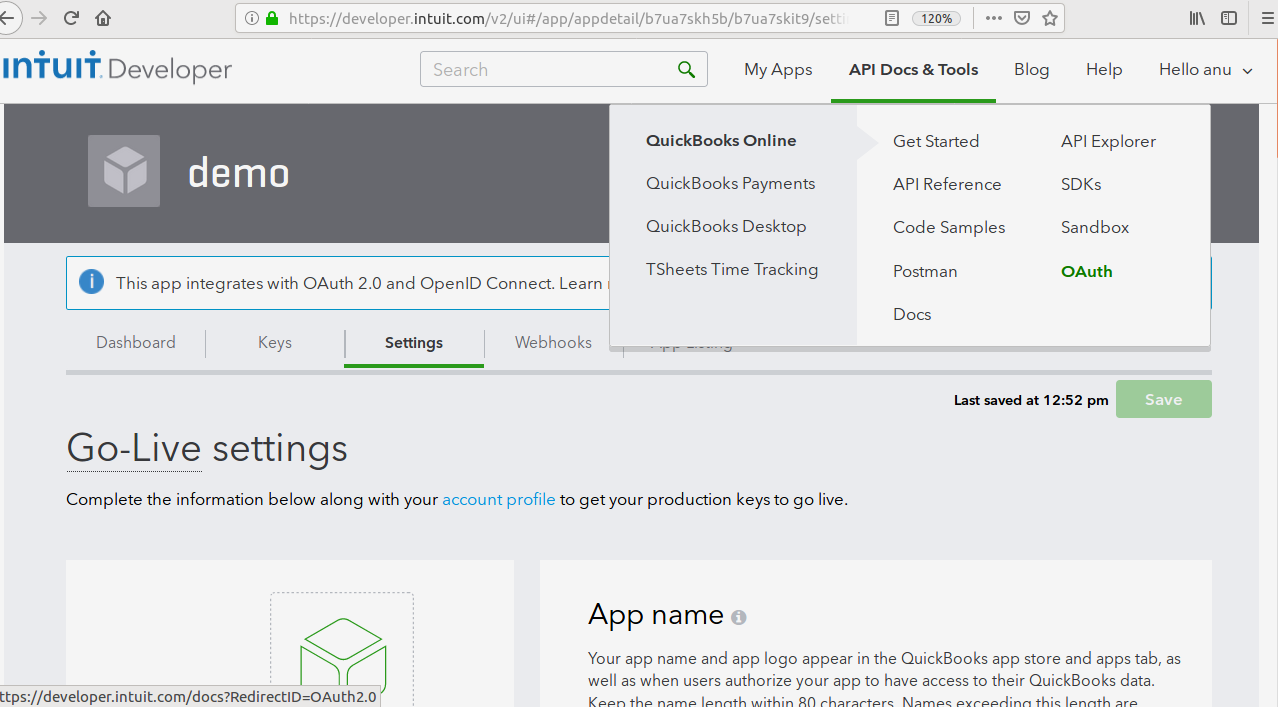
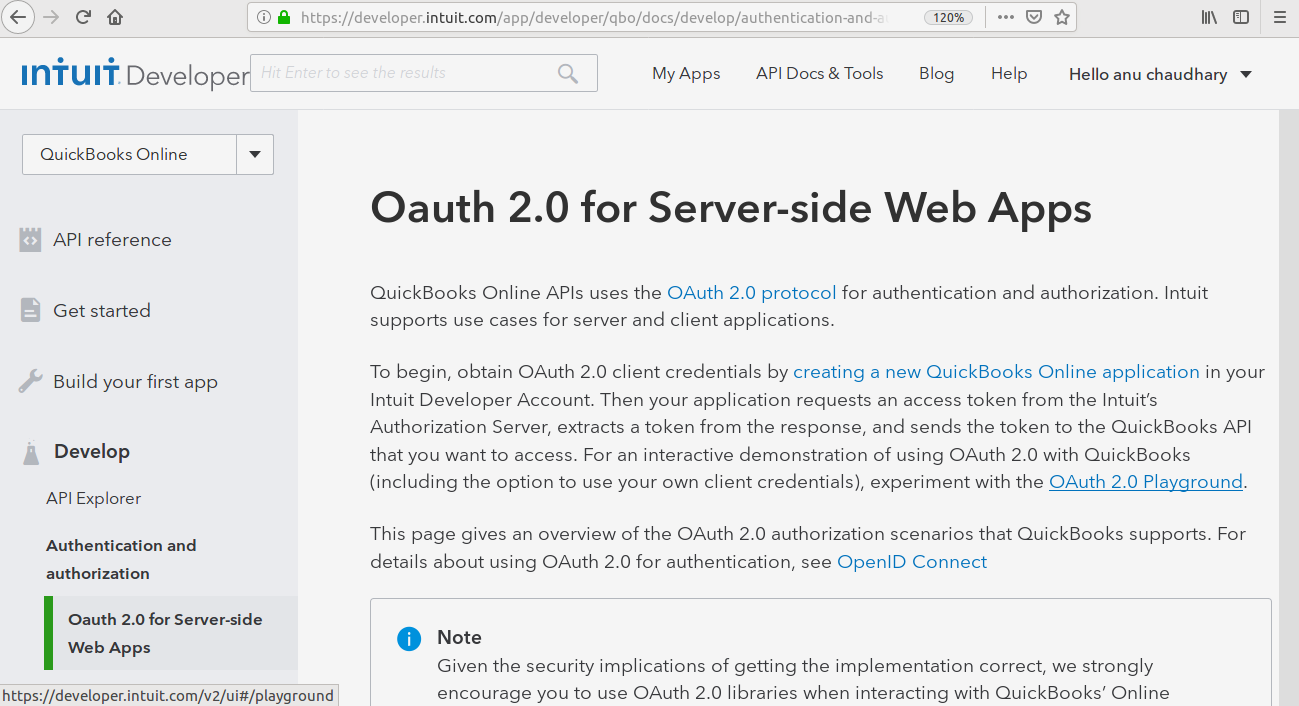
STEP 8- Click on OAuth 2.0 Playground.You will see this page.
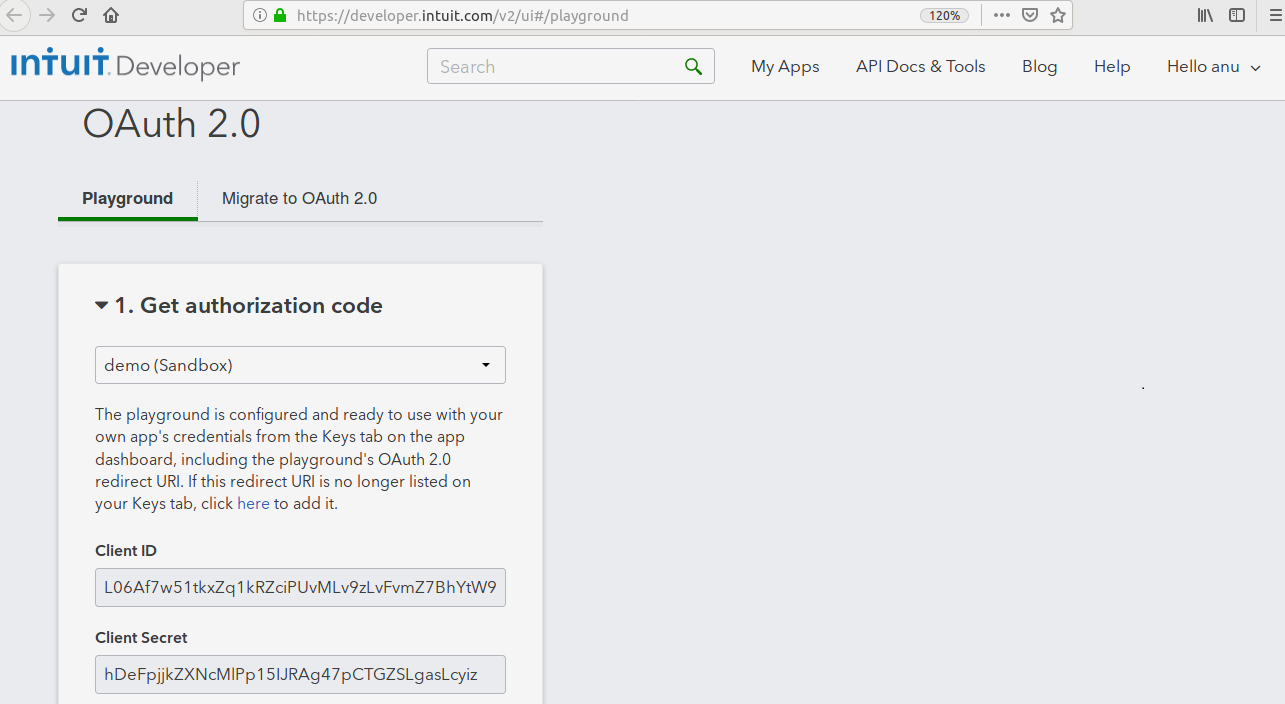
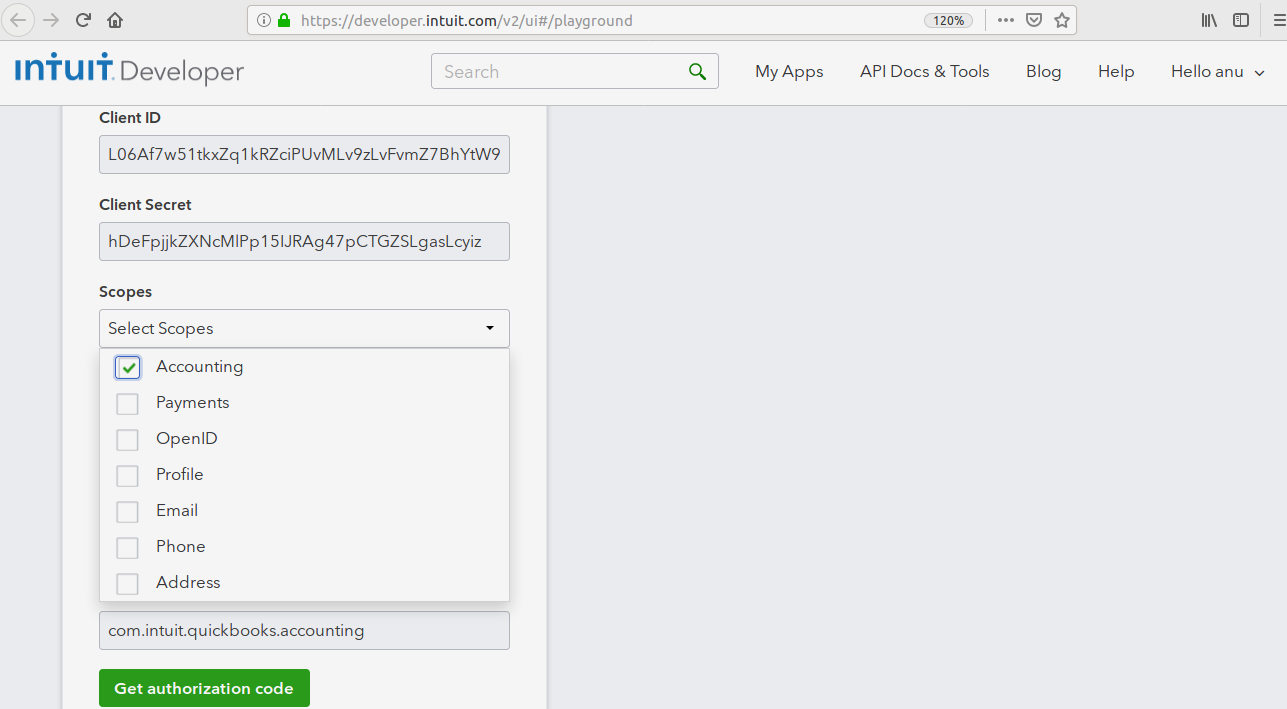
STEP 9- Select your app name and scope from Get Authorization code section.Client Id and Client secret will appear after select app and then Go to get authorization code and then leave page.
STEP 10- You will see this page and click on connect.You will get OAuth token and Realm Id and click on Get Tokens.
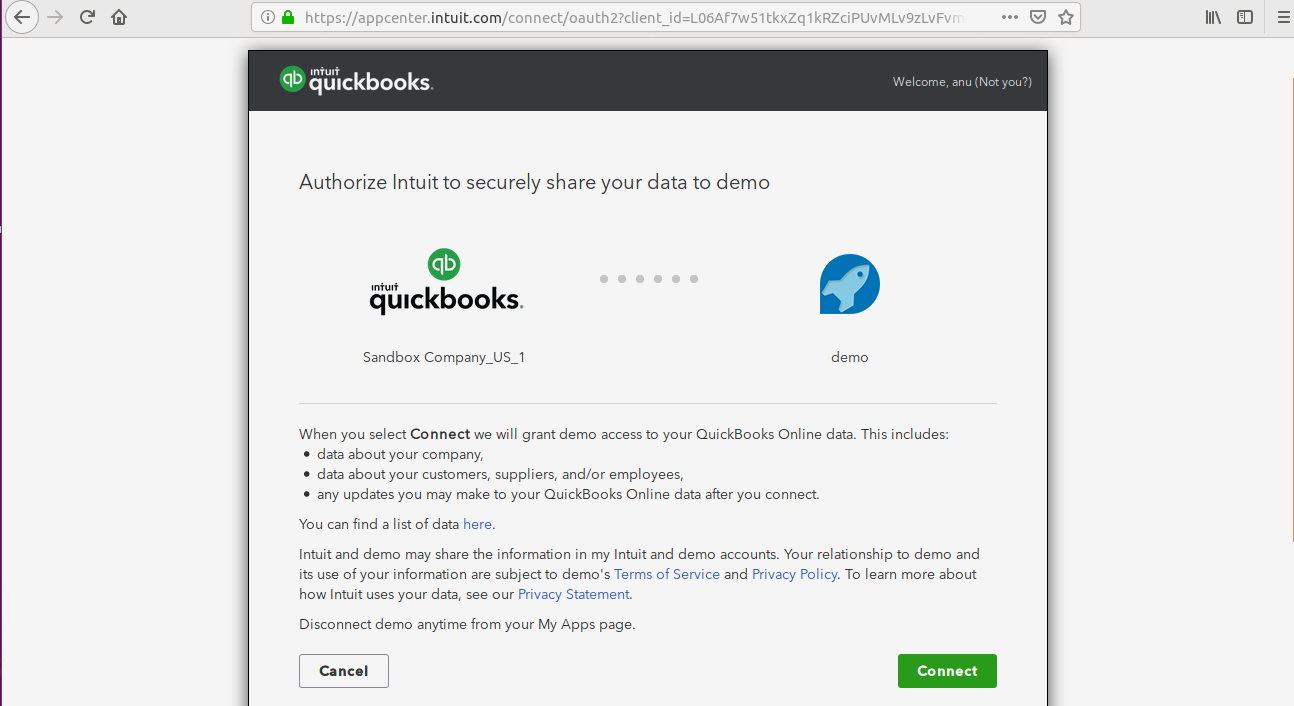
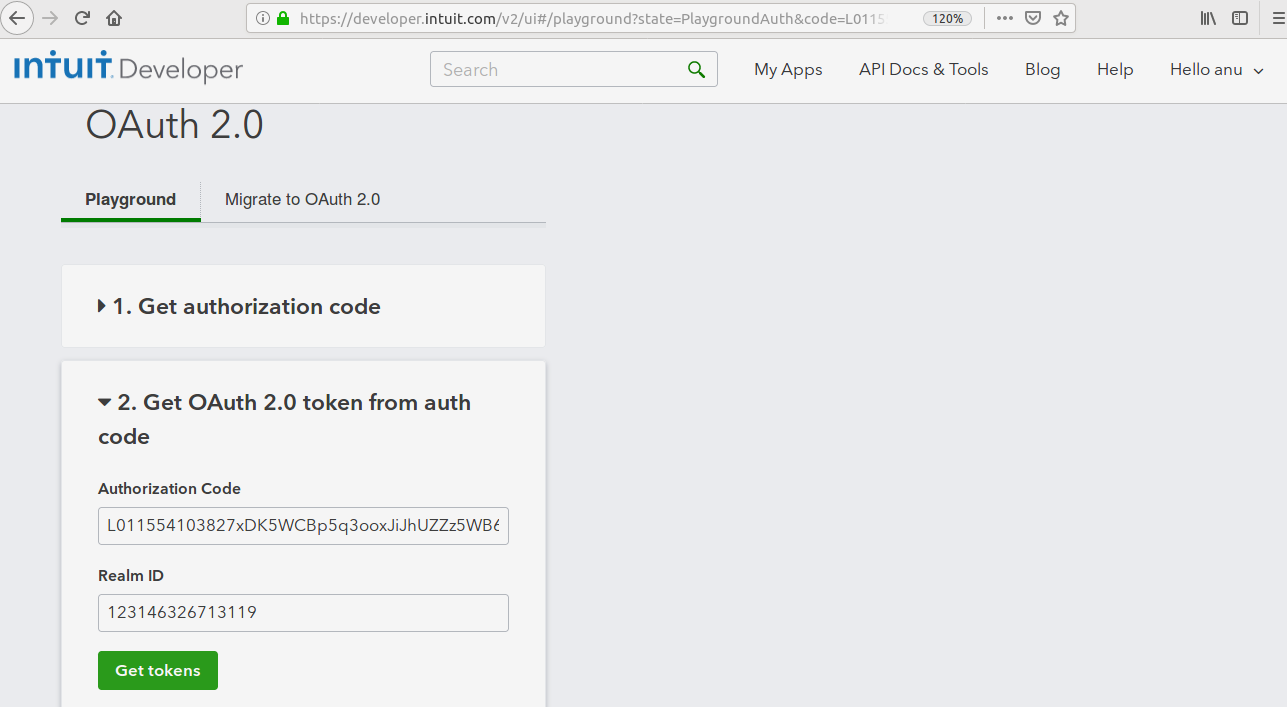
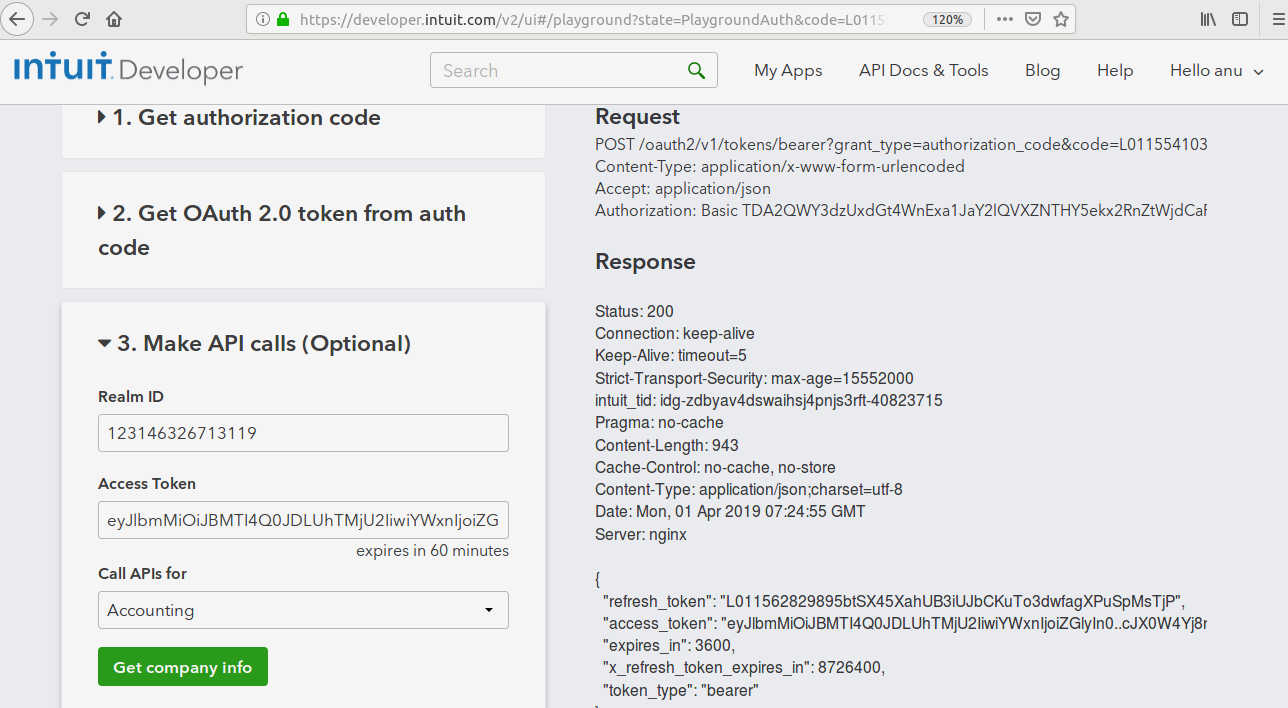
STEP 11- You will get response like Refresh token and Access token.
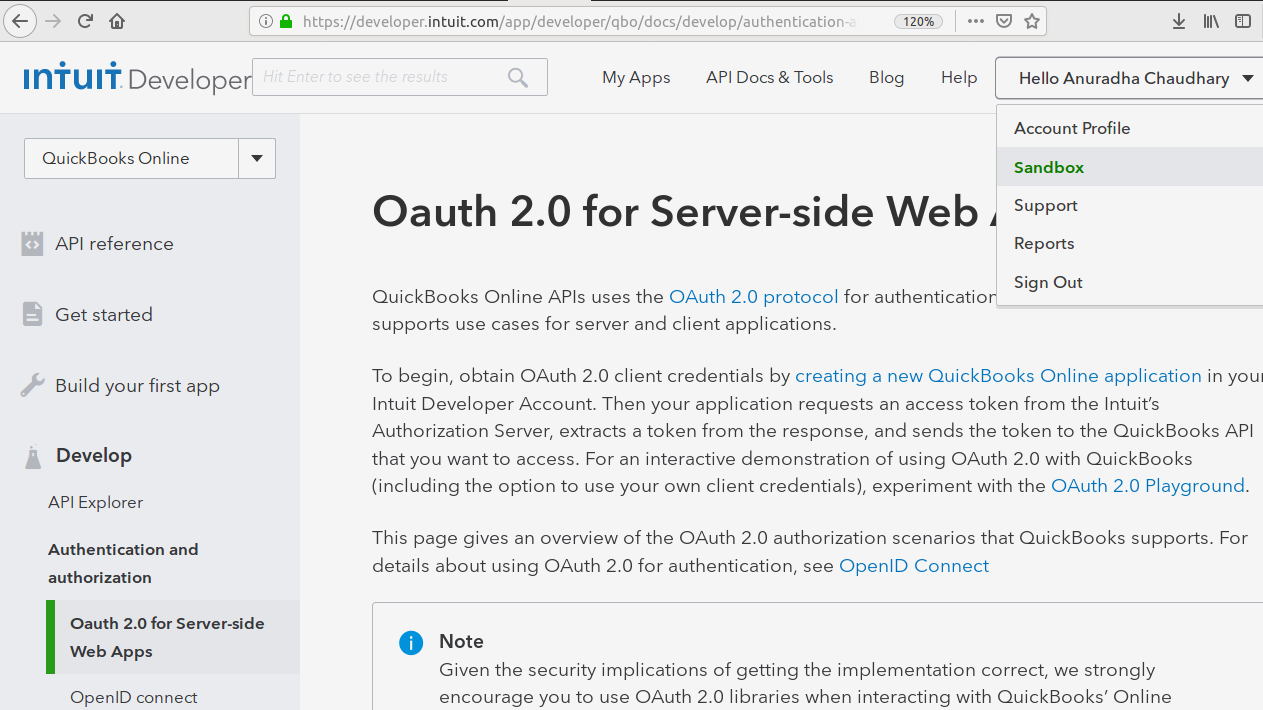
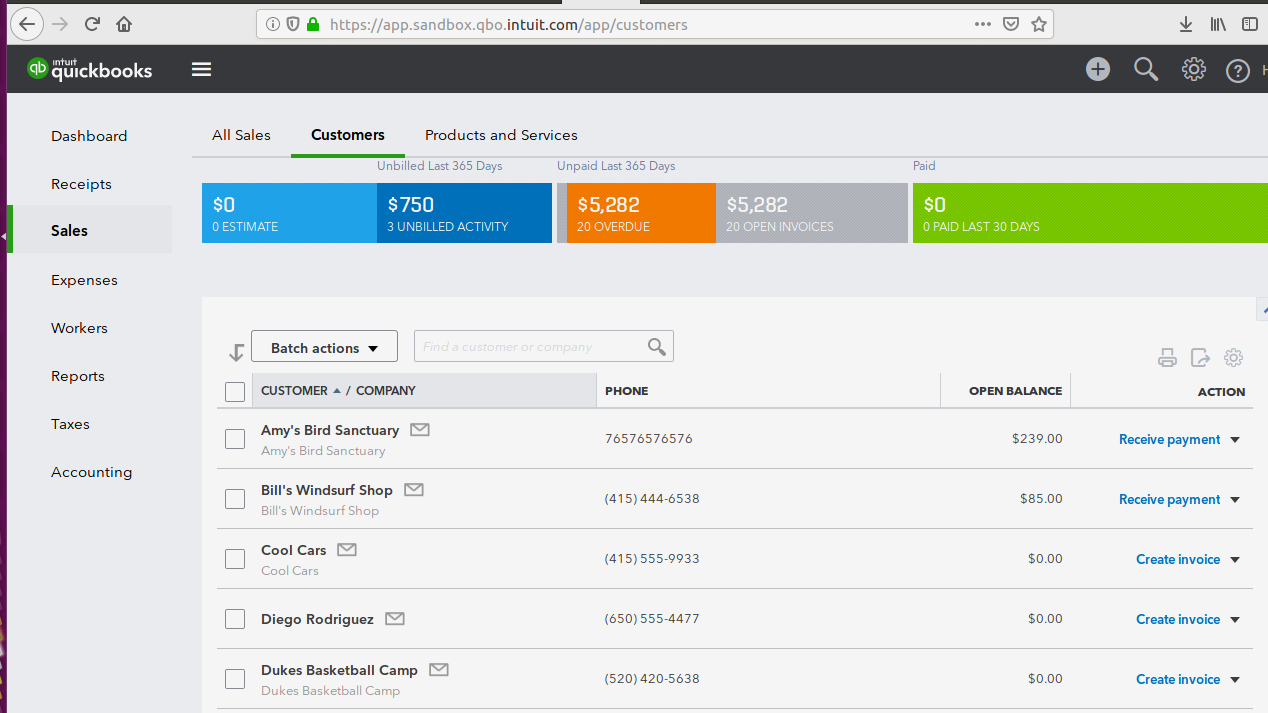
After completing all process,you can check online account data related to selected company. Go to top right corner on your profile then select Sendbox, choose company name.

STEP 12- After getting all credentials,Set into SuiteCRM admin Quickbooks Configuration.


