View email messages directly in the history panel itself or detach the Emails and Notes sub panel and see them in their own separate sub panel.
Installation Guide
Installation and configuration
Follow below mentioned steps to install and configure the plug-in with your SuiteCRM® application.
Step 1: Go to Admin -> Module Loader

Step 2: Click on “Browse” button and select ZIP file of to be installed plug-in and Click on “Upload” button.

Step 3: Once ZIP file get uploaded, plug-in file will be displayed as below screen. Click on “Install” button to initiate installation process.

Step 4: Click on “Commit” button to complete installation process.

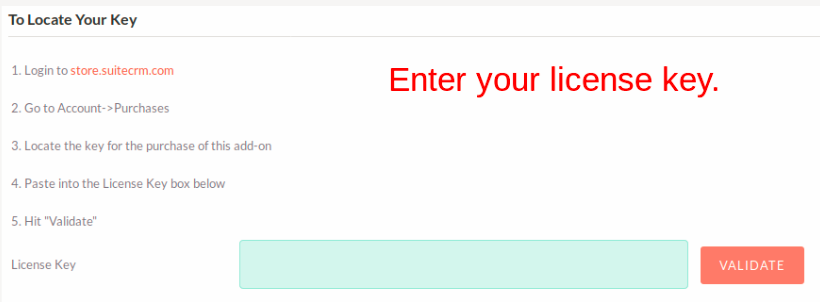
Step5: Enter the license key for plug-in and click on “Validate” button. You can get the license key

Step6: Plug-in module has been installed in your system. A next step is to configure the “Quick Email Preview” module. Click on “Settings” for configuration as displayed in below screen.

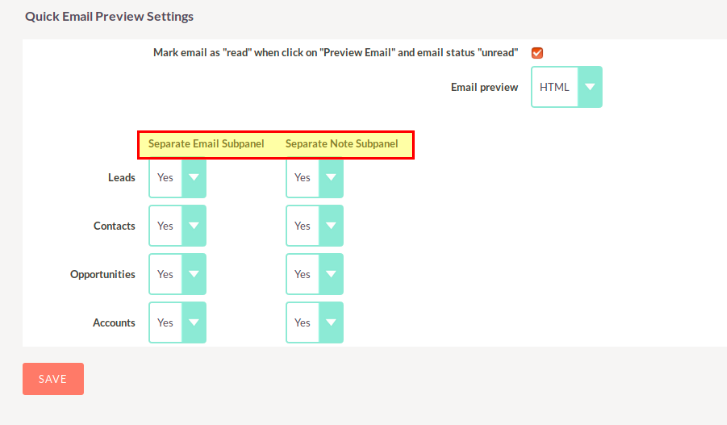
Your screen will display below page for configuration:

You have flexibility to configure the use of quick email preview and notes functionality for any of the Accounts, Contacts, Opportunities or Leads module or all the modules as per your requirement. You just required setting “Yes” for to modules to on the quick email and notes preview feature.
Un-installation Process
Step 1: Go to Admin -> Module Loader

Step 2: Click on “Uninstall” button for the plug-in you want to uninstall, in our case its Quick Email Preview.

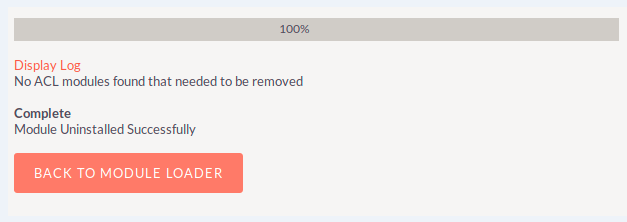
Step 3: Click on “Commit” button. Un-installation process will remove the setup files from the server. There are two options to install, 1) “Remove Tables” to delete all the data from database along with table definitions 2) “Do Not Remove Tables” to remove plug-in application but not the database tables and its data.

Step 4: Done


