

Custom Login Page is a SuiteCRM add-on that enables you to transform the default CRM login page into a modern, more meaningful page that complements your company’s branding.
Installation Guide SuiteCRM 8.x
Steps For Installing Custom Login Page Plugin :
Notes: Before installing Custom Login Page Plugin, please take your SuiteCRM and Database backup first.
Step 1:
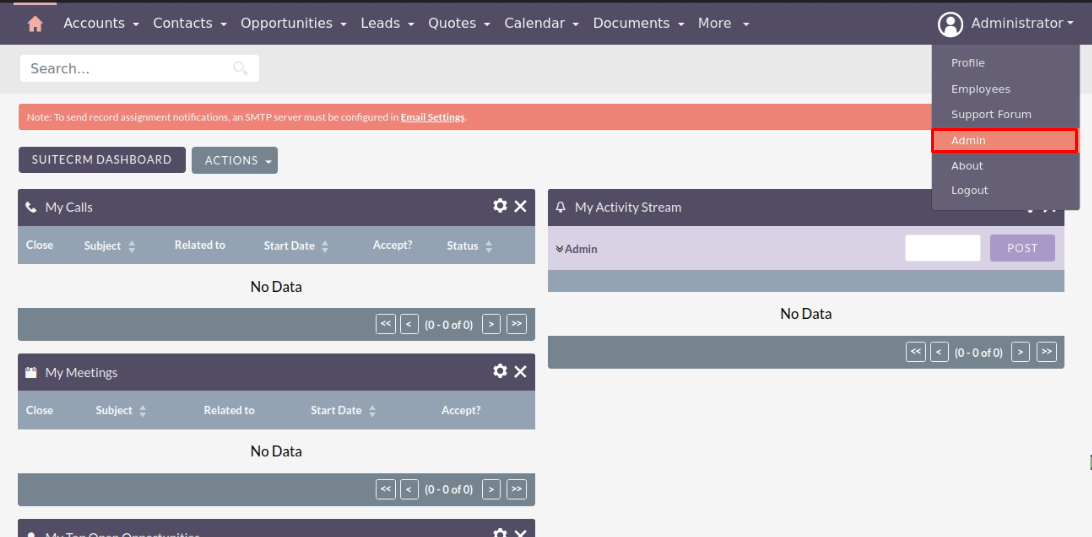
To open the Administration Page, Click on the Admin tab as shown in below screenshot.
Step 2:
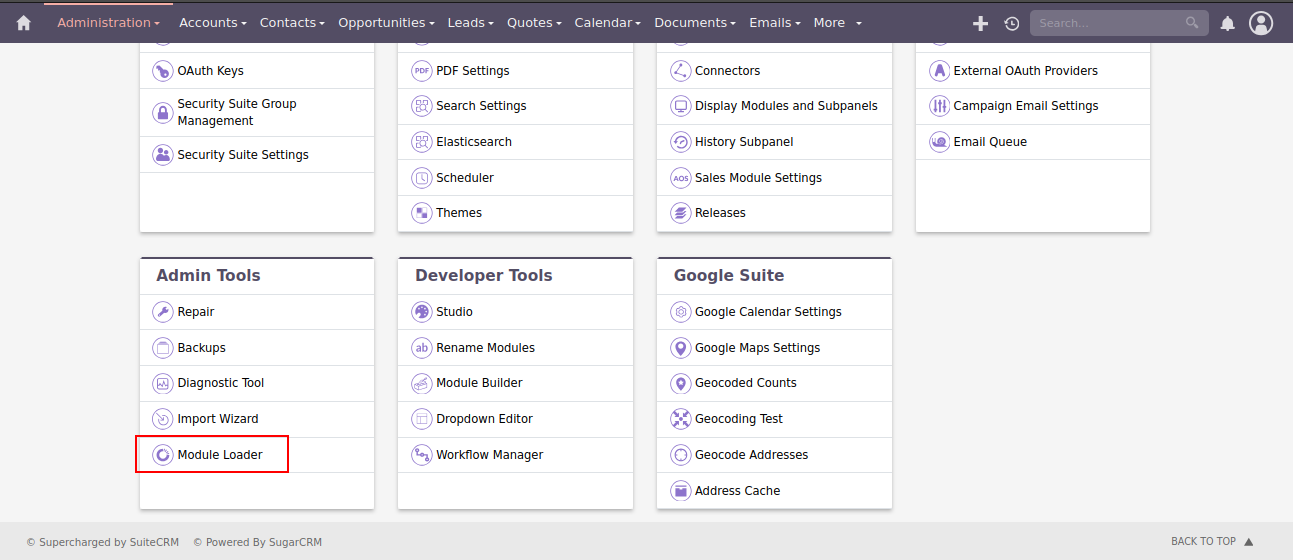
To install the Custom Login Page Plugin, Click on Module Loader from the Developer Tools Section.
Step 3:
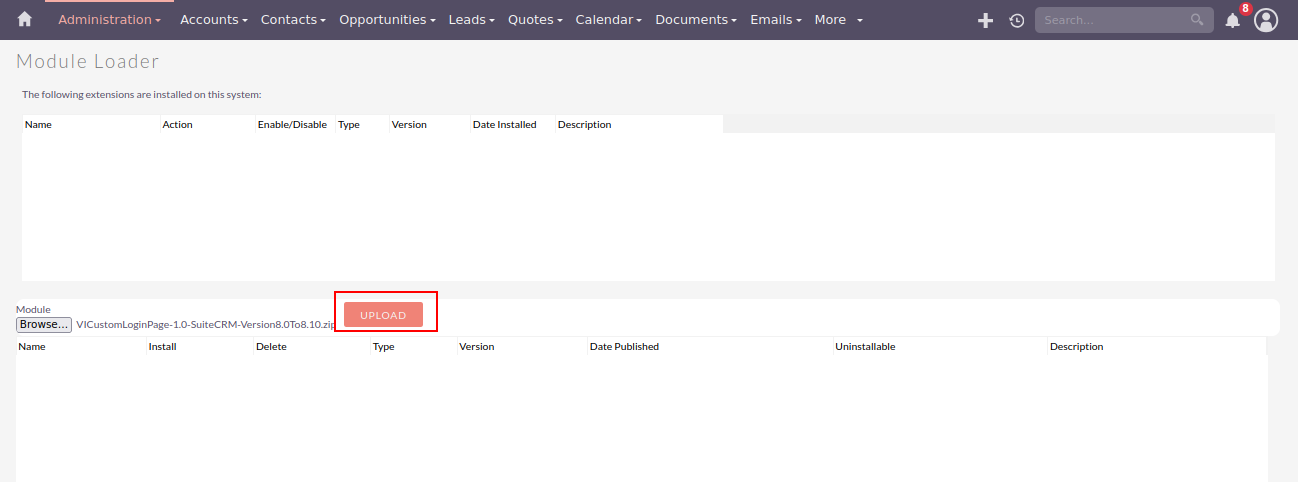
In the Module Loader Page → Click on the Browse Button to select zip file → Click on UPLOAD Button to upload the Custom Login Page Plugin(zip file).
Step 4:
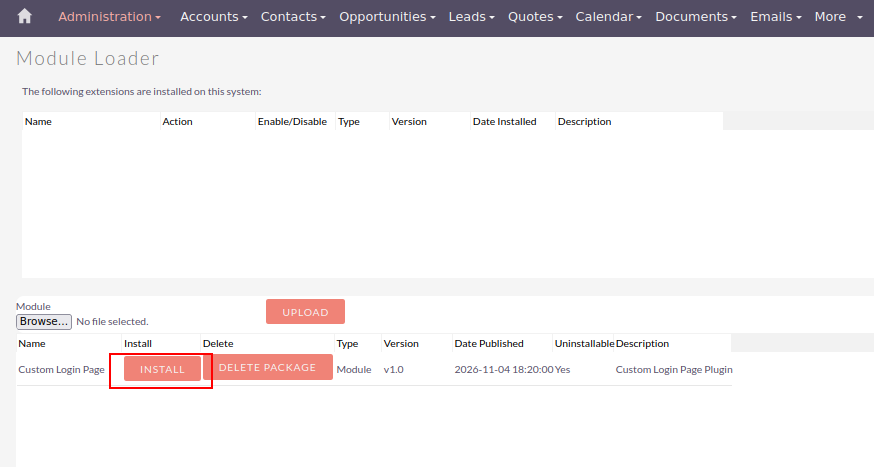
In Module Loader Page → Click on the INSTALL Button to install the Custom Login Page Plugin.
Step 5:
To accept the Terms and Conditions, click on Accept Radio Button → Click on COMMIT Button.
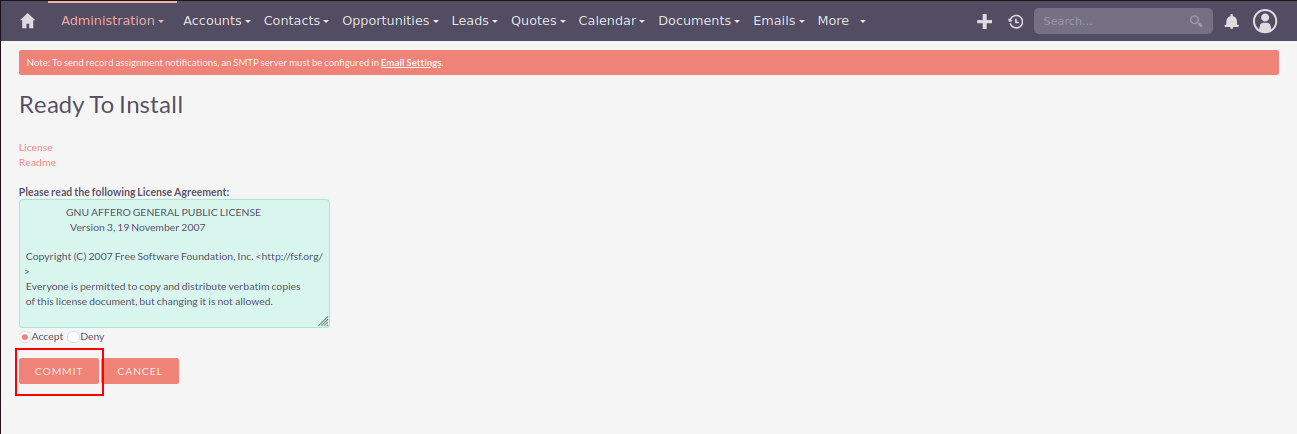
Step 6:
After successful installation → it redirects you to validate License Key → enter valid License Key and click on VALIDATE Button → if key is valid then it will show CONTINUE Button → click CONTINUE Button.
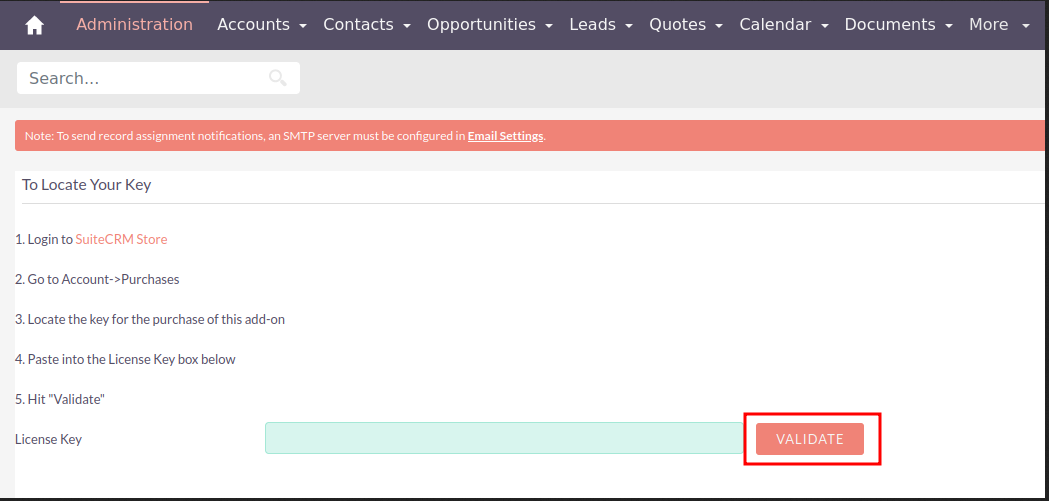
Step 7:
Open Administration Page, Click on Repair from the System Section → Click on Quick Repair & Rebuild.
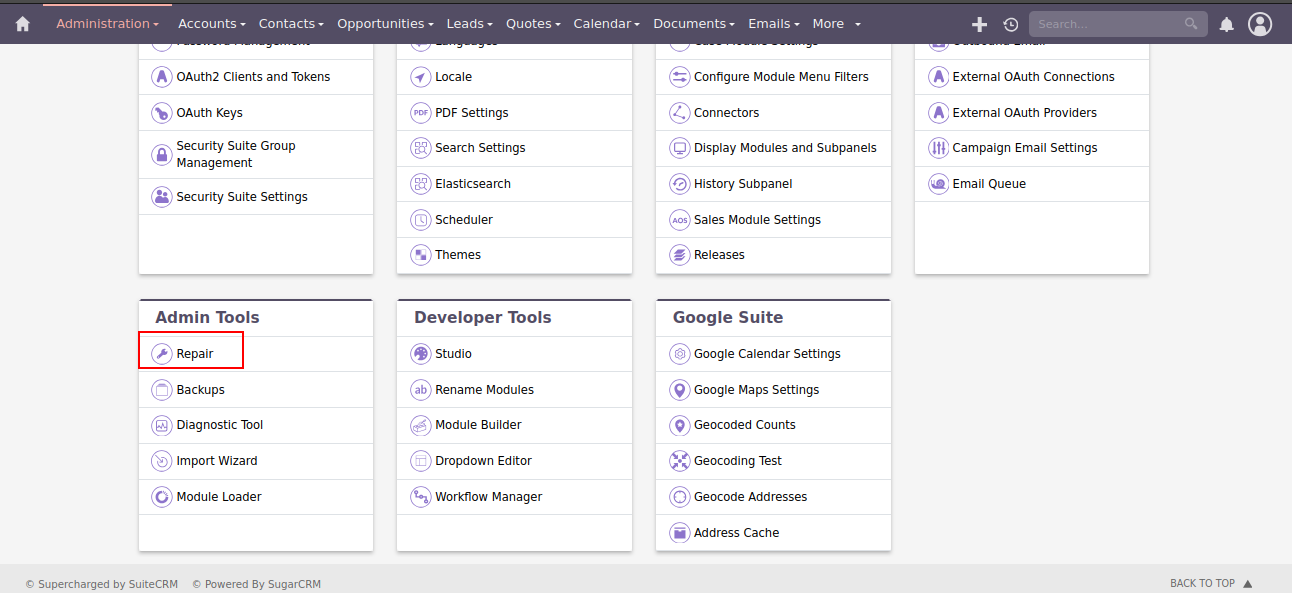
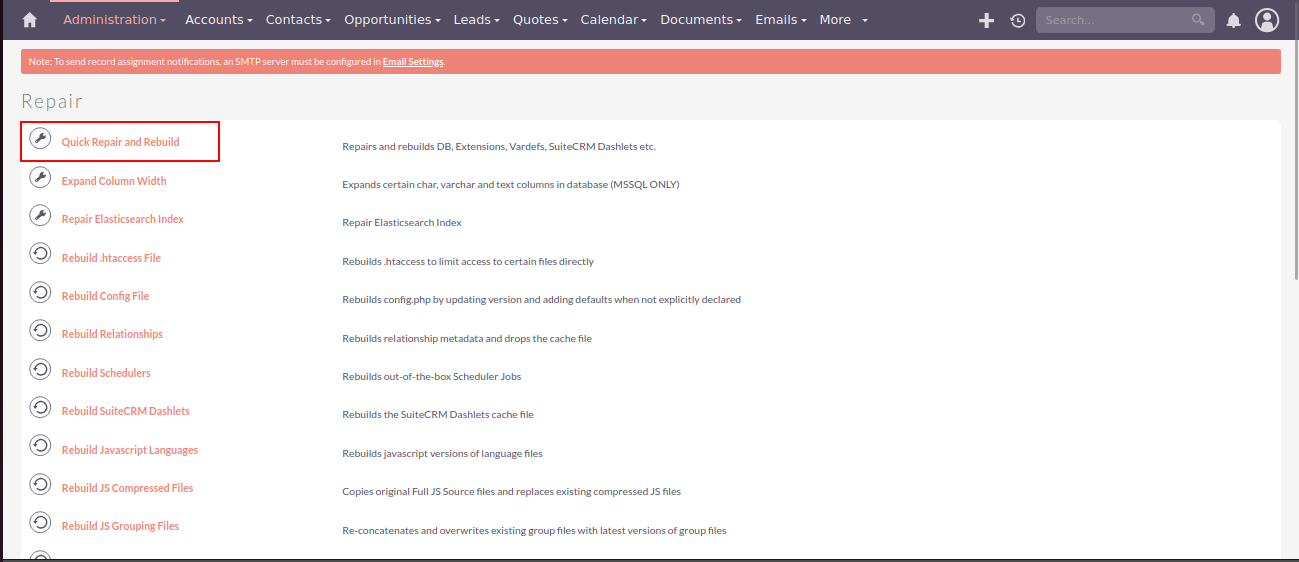
Step 8:
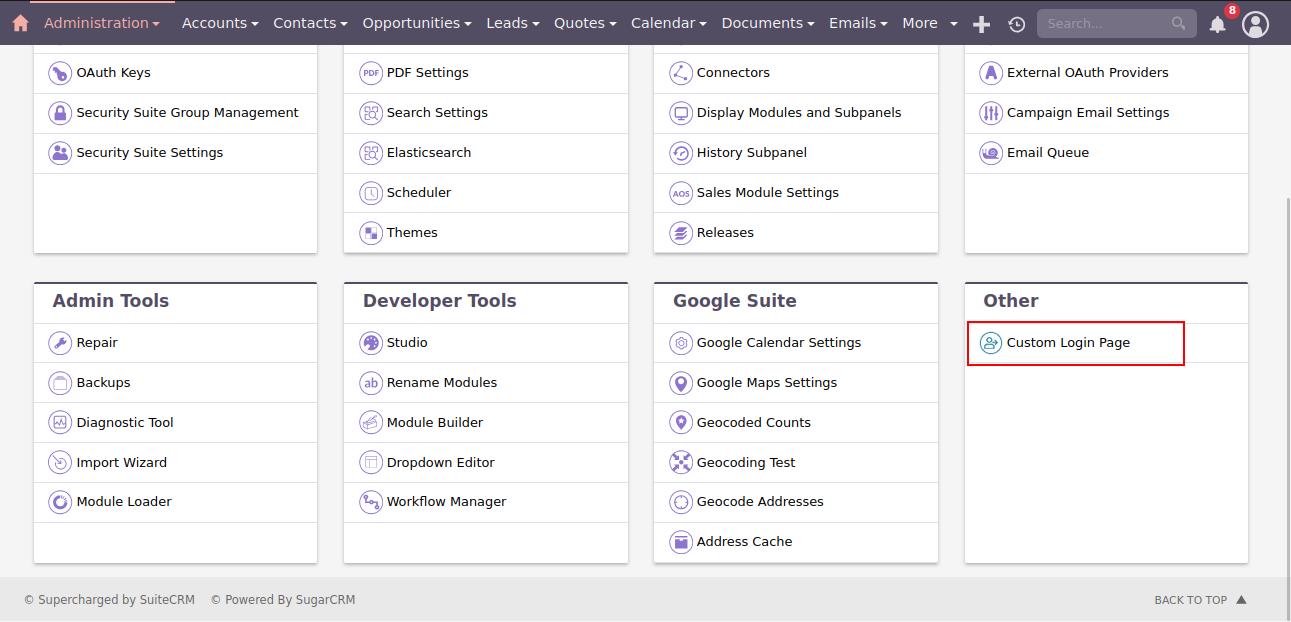
After Installation you are able to see Link “Custom Login Page” on Administration Page as shown in the below screenshot.
Note: Post-Installation Steps
After successfully installing the Custom Login Page Plugin, execute the following commands from the root directory of your SuiteCRM 8 installation to rebuild the extension and apply the changes.
rm -rf .angular/cache
rm -rf node_modules/.cache
php bin/console cache:clear
yarn merge-angular-json
yarn build:extension CustomLoginPage
yarn build:shell
php bin/console cache:clear
Important:
- Make sure you execute these commands from your SuiteCRM 8 root directory.
- Ensure that all required dependencies are installed before running the build commands.
- Restart Apache after completing the build process to apply the changes.
- These commands may take some time to complete, depending on your system configuration.
 Saving Comment...