SendGrid Integration helps you to track sent emails status in SuiteCRM. Analyse Email Engagement with Delivered, Opened, Clicked, Dropped, Bounced event. SendGrid virtually eliminates the complexities that usually go along with sending corporate emails on a large scale. SendGrid improves deliverability for your application-generated email.
Plugin helps to track sent Emails status in SuiteCRM.
Analyse Email Engagement with Delivered, Opened, Clicked, Dropped, Bounced event.
Key Features
1) Normal Mail Tracking 2) Mail Tracking in Campaign Module
- Send Bulk Email using Target List,lead,Contact
- Track Email opens or Viewed
- Track Email Click thrus link
- Track Email delivery
- Track Email Sent Vs Attempted
- Track Email bounced ,unsubscribed
- Auto relation with Contact,lead,Accounts
- Easy Template selection from existing or brand New Creation.
- Send Campaign at Scheduled time
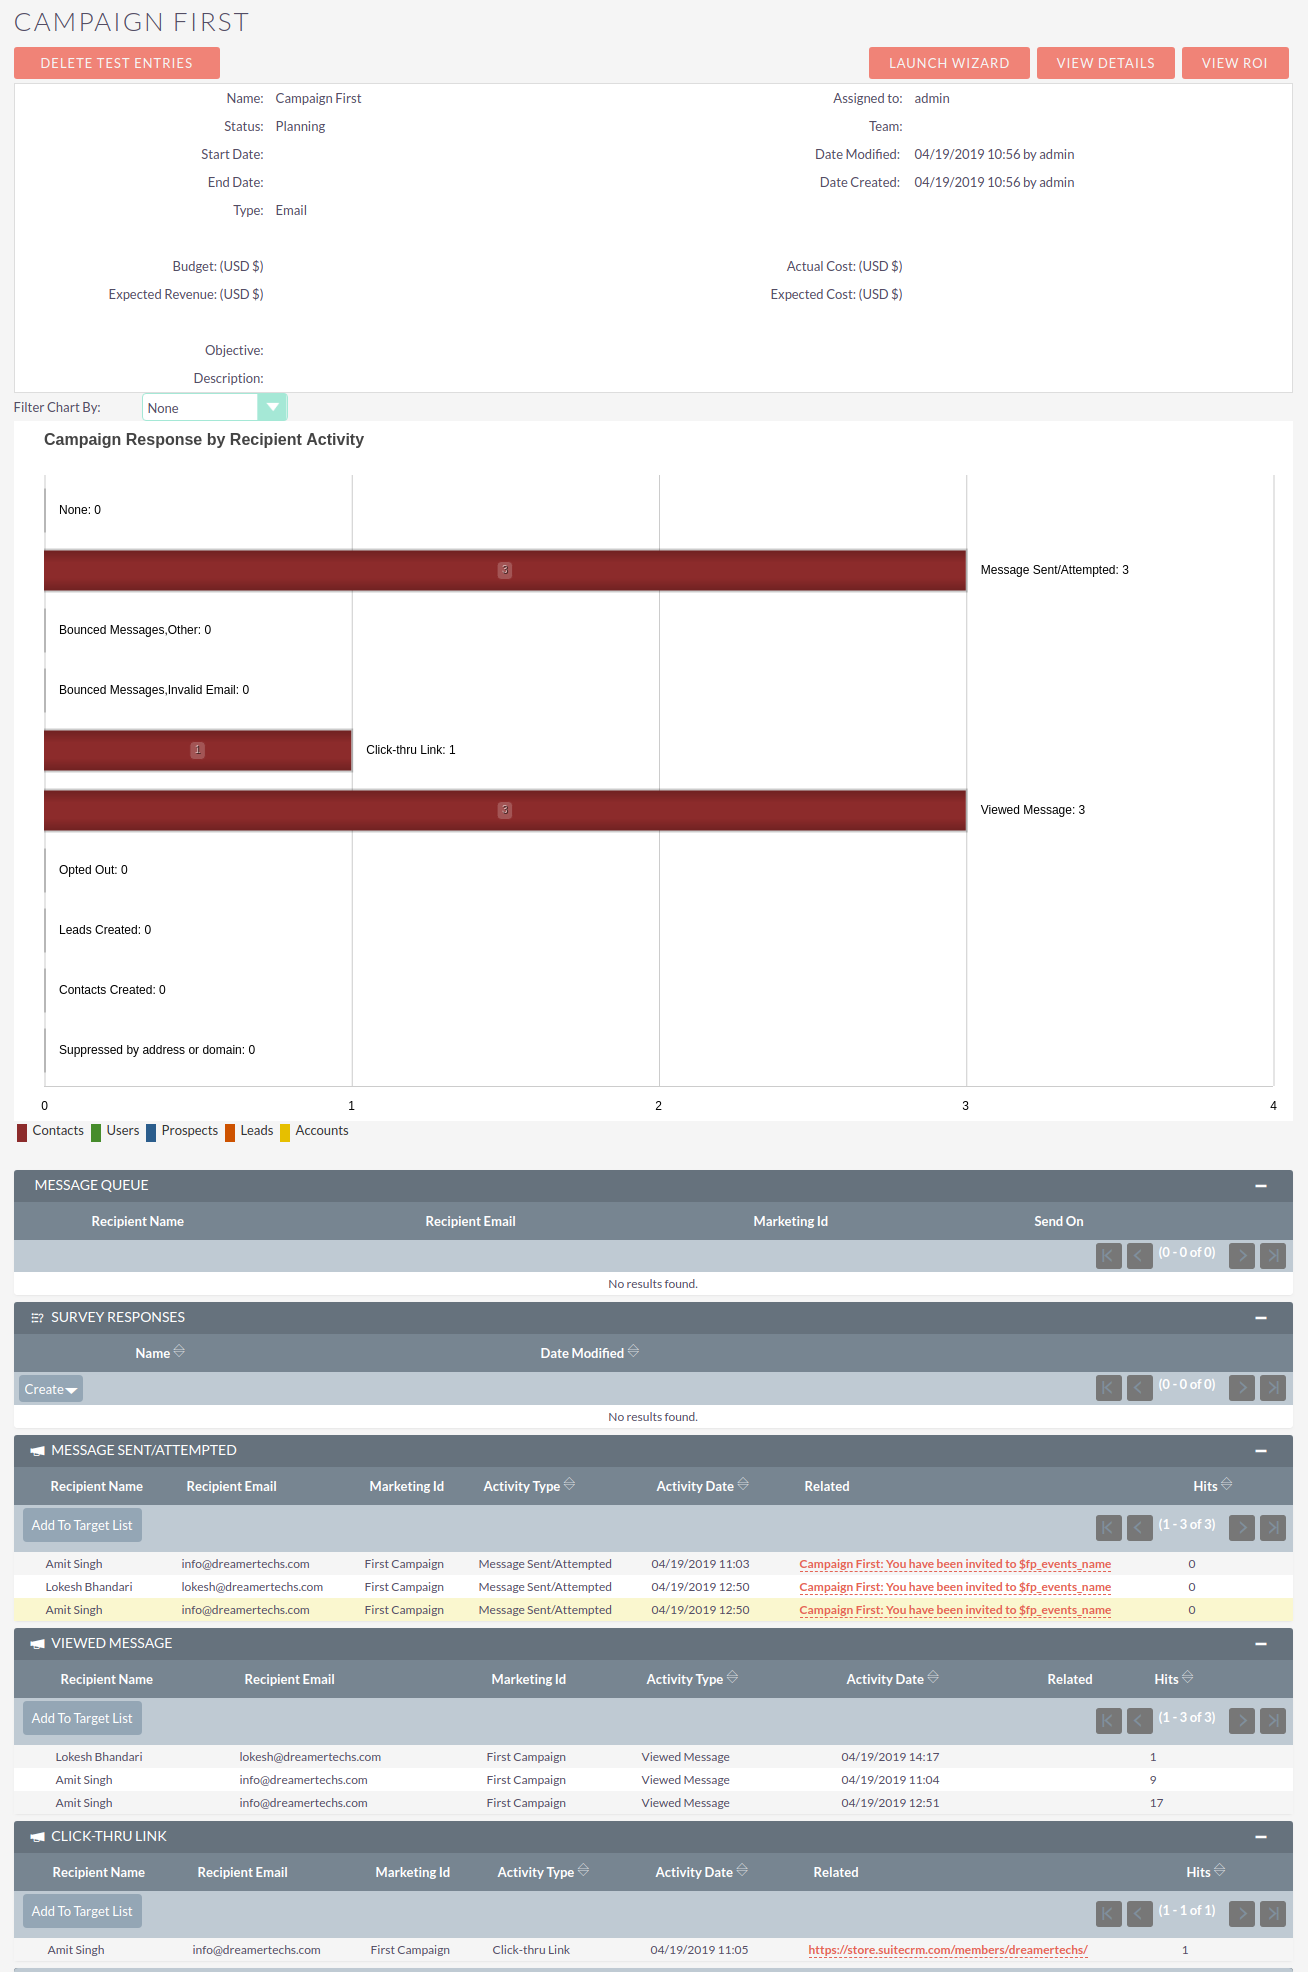
- Graphical Campaign Status and response Tracking
- Graphical representation of your campaign’s Return on Investment
Precaution before installation of Addon
1) Email should be configure in User Profile. 2) Email Setting should be configured from Admin Panel. 3) Inbound Email should be configured. (New Bounce Handling Account) 4) OutBound Email should be configured. 5) Scheduler is must running and make "Run Nighty Mass Email Campaigns" scheduler as soon as possible.
Normal Mail Tracking
1) Open listview of Contact.

Click on Any Email Id from Contacts. It will open popup for Email.
2) Fill details and Click on Send.

3) Once Successfully send you will get popup for Email Send.

4) Open Contact and you will get Email in History Subpanel.

5) Open Detailview of Email from Subpanel.

You will get event in SendGrid Event which will show you notification event with time.
Use of Addon in Campaign Module
1) Create target list and select type as Default and Select Contacts or Accounts or Leads or Users in it.
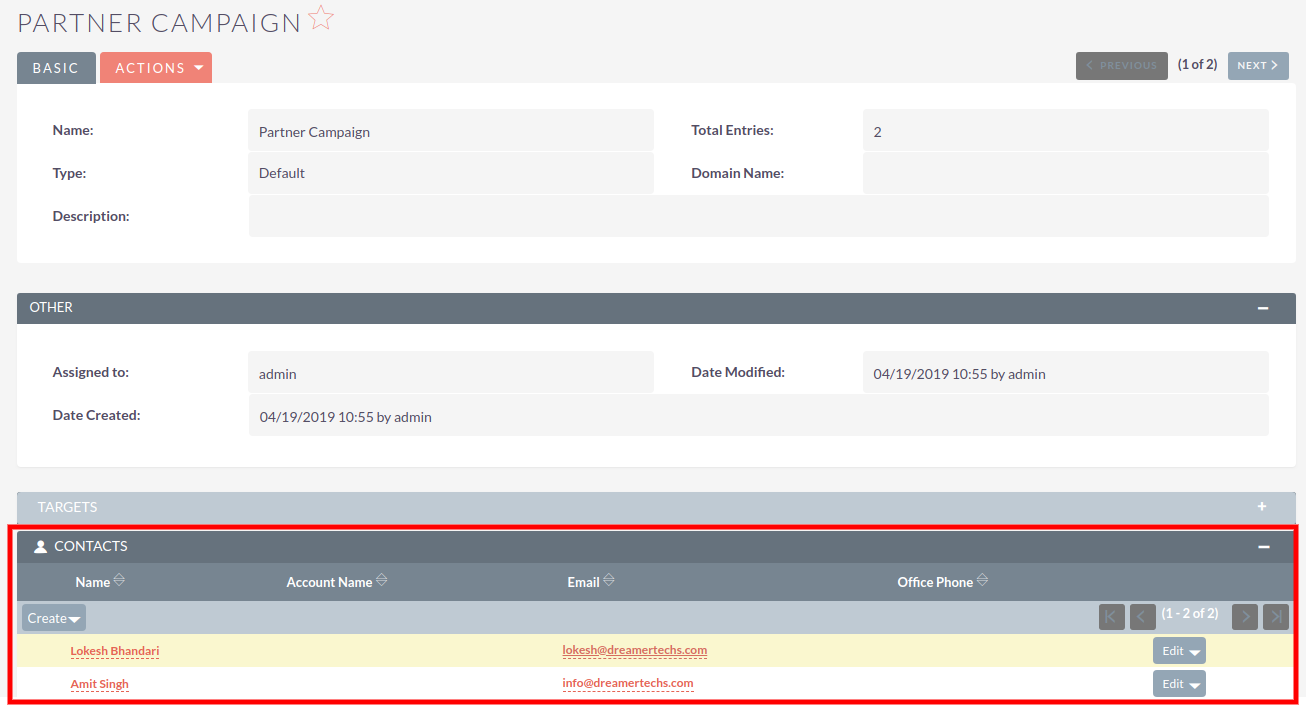
2) Select a Campaign Type (I have selected Email).

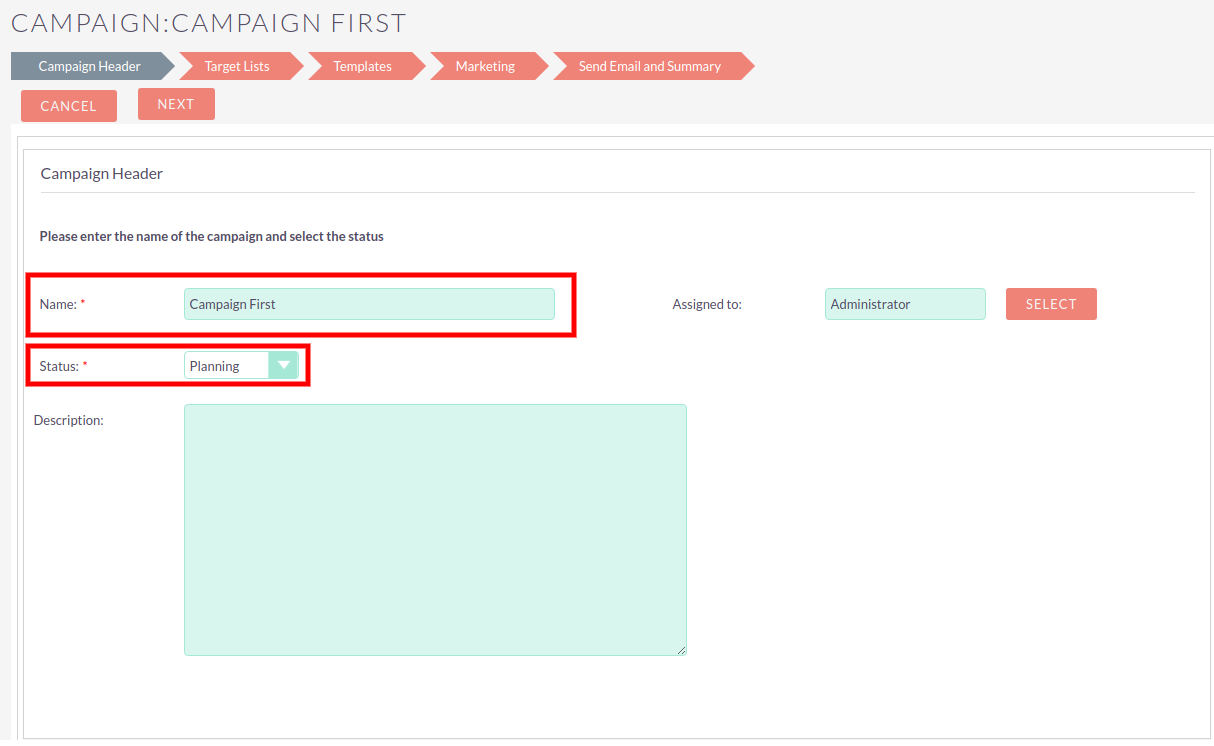
3) Insert Name and select Status from Dropdown.
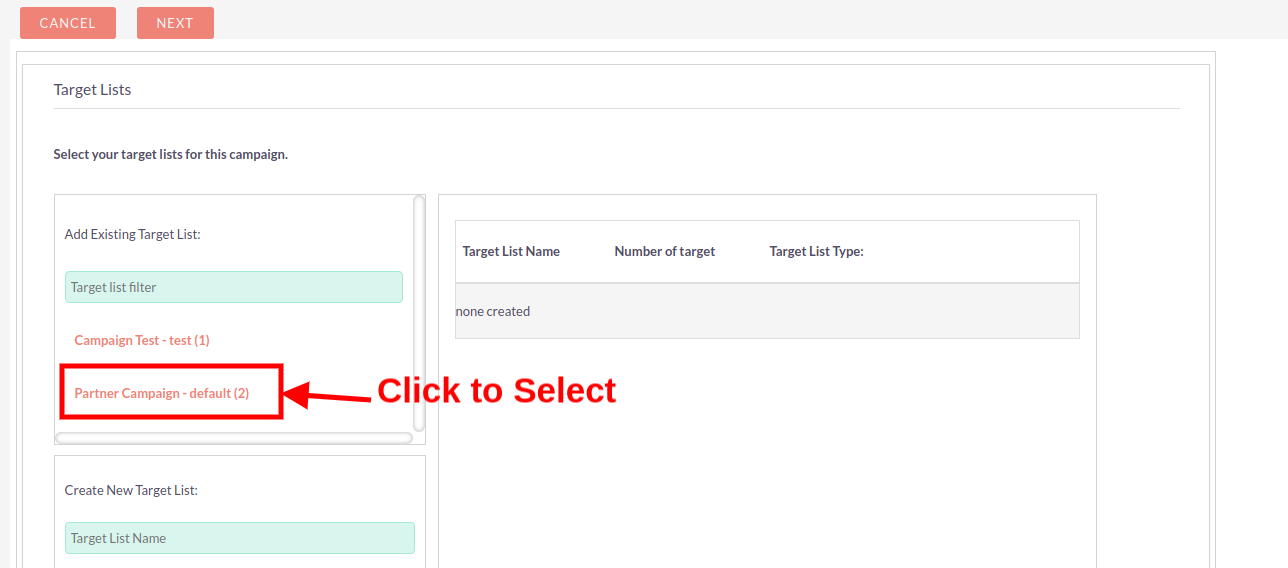
4) Select Target List.
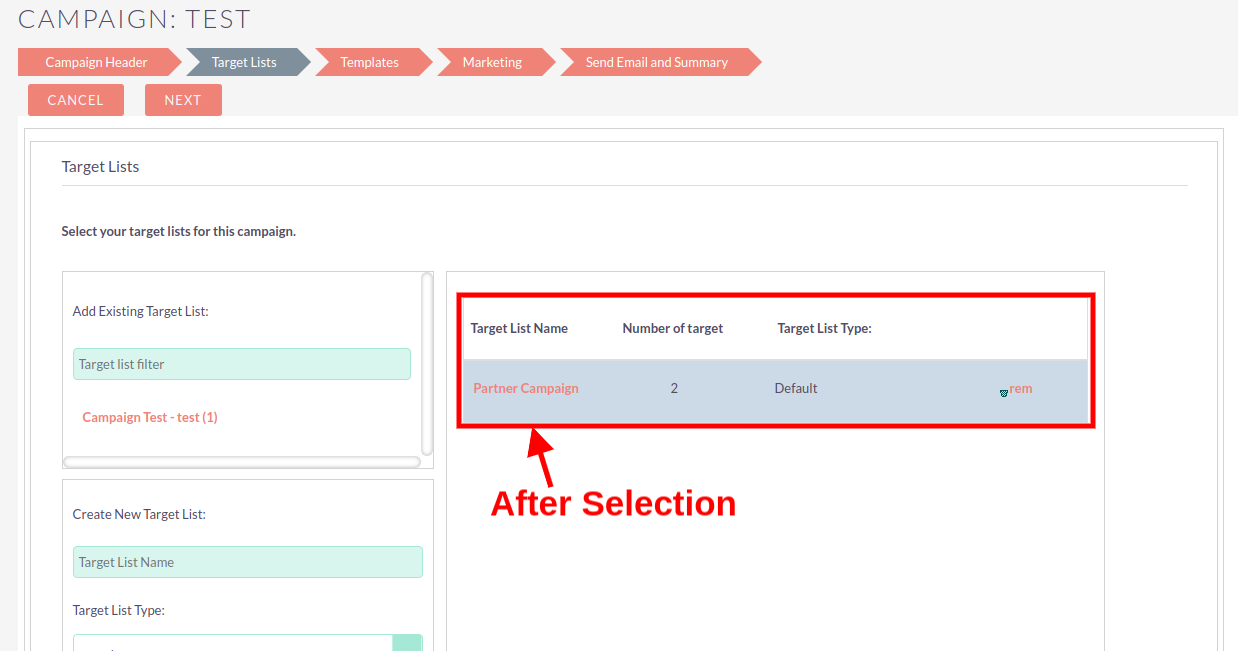
After Selection of Target List.
5) Select Email Template.
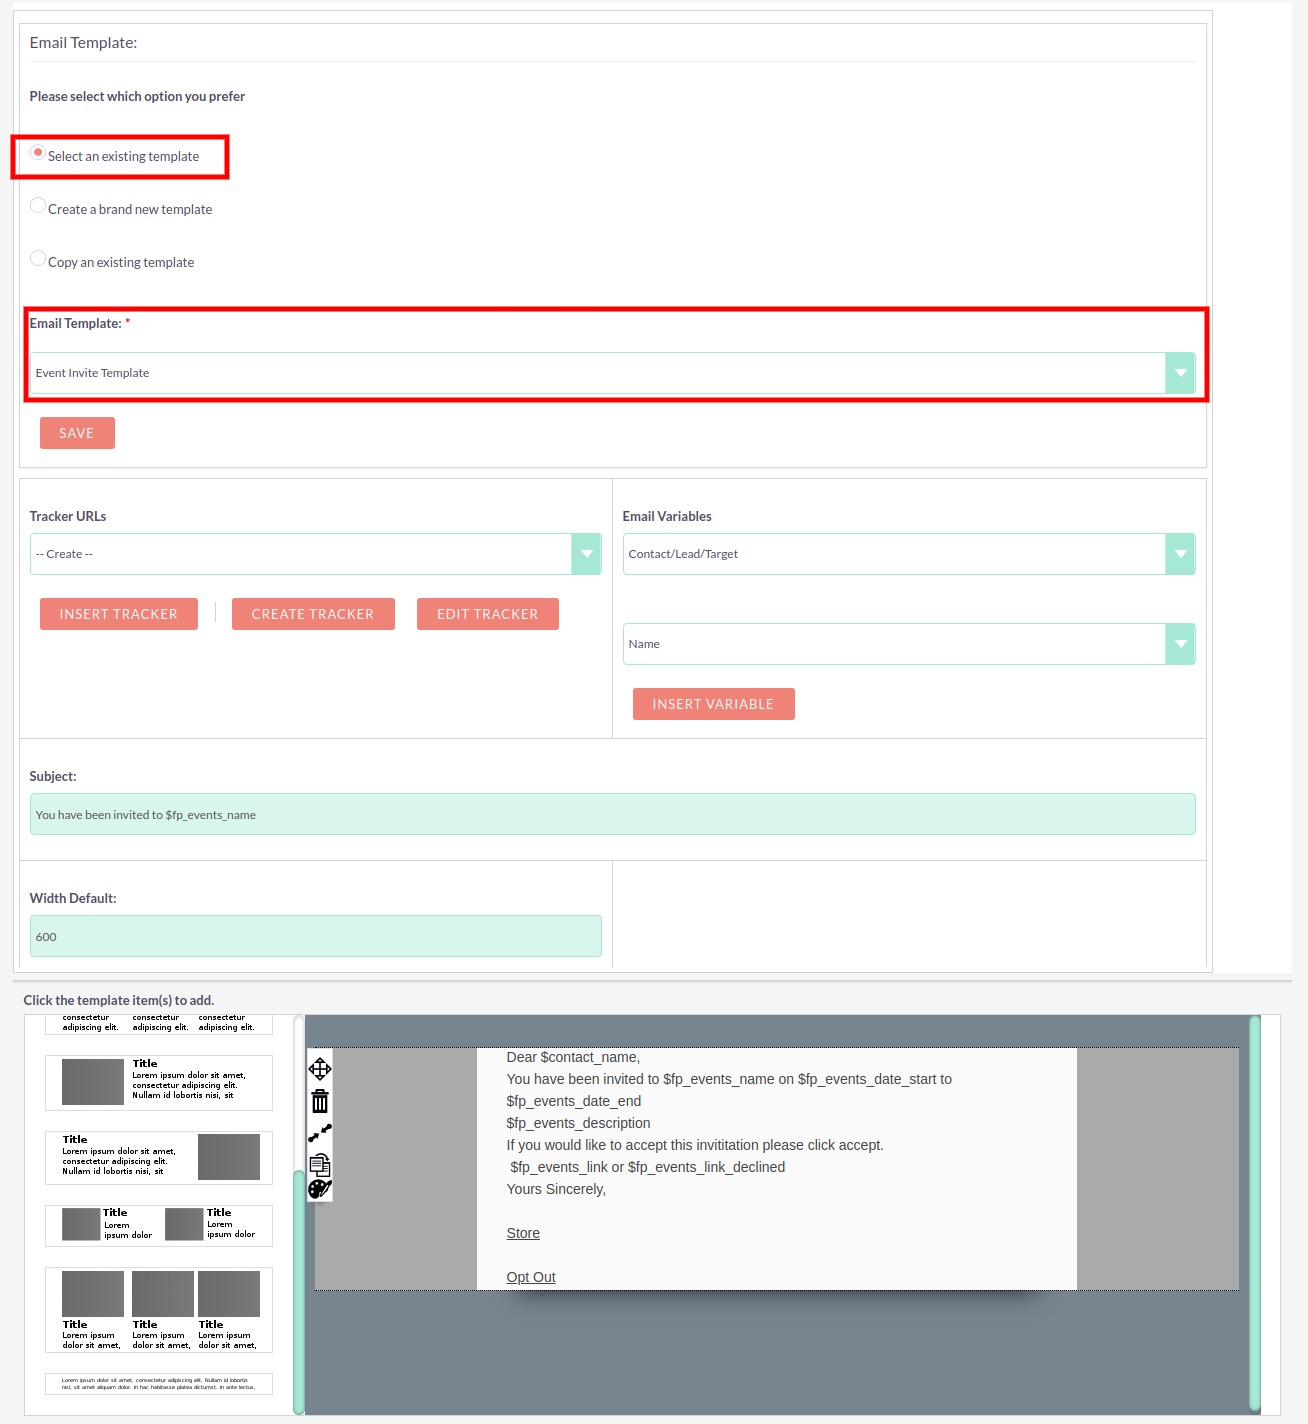
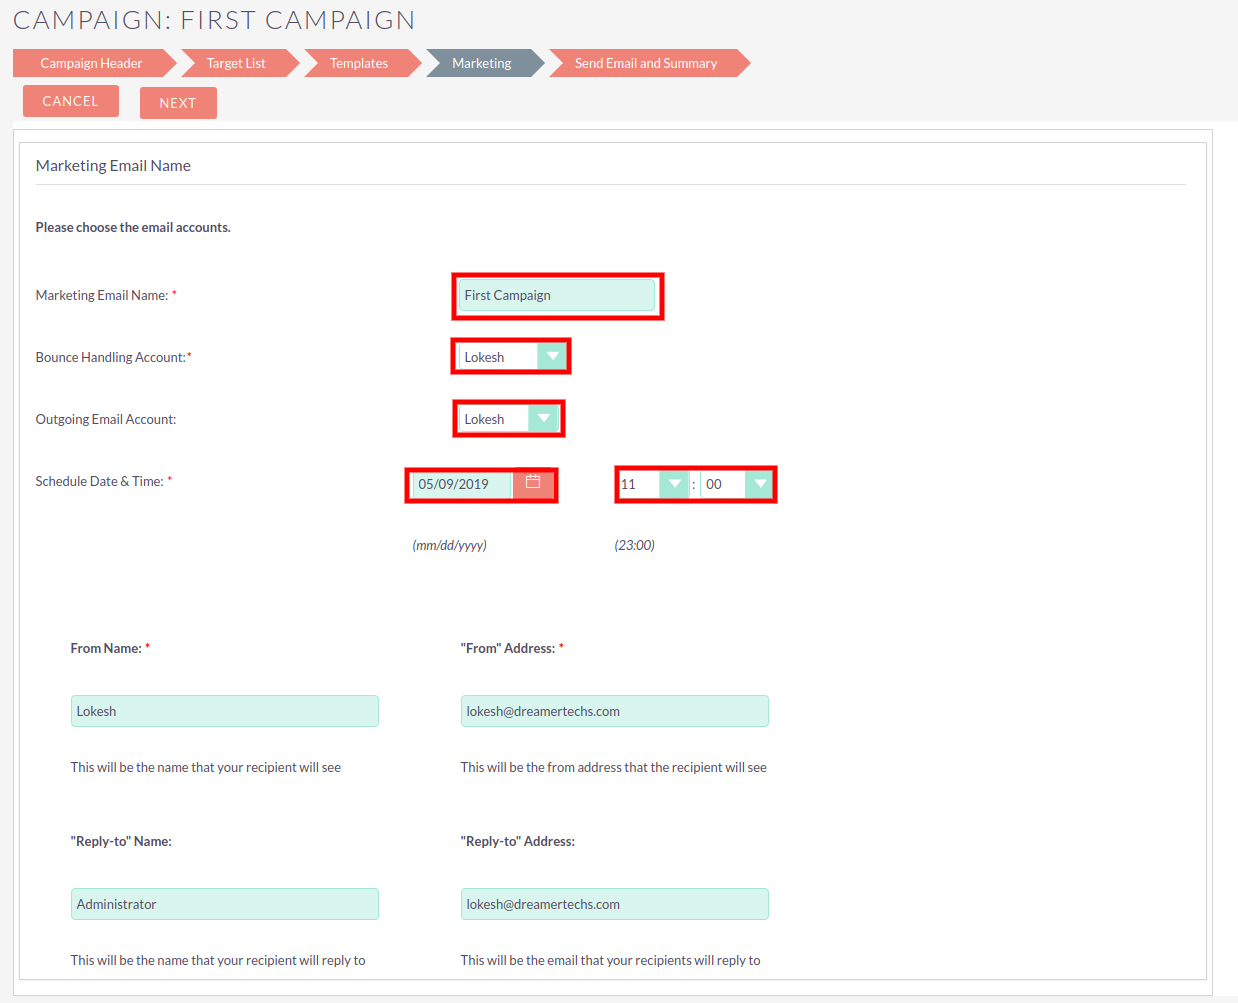
6) Fill Marketing Email Name Details.
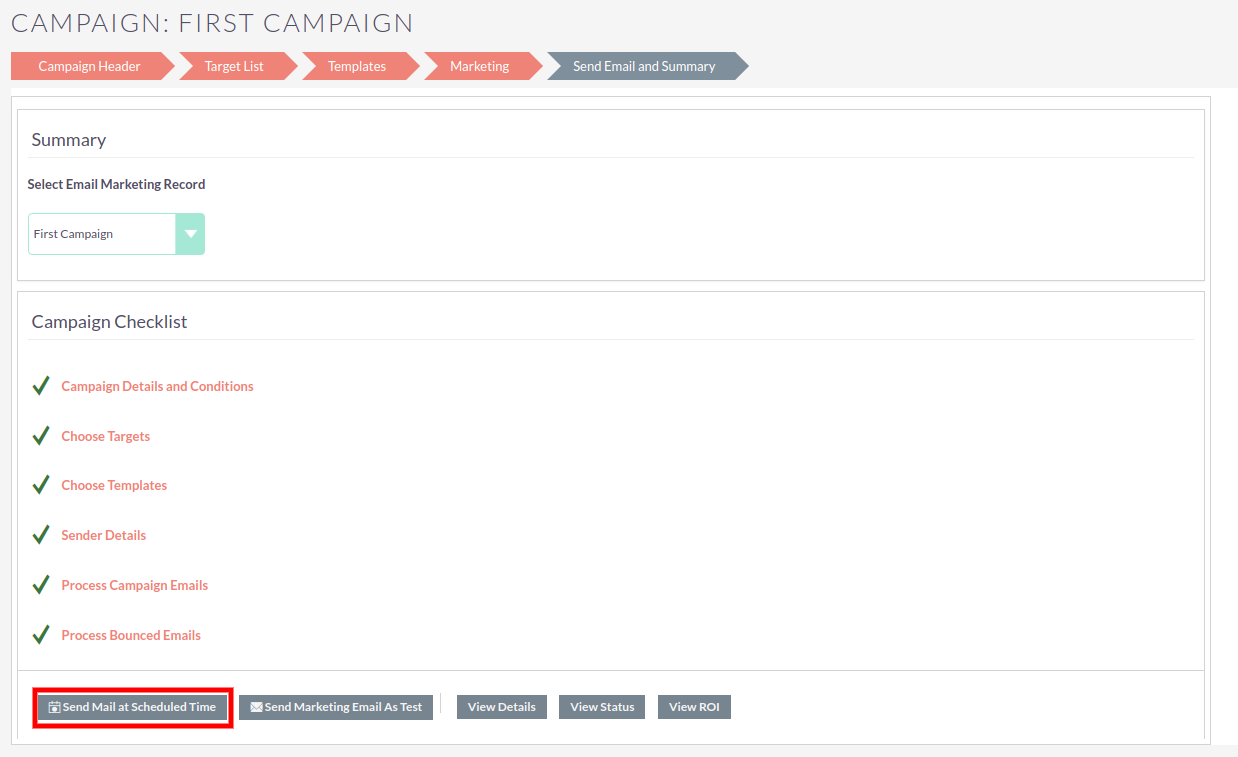
7) Click on Send Mail at Schedule Time.
8) Open the detail view of Campaign and Click on View Status.
In case found any problem while installation please email us at info@dreamertechs.com


