The Xero Integration allows you to connect SuiteCRM to Xero. The plugin plays a very important role to deal with changes in both SuiteCRM and Xero. When a user creates, edits, or deletes any record in Xero, changes will automatically occur in SuiteCRM as well, and vice versa, by using the Xero Integration.
User Guide/ Admin Guide
How to configure client ID and secret
First, you have to create an account on Xero.
• Go to https://go.xero.com and sign up.

• Check the inbox of the email you provided for a verification or confirmation email.


• To activate the account, create Password.

• After setting your password, a pop-up will appear where you need to add your business information.

• Begin the trial to access the platform.

• Your account has been created now.

Now you have to create an app
• Go to developer.xero.com .

• Log into your account.
• Navigate to My Apps.
• Select New App.

• After selecting the new app, a pop-up will appear where you need to provide the necessary information for your app.

To get Company URL
• Access SuiteCRM.
• Go to Xero Configuration and select Create Xero Configuration.


• Copy the given link and paste it as your Company URL.

To get a Redirect URL
• Enter CompanyURL/index.php?entryPoint=XeroConfiguration
Now add both URLs

• Select the app you made.

• Now, select Configuration and generate Client id and secret.

• Copy the Client id and Client secret.

• Now paste Client ID and Client Secret into your CRM and add additional information.

• After creating the Xero Configuration, you have to create Scheduler and schedule the time according to your needs.

• As in the given pictures, we have created a scheduler named “Xero Token Refresh Job”.


• Go to Configure OAuth, select the organization name that you created, and then click Connect to Xero.

• After clicking on allow access, it’ll connect.

Now you have to create a Product Category
• To create a product category, click Create Product Categories and provide the required information


• After creating the product category, proceed to create a product by selecting Create Product.

• Provide the necessary information and select the product category. A pop-up will appear for you to choose the product category.


• After creating the product, check the List View to ensure the product has been created along with the product category.

• After creating the product, go to Invoices and select Create Invoice.


• Provide the required information, including the name of the organization you previously created.

• After clicking it, a pop-up will appear for selecting the account.


• Now add a group.

• Then add a product line. When selecting the part number, a pop-up will appear where you can choose the product.


• After selecting the product, provide the quantity, discount, sales price and tax amount.

• Click Save.

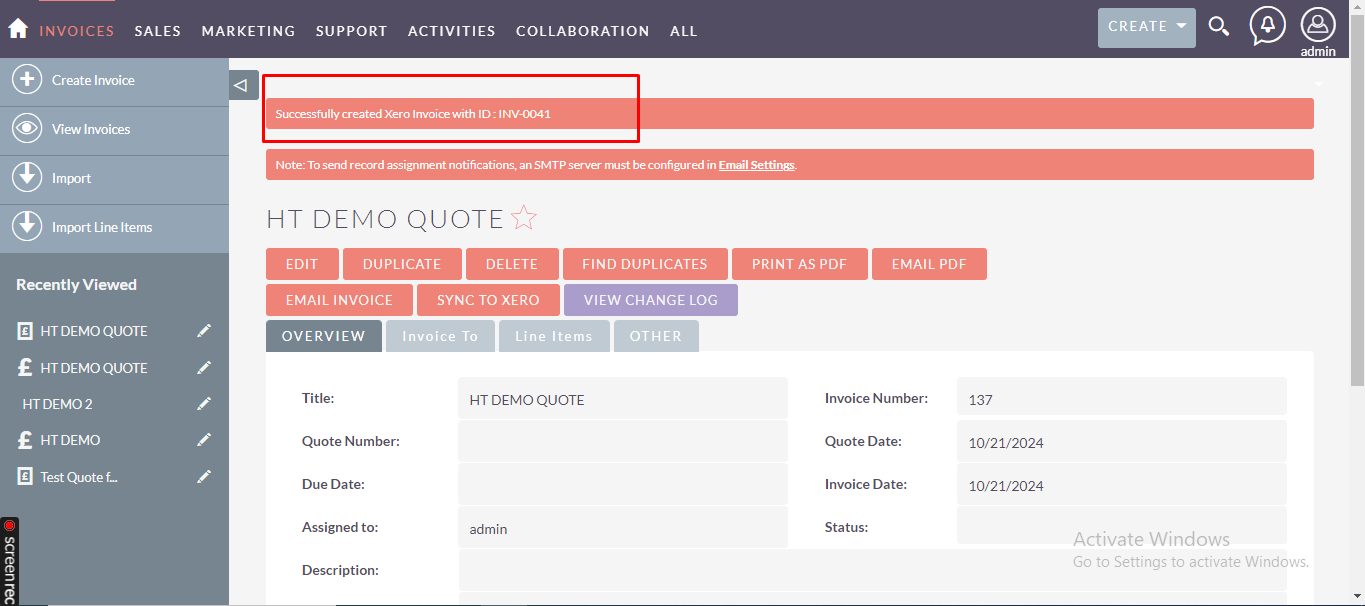
• You can view the invoice in the List View.

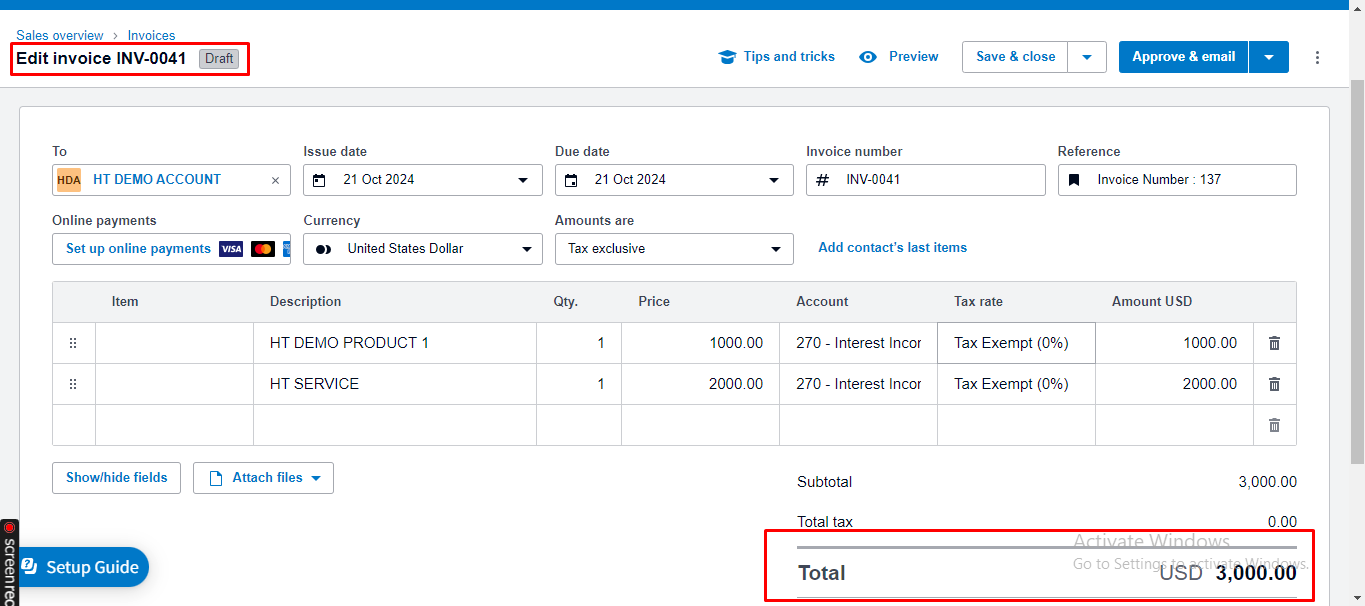
Go to your Xero account to check the generated invoice.
• Select Business, then click Invoices to view the generated invoice.

• You can navigate to your invoices from the dashboard too.


• Now you have to add a service line and provide the service, list, discount, sales price, and tax amount.


• You can view the generated invoice here.

How to configure the Chart of Accounts
• Go to Accounting and select Chart of Accounts.

• Click Add Account and a pop-up page will appear where you can provide the necessary information.
• Be sure to select Revenue as the account type, enter the available code, and provide the account name.
• Click Save.


• The account you created will appear in revenue after you search for it by name.

• Go to CRM, then select Configure Chart of Accounts.
• Select the same organization you previously created.

• Choose the product category you created for that organization, then select the Xero account associated with that organization.
• Also, select the Xero Tax Type.
• Click Save Mapping.

After completing these steps, you can view the invoice generated with the same account you have created before.

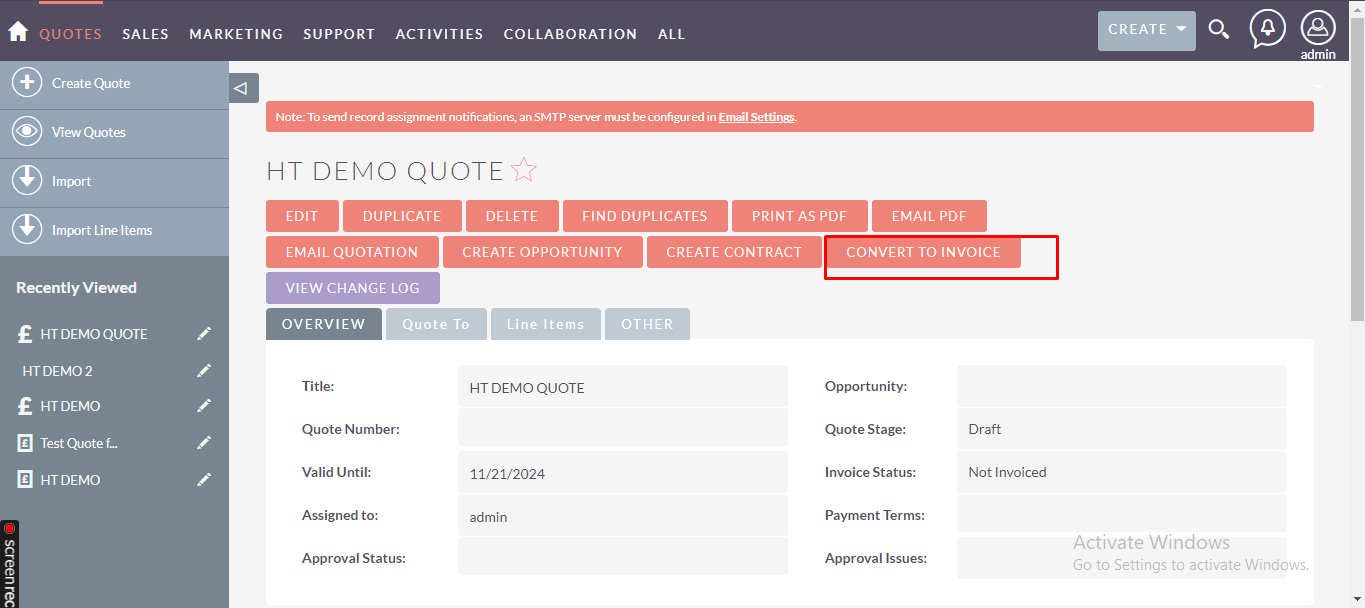
You can also convert Quotes into Invoices and sync it to Xero
- Go to Quotes Module:

2:Click on create Quote
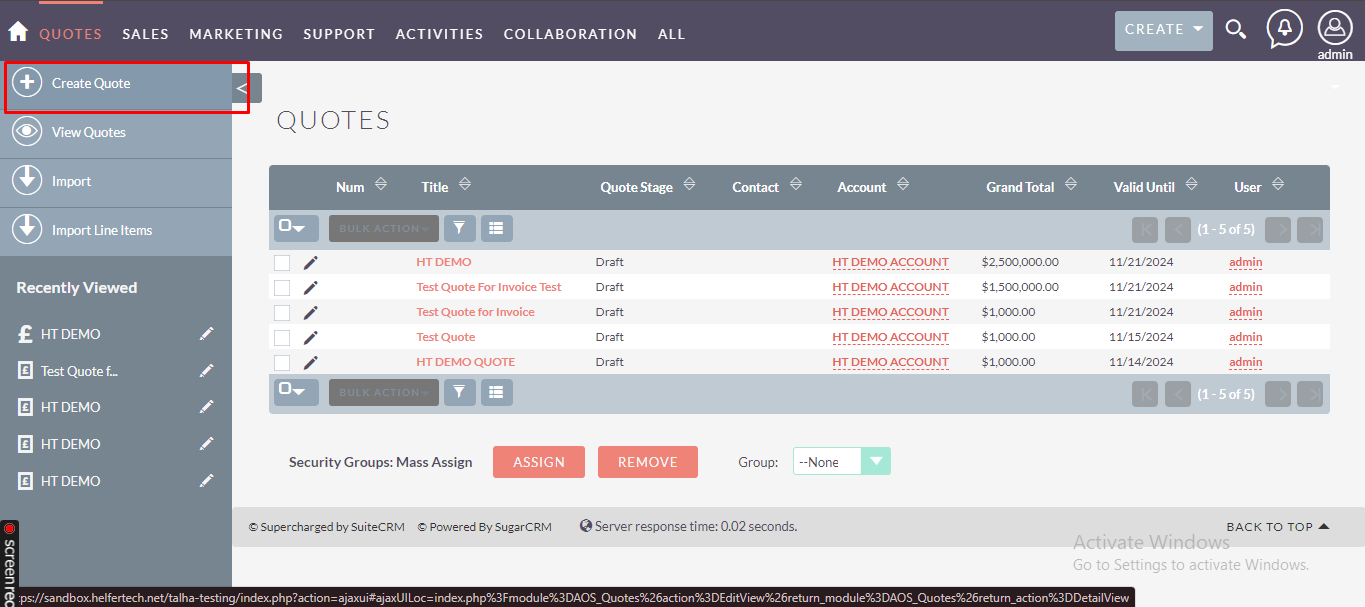
The Quote Process will be the same as defined above for invoice creation.
3: After creating a quote you will redirected to the Detail View of the Quote.
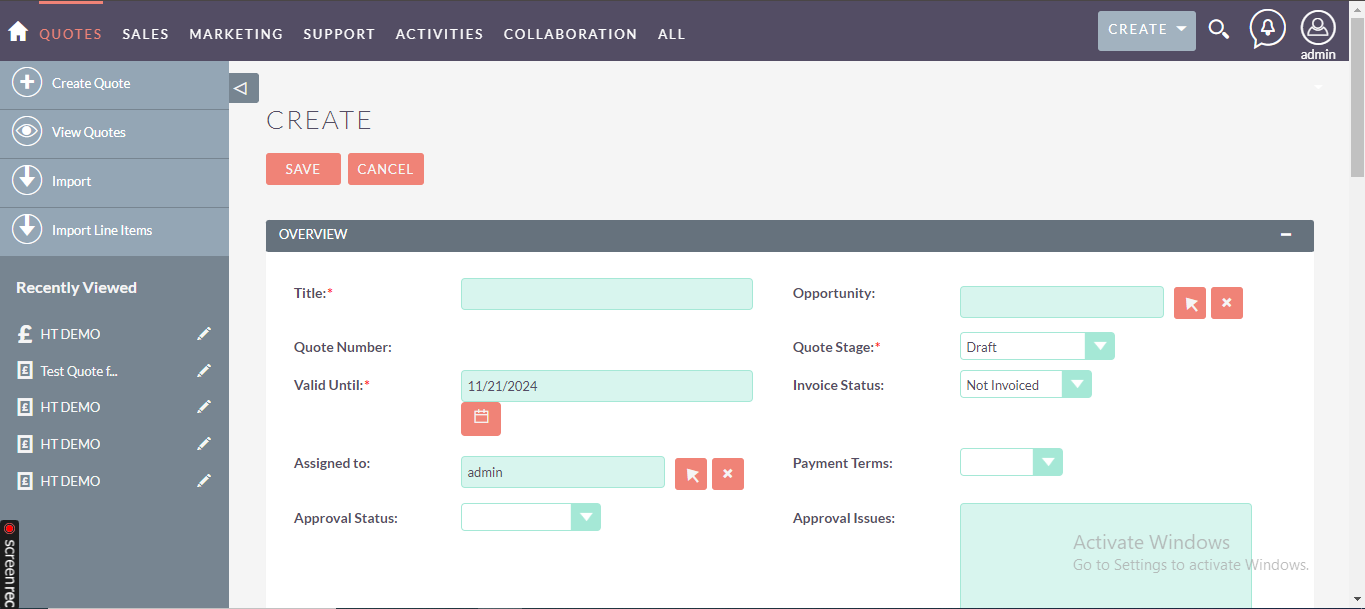
4:Then click on convert to invoice button. You will be redirected to the editview of invoices module.
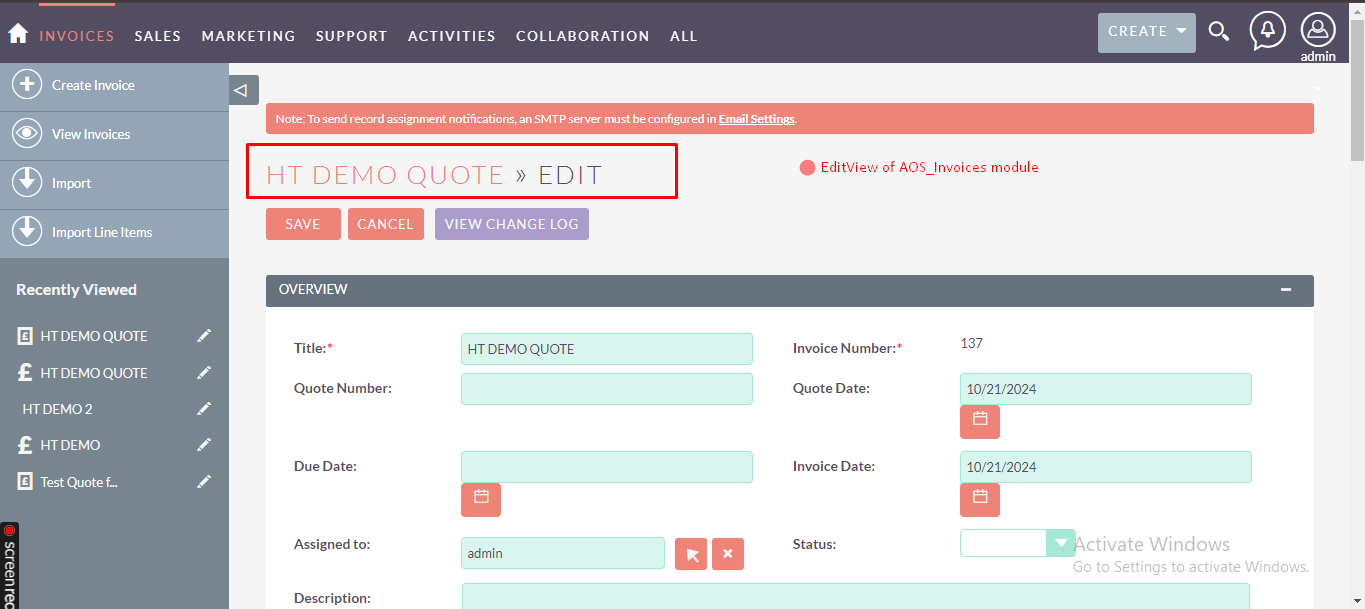
5: Now just click Save button.
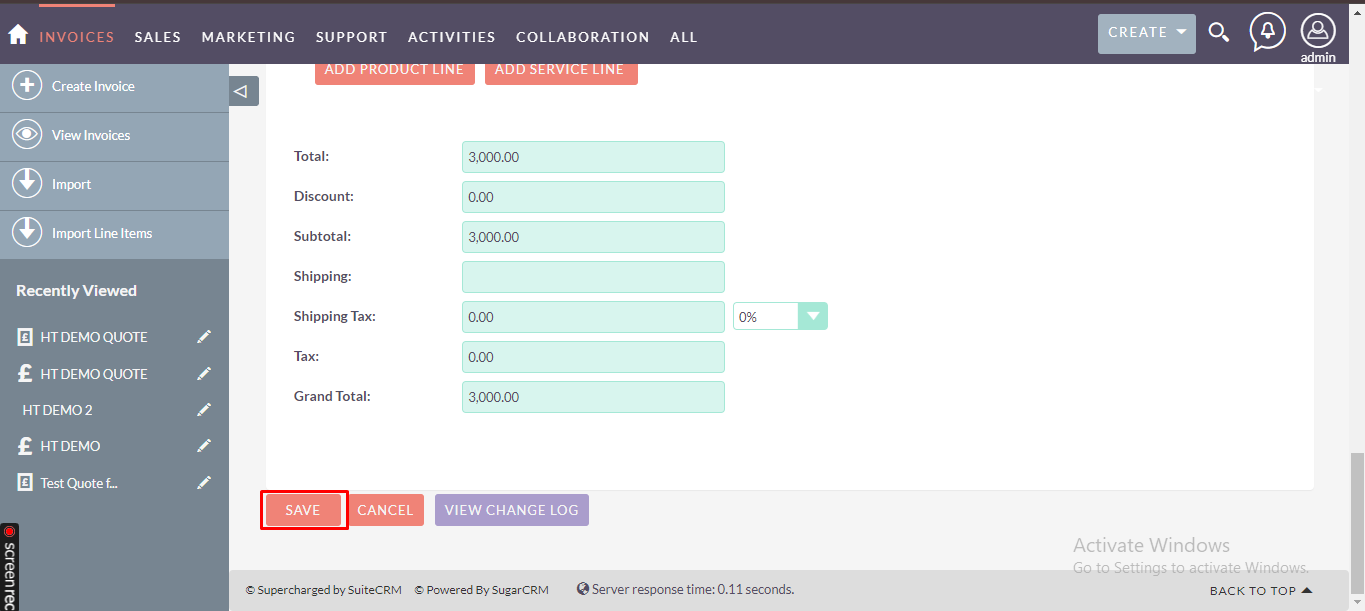
Invoice will be saved and synced to Xero
