Use this SuiteCRM plugin to create and update CRM records in accordance with the European VAT Information Exchange System (VIES). Also, verify other companies’ VAT numbers before moving forward with transactions.
Getting Started
Go to CRM -> Administration -> Connectors
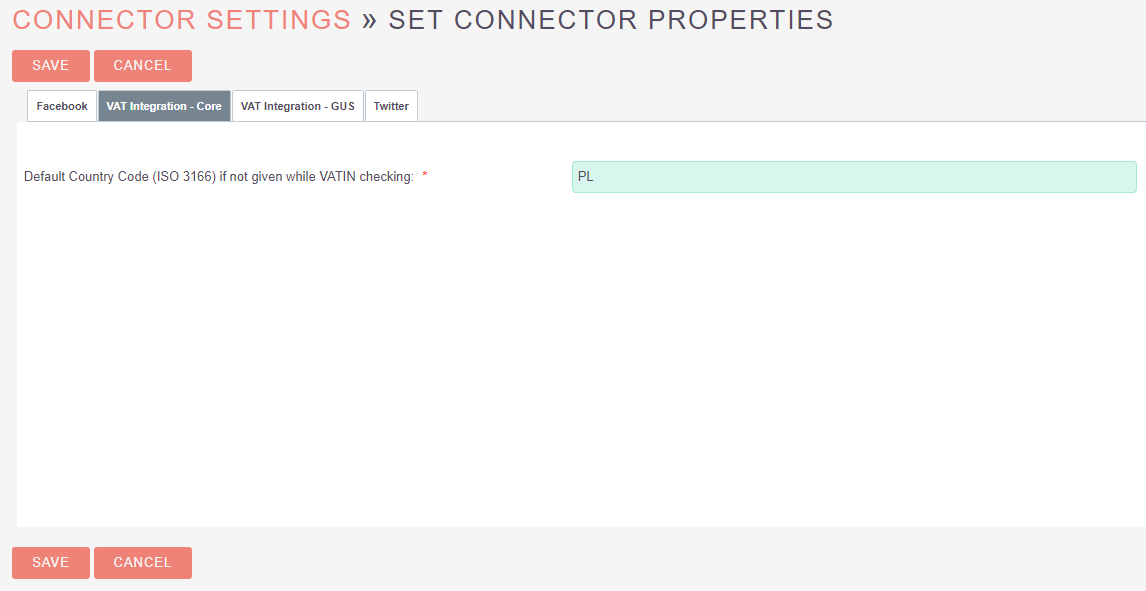
Go to Set Connector Properties
Go to VAT Integration - Core
* For the field *Default Country Code (ISO 3166) insert prefix of the default country. While VATIN checking if not provided differently the default prefix applies.
** Example: if default prefix set as PL:
*** for VATIN: 1234567890, system looks for: PL1234567890
*** for VATIN: DE1234567890, system looks for: DE1234567890
* Save changes
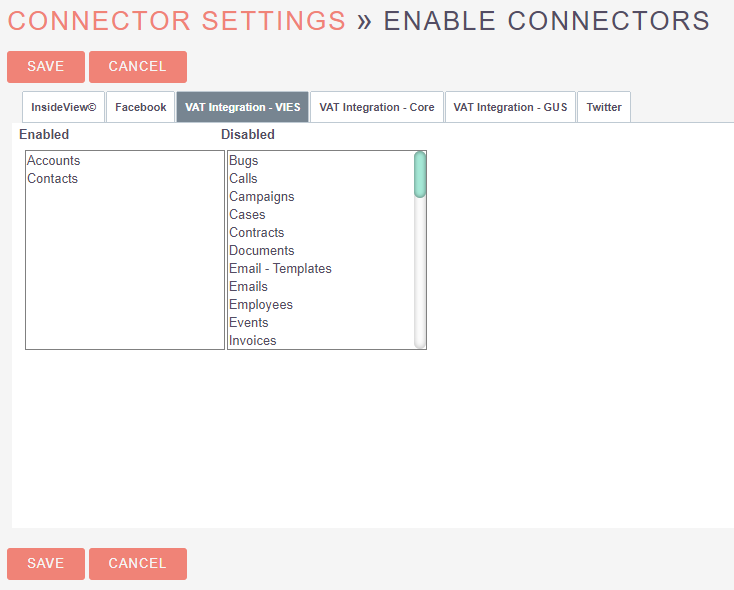
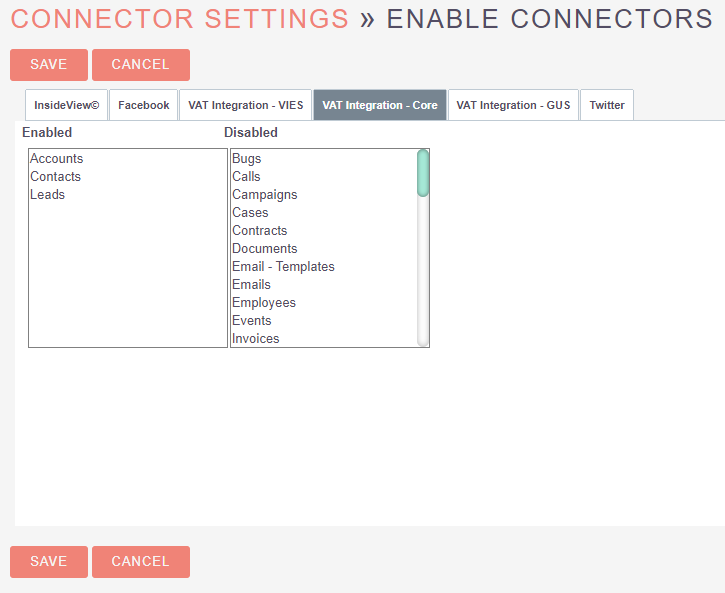
Go to Enable Connectors
Fold VAT Integration - VIES
* To the * Enabled * section, drag (from the * Disabled * section) those modules that you want to power with data from VIES
Fold VAT Integration - Core
* To the * Enabled * section, drag (from the * Disabled * section) those modules that you chose in fold [VIES] VAT Integration - VIES
* Save changes
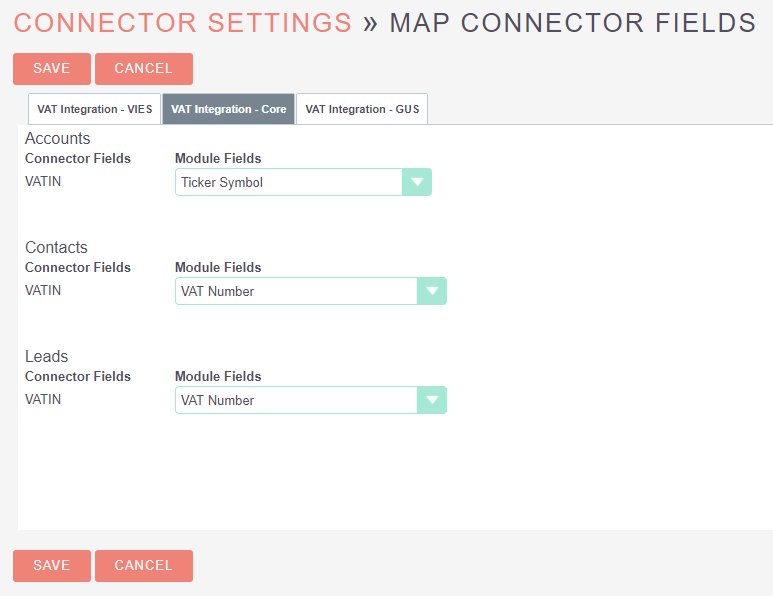
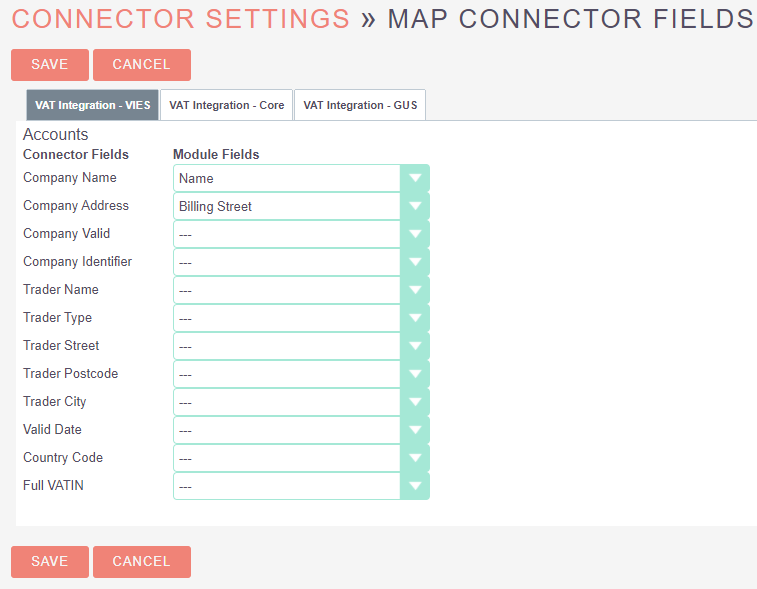
Go to Map Connector Fields
Fold VAT Integration - Core
* For each enabled module, you must select the field that will store VATIN
** Note: You can create additional fields for a given module in * CRM -> Administration -> Studio*
Fold VAT Integration - VIES
* For each enabled module, select the field mapping:
** The field on the left: the value that will come from the integration.
** The field on the right: field in the module that will be assigned value from integration.
* Save changes.
Integrator in SuiteCRM views
Home
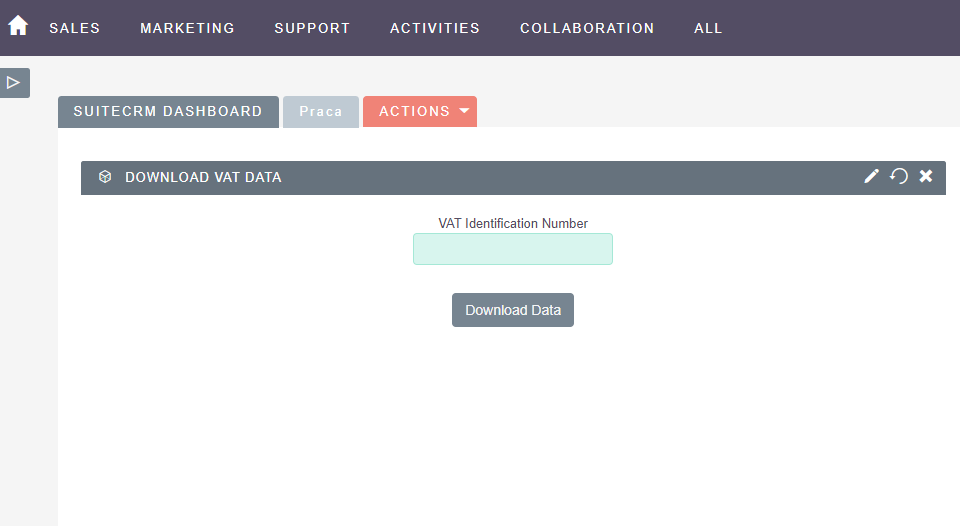
Adding Download VAT Data dashlet
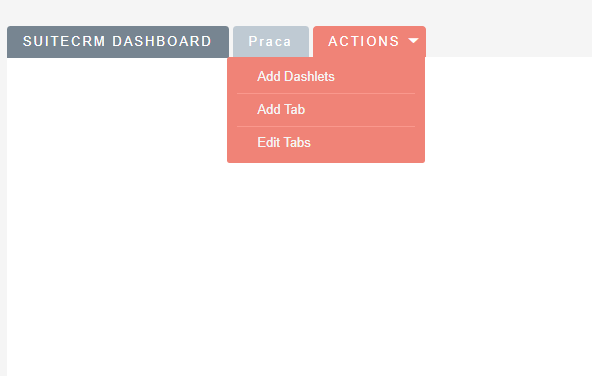
Click ACTIONS -> Add Dashlets on your dashboard
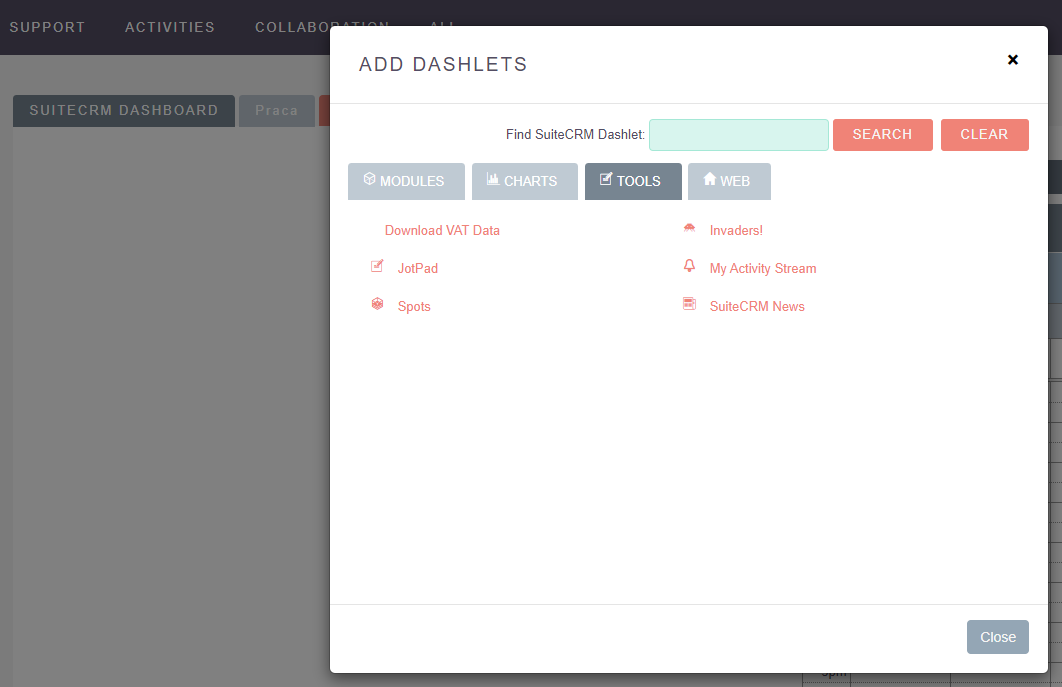
Go to TOOLS and select Download VAT Data
Close ADD DASHLETS and refresh page
Module Record View
Adding a button to a Download VAT Data field
Open the file for module record view edition:
* Example: if the module is Accounts, the file you look for is:
** custom/modules/Accounts/metadata/editviewdefs.php - if it exists, otherwise:
** modules/Accounts/metadata/editviewdefs.php
Next, find a choosen field CRM -> Administration -> Connectors -> Map Connector Fields -> VAT Integration - Core and add or overwrite an attribute to it:
'type' => 'vat_number'
* Example: if the field is: Ticker Symbol, look for ticker_symbol,
** find
   ...
   'ticker_symbol',
   ...
and change it to
   ...
   array(
      'name' => 'ticker_symbol',
      'type' => 'vat_number',
   ),
   ...
** find
   ...
   array(
      'name' => 'ticker_symbol',
      ...
   ),
   ...
and change it to
   ...
   array(
      'name' => 'ticker_symbol',
      ...
      'type' => 'vat_number',
   ),
   ...
Then do the rebuild * Installation and rebuild * -> * Standard instance rebuild *
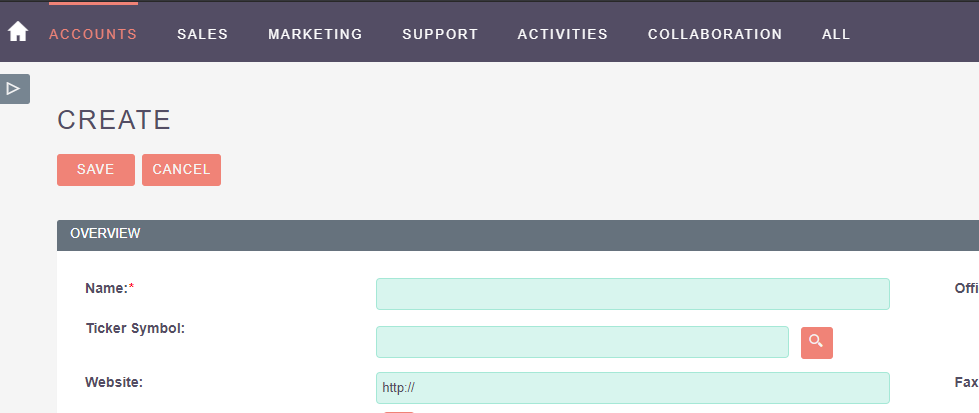
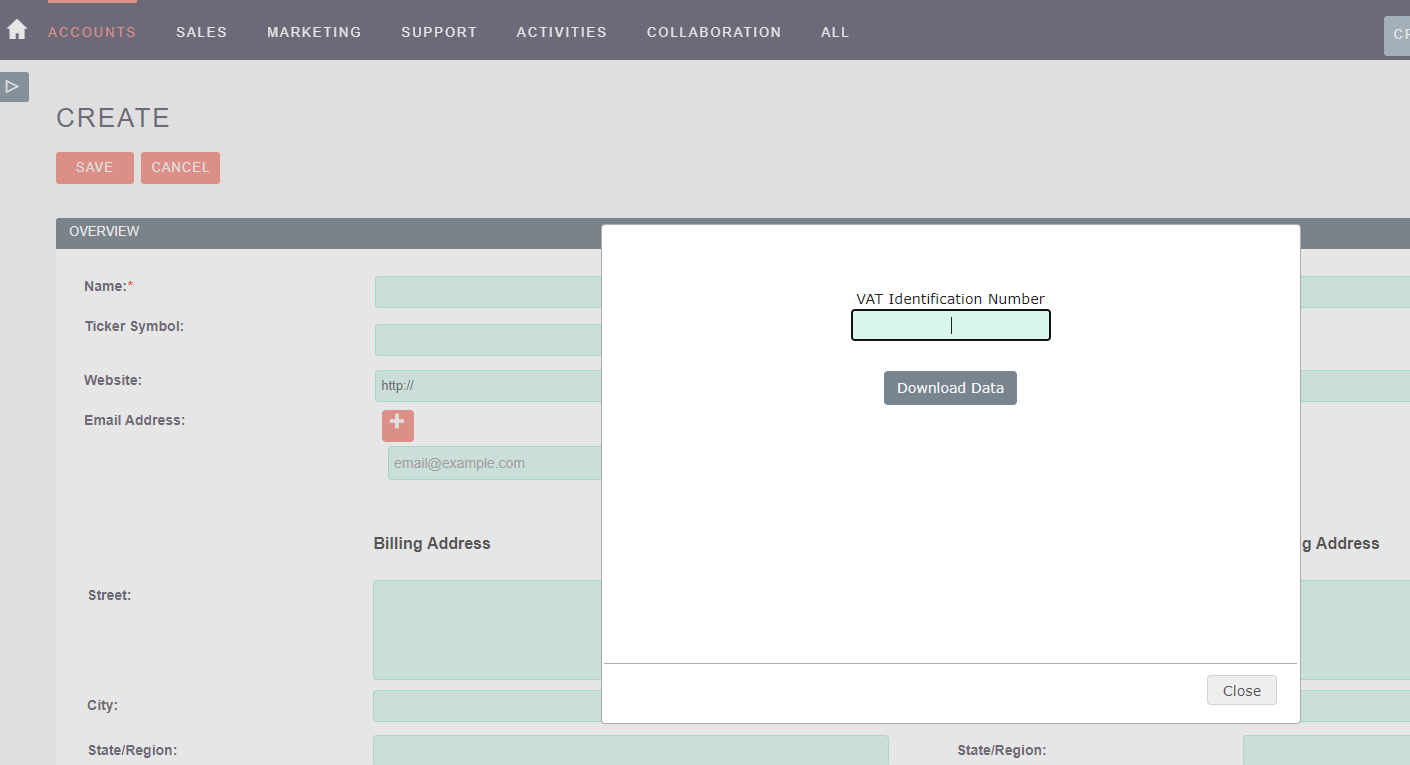
After rebuilding and refreshing the record view, a new button appears next to the indicated field. Click it and open the integrator window.
User Guide
Step 1. Input VATIN
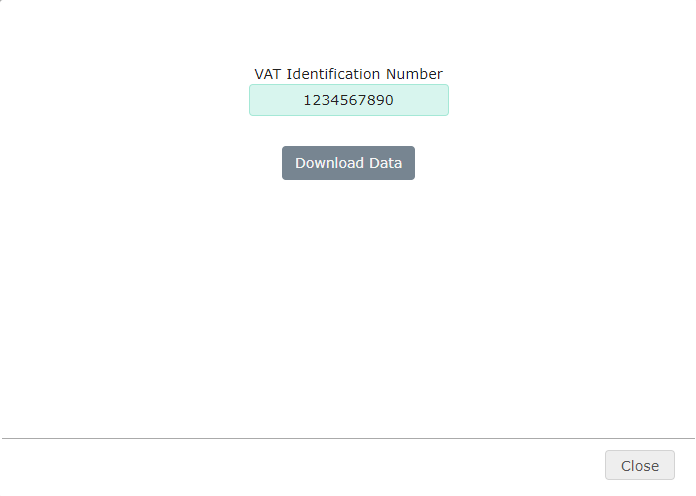
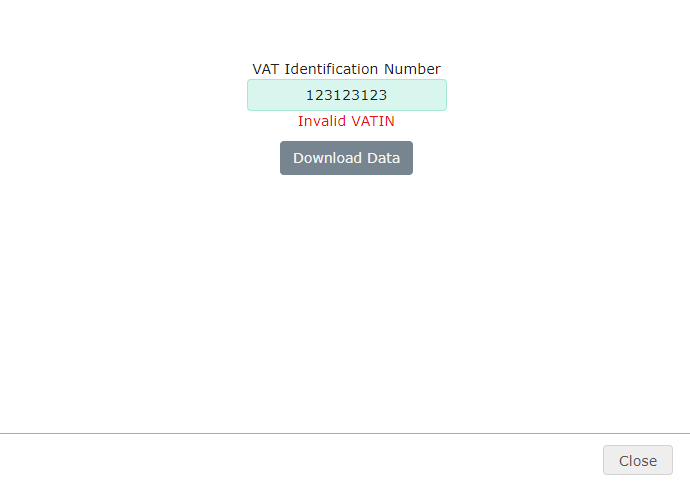
For field VAT Identification Number input VATIN and click Download Data
Attention: If you are already in the record view and the VAT Identification Number field was already filled - data download happens automatically.
Then, the following occurs:
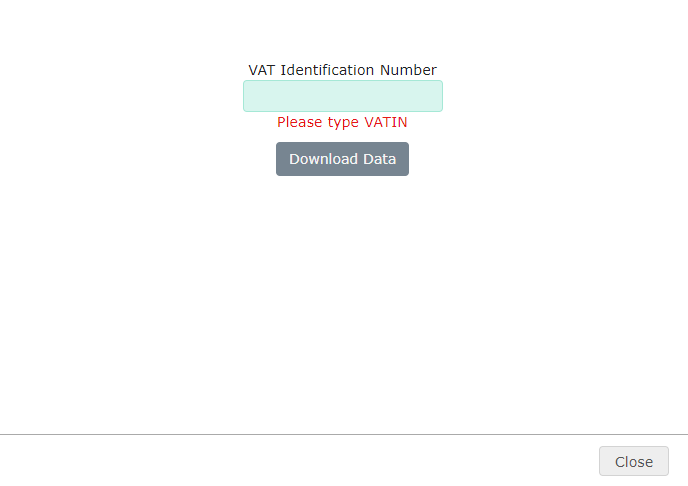
- Validation of the * VAT Identification Number * field, if it was successfully filled in.
- Validation of the * VAT Identification Number * field, has a valid checksum.
If both validations are successful, the plugin looks for duplicates with the same VATIN.
At this stage, if:
- subscription has expired or is turned off
or
- no module has been enabled, or the field mapping in connectors has not been set
instead of step 2, an appropriate message will then be displayed
Step 2. Data presentation
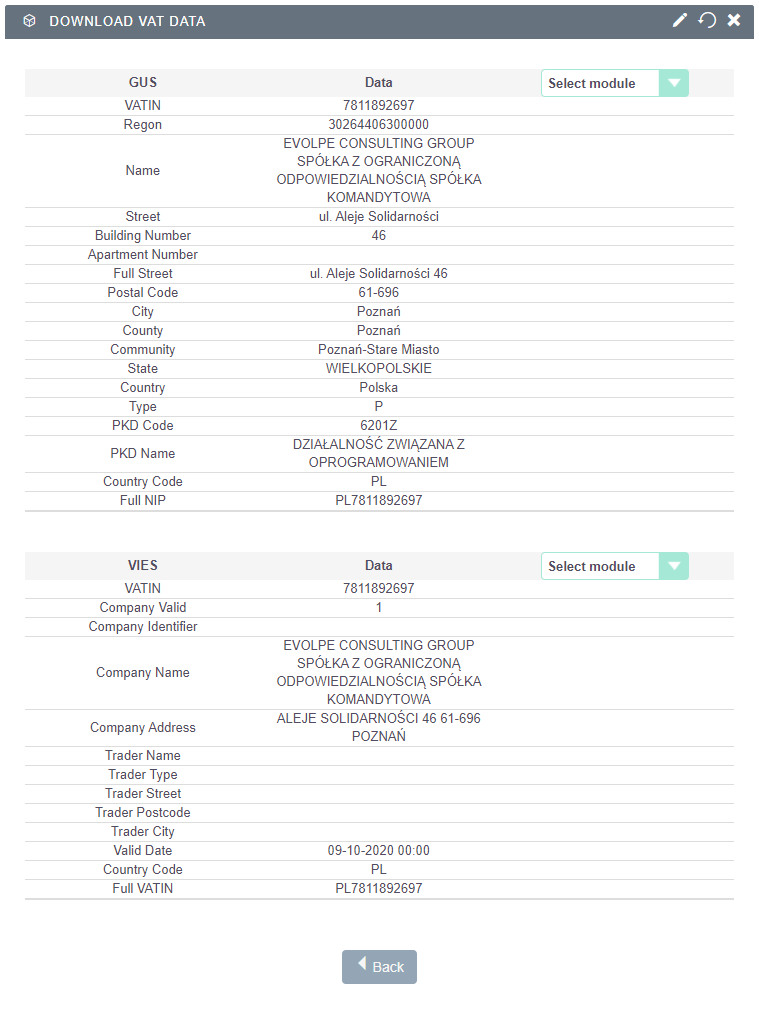
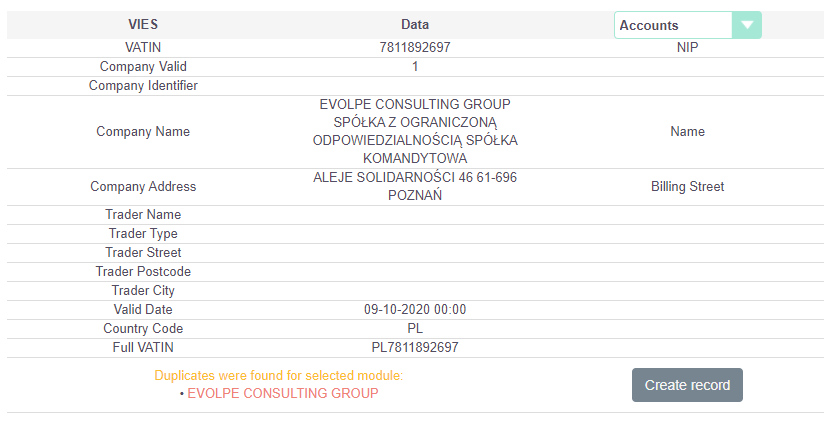
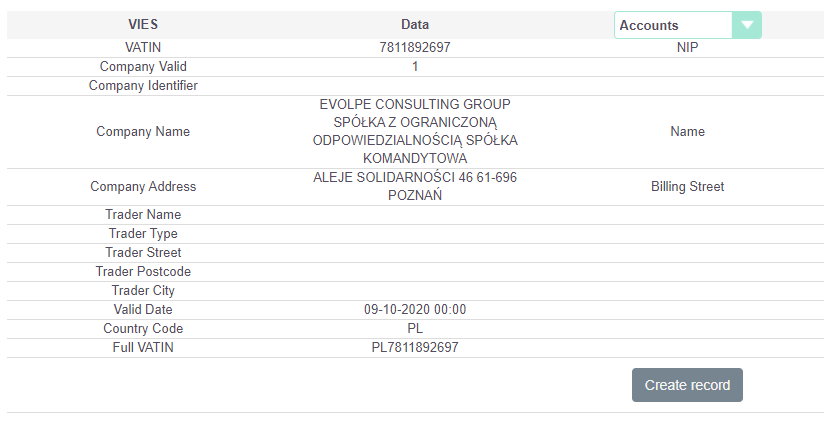
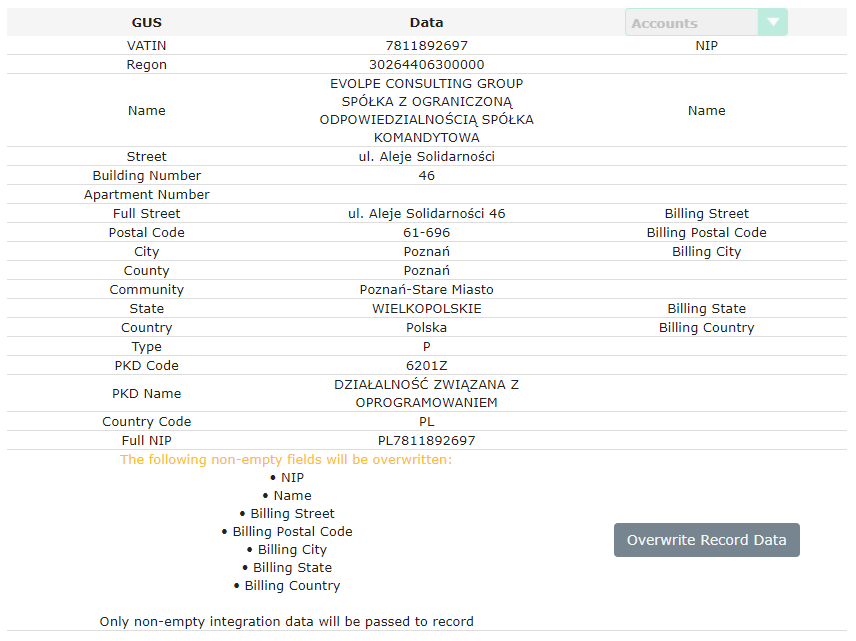
The data downloaded thanks to the integration is presented in a table.
The first column shows field names from the integration.
The second column shows the integration data.
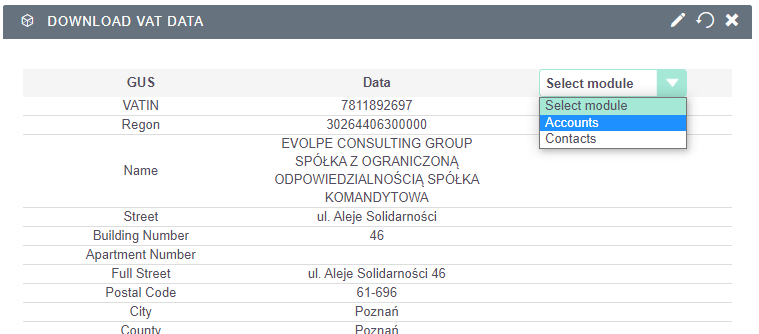
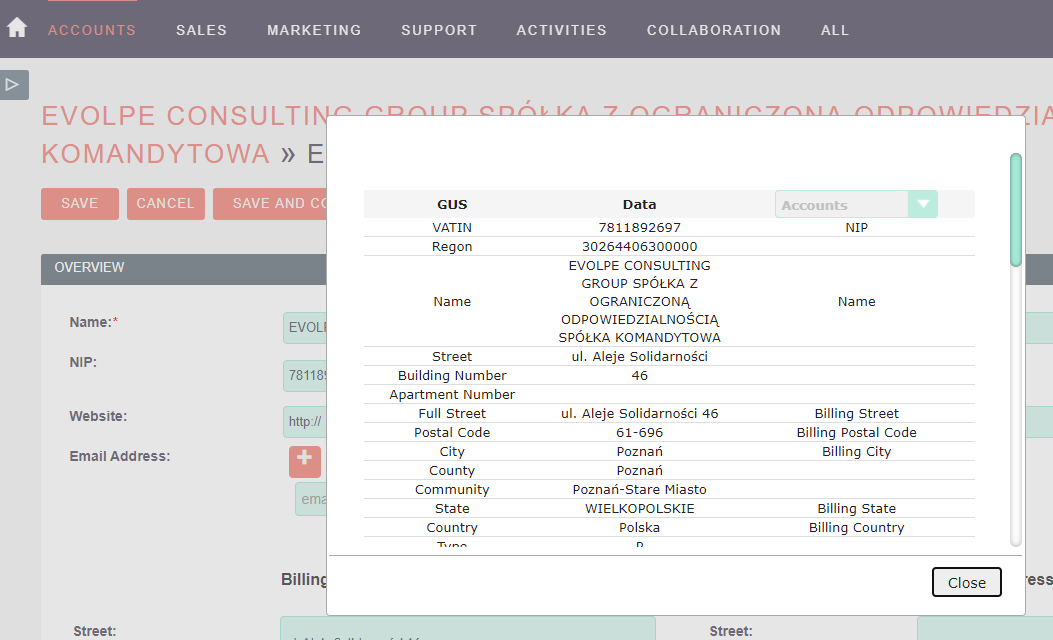
The third column shows modules which take the data from the integration.
** For List View or Record View, the module gets selected by the system and cannot be changed.**
Duplicates found
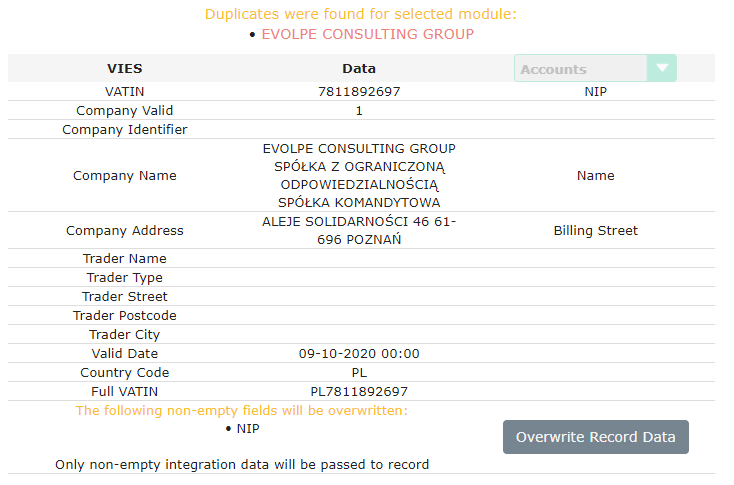
If there is another record with the same VATIN, appropriate links are added to the table (together with the names of recognized duplicates).
- For Home View and List View:
- For the Record View
Button Create record
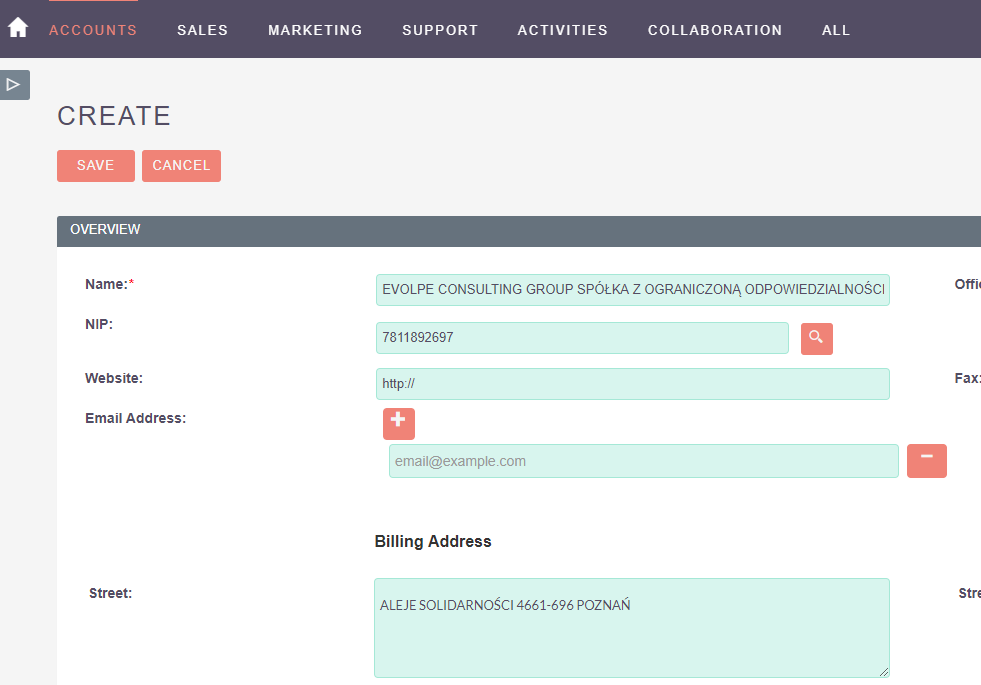
From the Home View and the List View (after downloading the data) you can create a record using the Create record button. Then the record creation view of the selected module will open with appropriate fields completed (according to the mapping)
Warning about the possibility of data overwriting
In the Record View, after downloading the data, if the mapped fields already have values, a warning appears about the possibility of overwriting information. To do so, press the * Overwrite Record Data * button.
Button Overwrite Record Data
From the Record View, after downloading the data, you can update the current record using the * Overwrite Record Data * button, then:
for SuiteCRM: the fields will be overwritten with the values from the integration.

