Now clocking in and out for your workday directly from your CRM is possible! Using the Employee Clock-in add-on, your employees can easily manage signing into work each day, plus you can generate weekly reports on clock-ins/clock-outs per user.
Give your team the power to manage clock-ins directly from SuiteCRM
Using the Employee Clock-in add-on for SuiteCRM, your employees can easily manage signing into work each day, plus you can generate weekly reports on clock-ins/clock-outs per user.
Demo for Yourself!
To test the package we have enabled a demo at the following location where the add-on is enabled with all its functionalities, both user and administrator.
To access the credentials are:
URL: https://suitestore.activalink.com
USER: Demo
PASSWORD: demo
How it Works
To use the add-on, the administrator must configure how the add-on will be clocked in.
There are two ways of accessing the configuration of the clocking in:
1. From the administrator panel
When we enter the administrator we will go down to the Check In/Out section and enter General Config.

2. From clock registry employees module
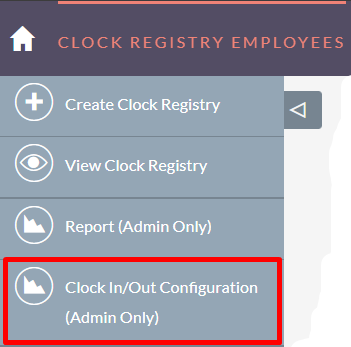
To access the configuration from the module we must first access the clock registry employees module where in the side panel we will go to Clock IN/OUT.

Within the configuration we will see the following panel with three types of configurations:
- Save the location when clocking in/out
- Save the IP when clocking in/out
- Autocalculate time when the user clocks out

Save the location when clocking in/out
This configuration allows us to determine the location of the clock-in user, for this we have three options, the first is not to put location, so the CRM will not ask for anything, the second allows the user to decide whether or not to put the location and the third forces the user to mark from where to clock-in.

Save the IP when clocking in/out
This configuration allows us to autocalculate the time that the user has spent from clocking in to clocking out. Among the available options is that this time be calculated independently of the incidents or that it be calculated by counting the incidents.

Autocalculate time when the user clocks out
This configuration allows us to save the ip of the device where if tabbed.

In addition to the configuration, the administrator from the clock registry employees module can generate reports of the week's clock-in.

Here we will simply select the employee and the week for which we want to draw their report. When we explore the information, an .xls will be downloaded with the report data
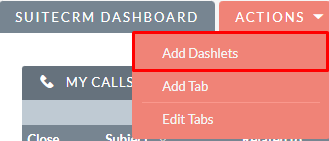
Once everything is configured, the user must add in his session the dashlet that will allow him to clock in.

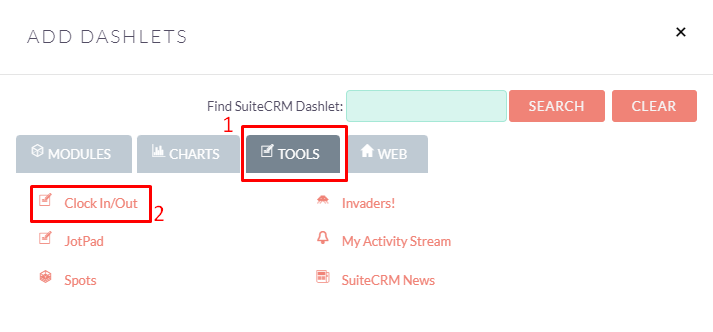
Once inside, go to tools and select the clock in/out dashlet.

This will add a dashlet with which we will be able to do two things, the first one will be to clock in and the other one will be to mark incidents.

We will now look at the functionality of both the clock-in button and the incidence button.
Clock-in button
When we press the clock-in button, depending on the configuration set by the administrator, we will be asked or not for the location where we clocked in from.
Once this verification is completed, it will appear that we have clocked in correctly and the active clock-in time will start to count.

When we reload the page or after navigating through the crm we go back to the home tab, instead of having the button as clock-in, it will appear as clock-out.

Once the day is over, all you have to do is click on the clock-out button and the clocking time will automatically end.

Incidence button
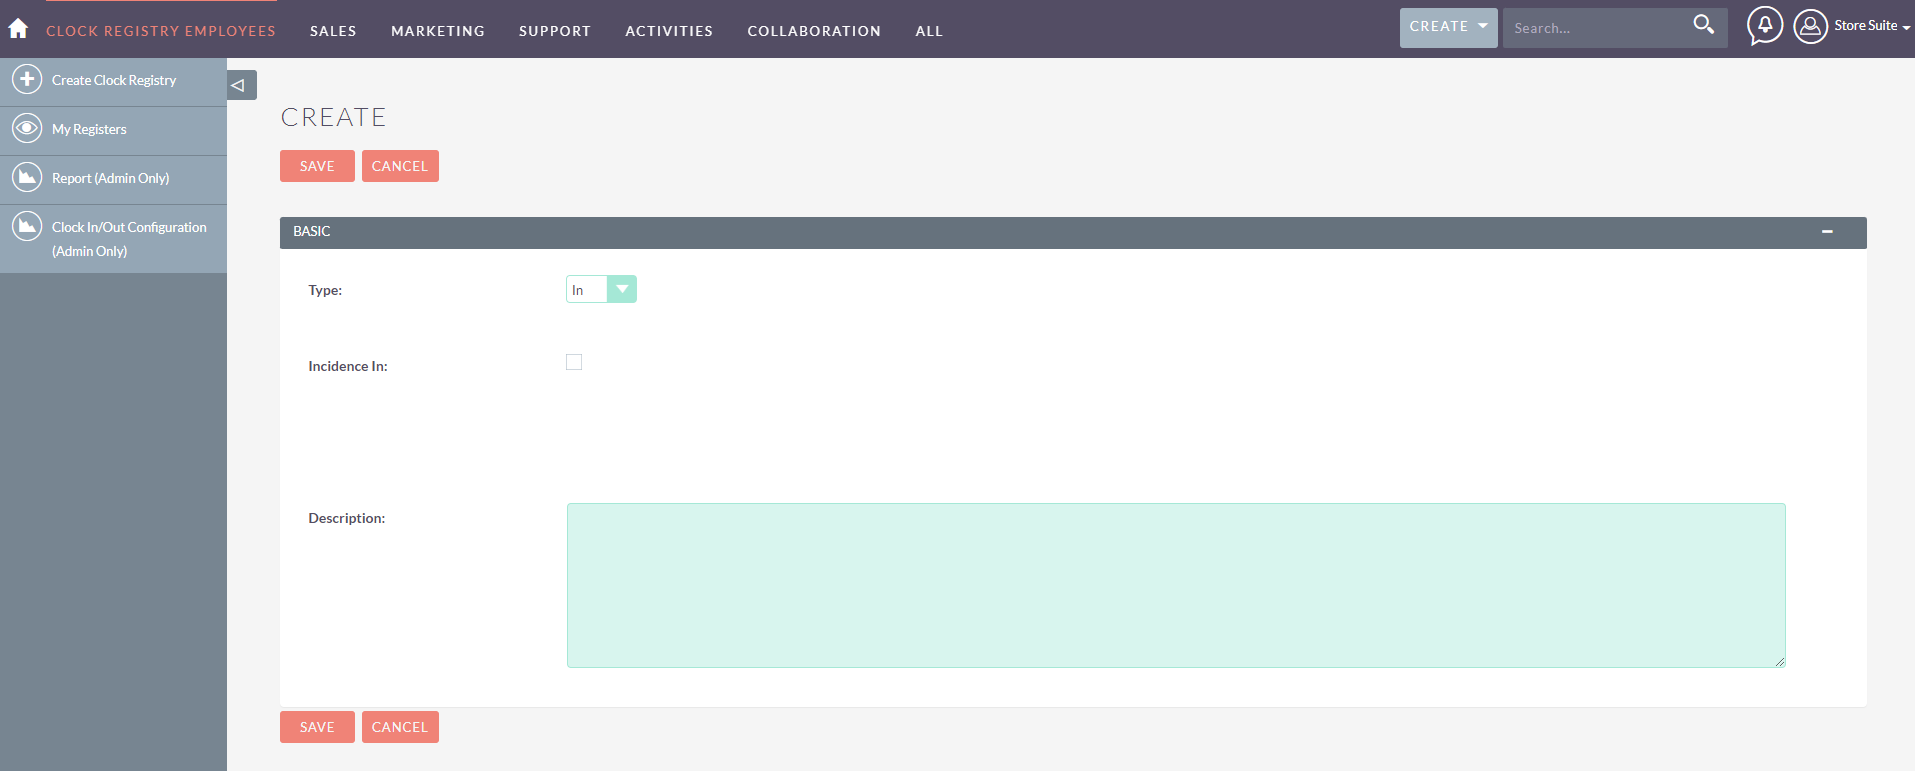
Incidents are used when a user cannot clock in on time for whatever reason, so that it can be reflected in the CRM. Therefore, when you click on the incident, the incident form will open where you can clock in.

Depending on whether the incident is in or out, it will be marked on the form, so that if we have not yet clocked in we will see the type of incident as in and if we have clocked in we will see the type of incident as out.
If we select the check for incidence in (when we clock in) or incidence out (when we clock out) we will be able to mark the time when the incident occurred and a description of the incident.


